|
|
|


|
| |||||||||||||||||||||||||
|
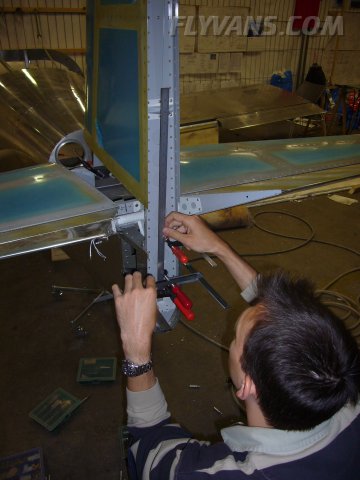
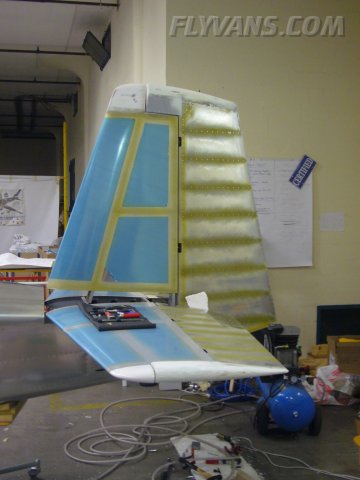
Domi came to help with the installation of the Vertical Stabilizer. We had to put it off at the last building session due lack of time the last time and now Bernie was missing some helping hands. 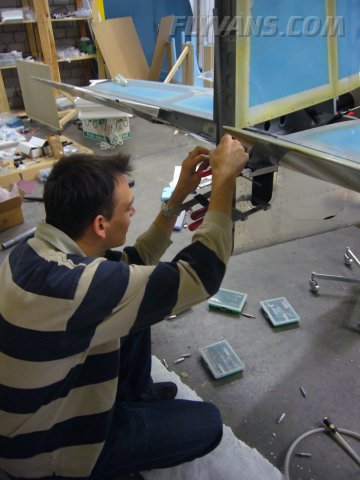
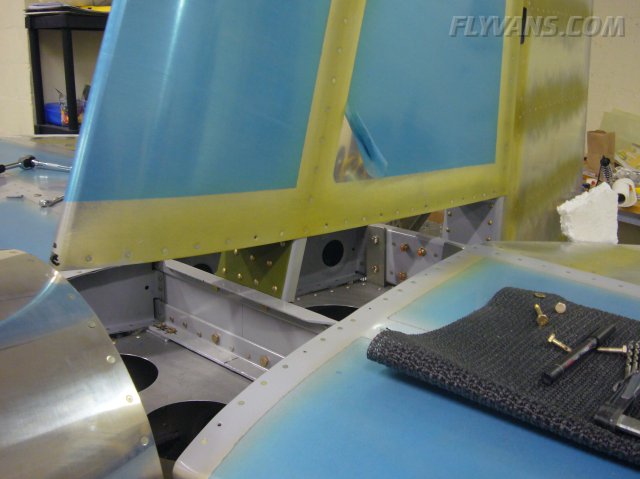
We proceeded step-by-step exactly as per Van's instructions. Measuring the vertical position.
...and the instructions, for once, were wrong. They call for the front spar bracket to be drilled first (after positioning the VS with the 2 bolts attaching to the elevator stop), then drilling the bottom holes on the rear spar. So we proceeded per instructions only to find the lower portion of the rear spar slightly distorted (due to the beefy doubler plate). It was no longer flush to the aft fuselage bulkhead. When drilling the bolt-holes / pulling the spar flush with clecos, the rudder hinge brackets would no longer align from top to bottom, of course.
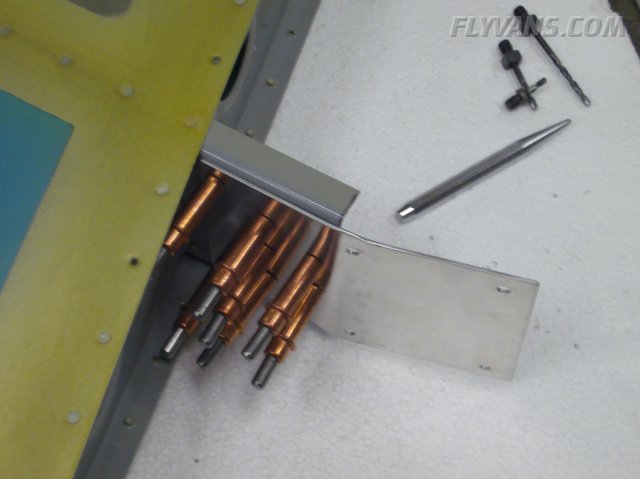
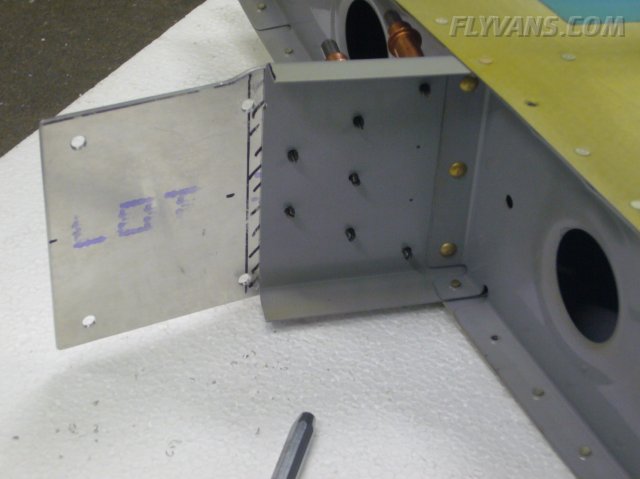
Slight setback, lost some time, but we want to get it right. Made a new front spar bracket from .064 2024-T3 aircraft sheet metal.
The holes in the spar were already drilled, therefore it was not possible to just replace the pre-punched part. On the other hand, remanufacturing this bracket was a piece of cake, compared to some other tasks required in such a project.
Drilling the remaining holes after the new bracket had been adjusted and the stabilizer aligned.
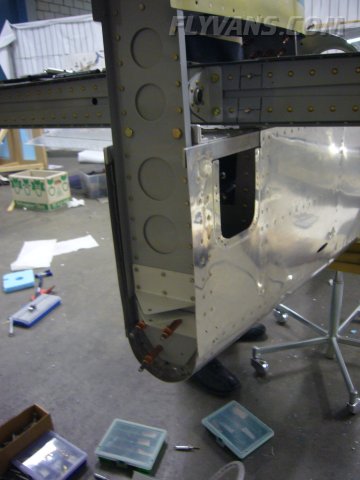
And the primered bracket riveted to the stab.
Finally, the rudder could be temporarily mounted and swung freely :-)
This bracket also introduces a 4° offset into the vertical stabilizer. This should counter some of the propwash effect.
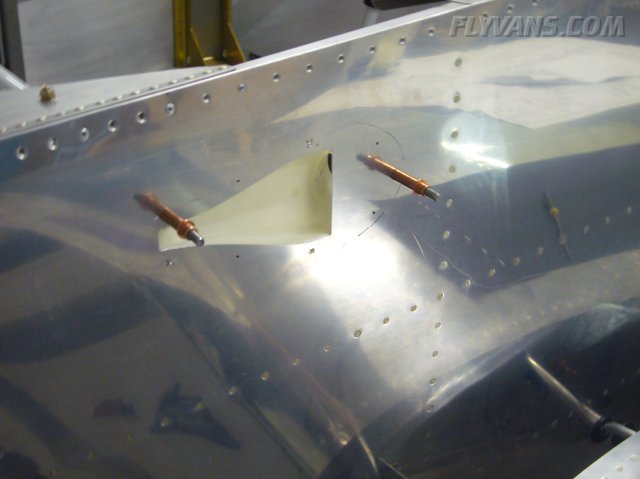
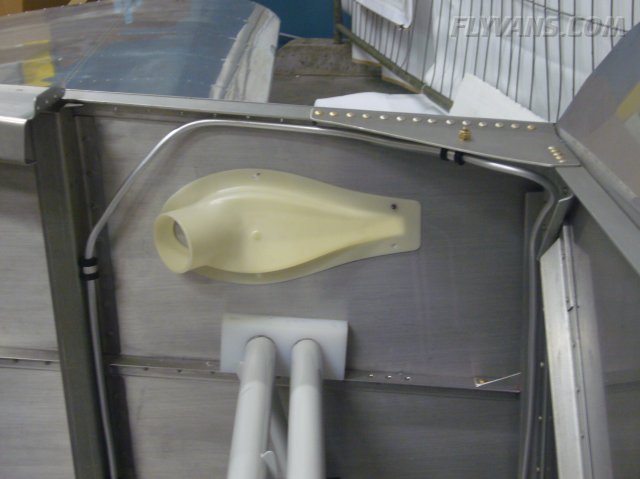
We had some proseal left over and about to expire, so looked for possible applications. Decided to install the NACA vents for the cabin fresh air.
Decided to use 5 CS4-4 keeper rivets on each side.
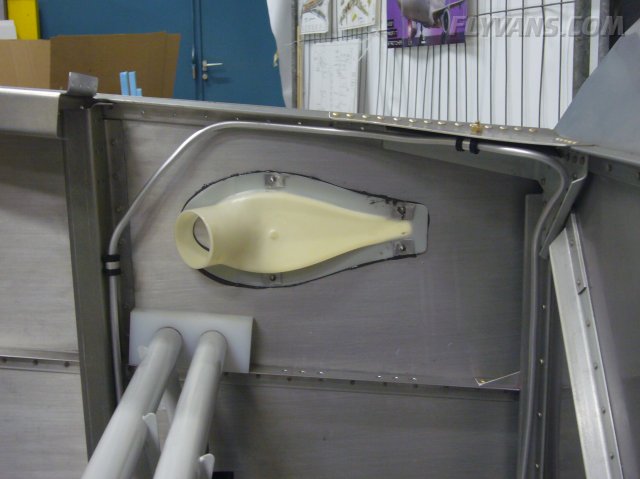
And the end result: dimpled skins, proseal and the pop-rivets with small aluminum "washers" to keep the rivets from pulling through the plastic.
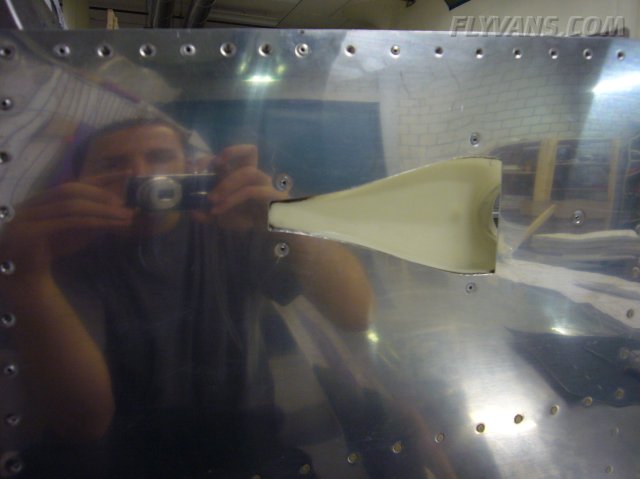
Tried to finish it a bit, so that there would be no water trap and it should only need to be painted over when doing the final paintjob.
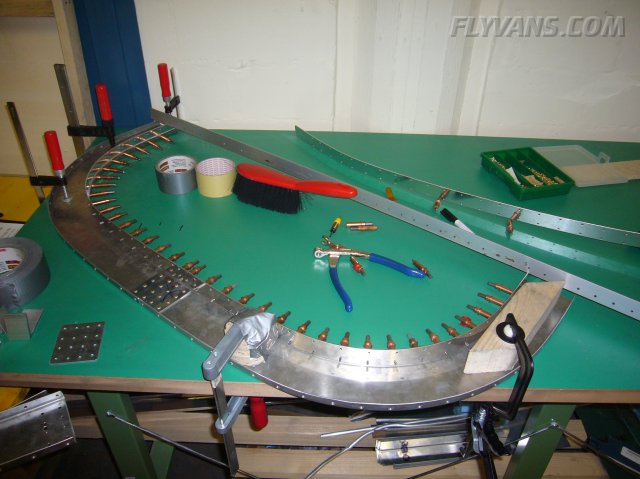
Another assembly we had set aside and we'll need sooner than later is the canopy rollbar.
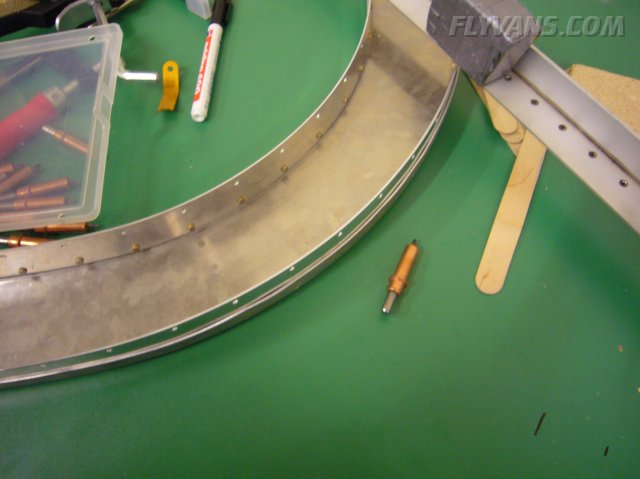
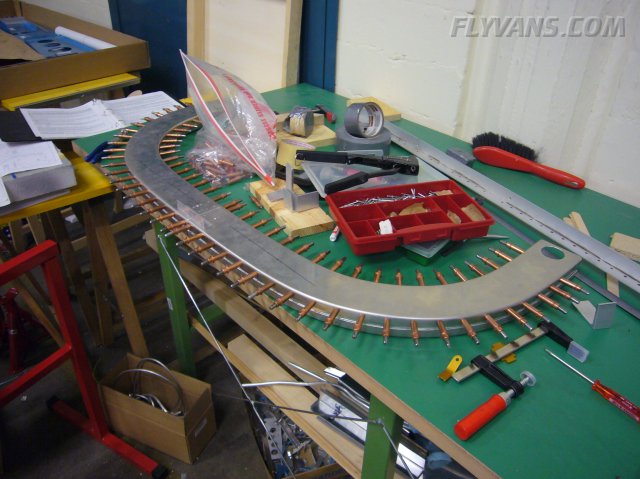
Checking the base width over and over and tightly clamping the pieces to the bench kept it to an excellent fit.
Also, despite not being fluted, the flanges curve very nicely. Very little pull and stresses built into the part.
Building the rollbar required the most 1/8" clecoes we had needed yet on the project.
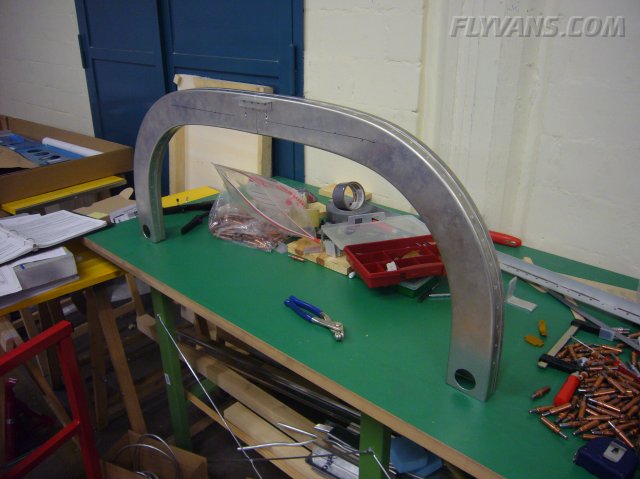
And the final piece.
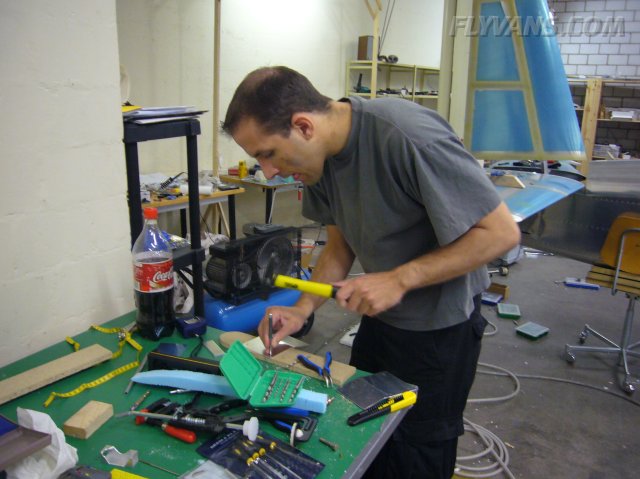
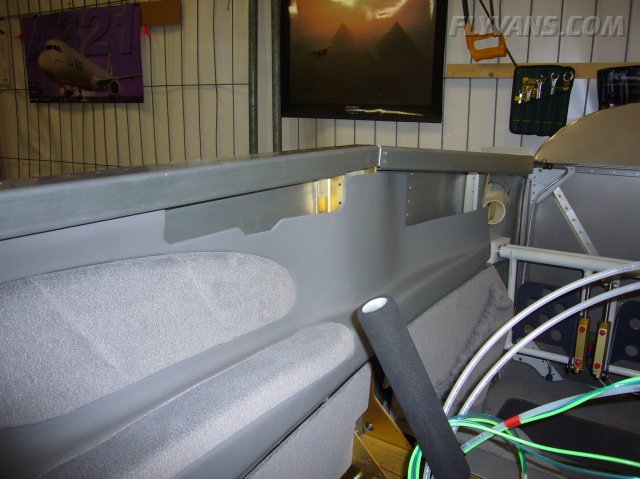
Alex is planning to do the interior painting on one of his weekends at home.
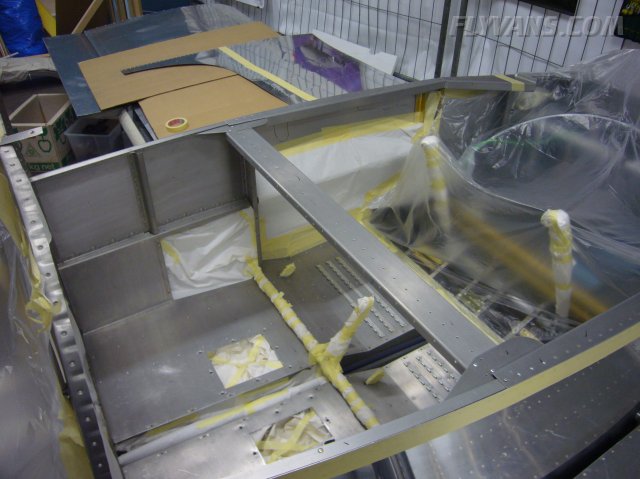
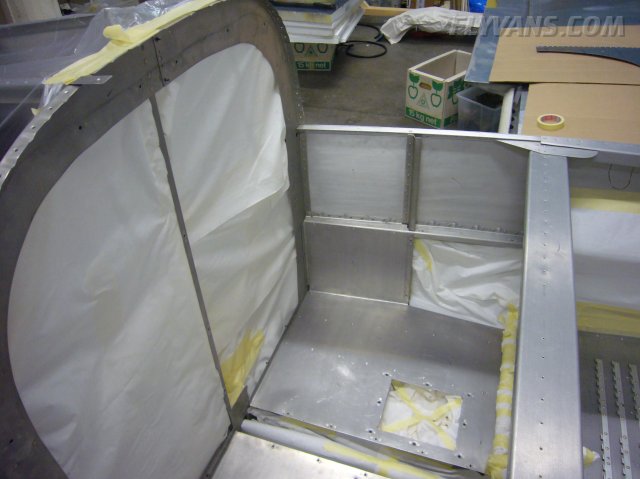
Masked off all areas that do not need paint.
Very little prepping required and then the whole interior can be painted. We opted to get the classicaero interior without the baggage compartment, so the paint will be prominent here and also see heavy use from moving baggage.
|
|
|||||||||||||||||||||||||
|
||||||||||||||||||||||||||
|