|
|
|


|
| |||||||||||||||||||||||||
|
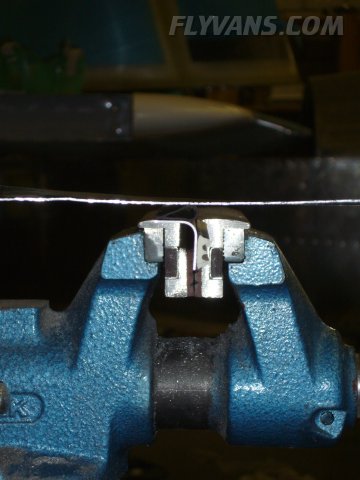
With the canopy now approaching fast and work on the front deck started, weatherstripping the canopy is an issue. The default Van's rubber seal appears to be only marginally up to the task. 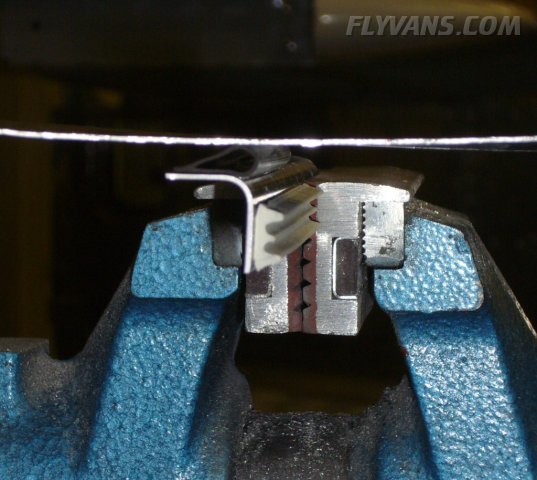
The rubber is pretty thin and has very little backpressure. Also the surface doesn't appear to be adapting well to the mating material.
Since we're going to install high $$$ avionics, we'd rather make sure that we have major potential leaks under control...
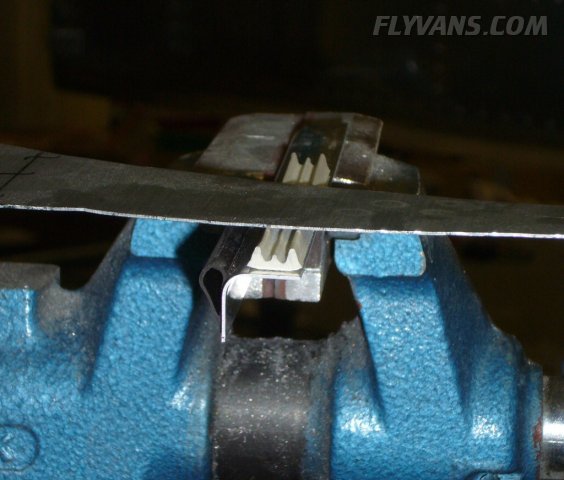
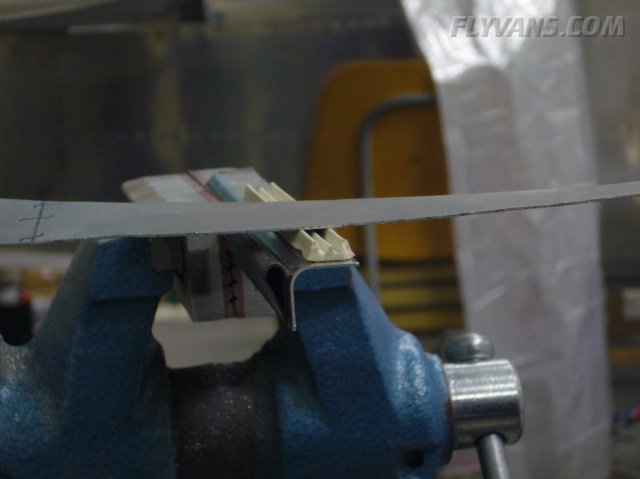
This off the shelf TESA window weatherseal seems to do much better of a job.
It has several barriers and seals well with the aluminum. The only potential problem I see is that there are shear-forces when opening and closing the canopy along the sides. With the well sealing rubber, this could create problems. We'll see.
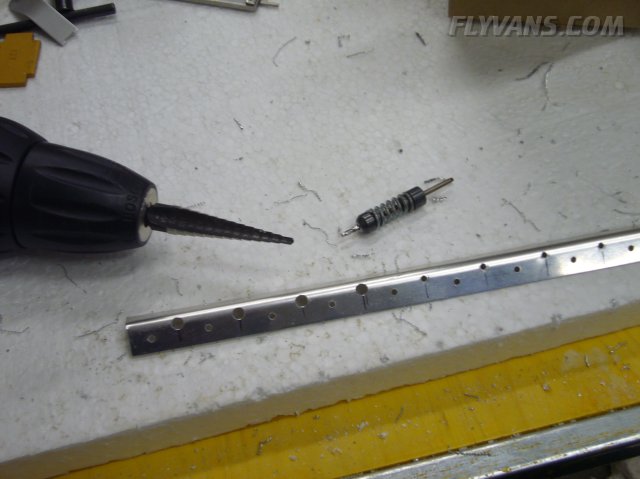
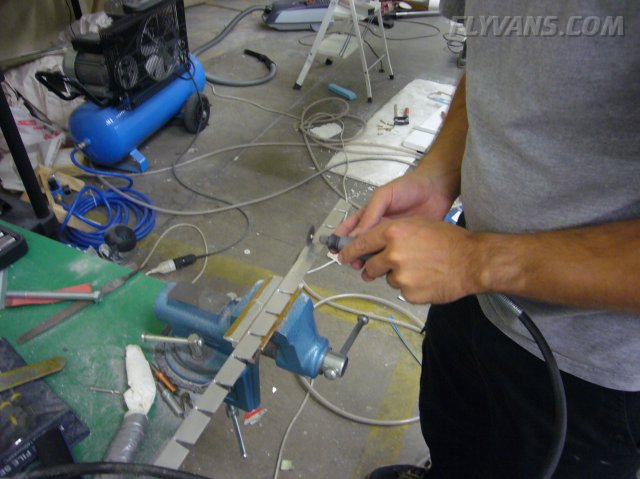
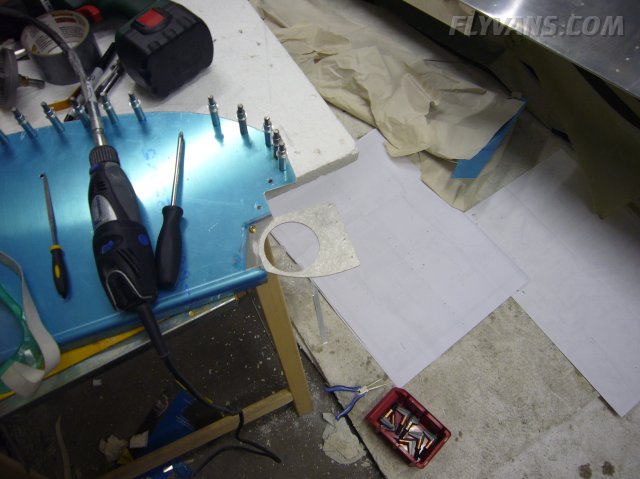
Manufacturing the seal support brackets.
And the large reinforcement angle for the instrument panel.
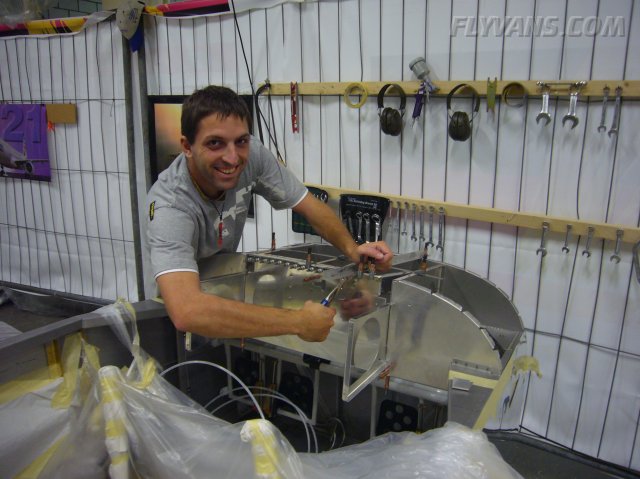
Again, "bros" stopped by to help a bit :-)
The instrument panel with the reinforcement angle clecoed. We won't do too much to the panel, as it might get replaced eventually by a nicely cut, CAD designed panel at a later stage of construction.
The angle yet requires some trimming to be able to use all available space in the corners.
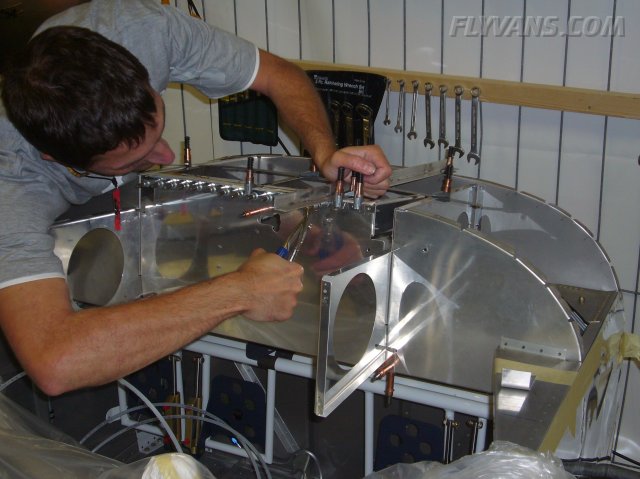
Building up and match-drilling holes.
Also the two ribs will need modifications later on. Their web is more or less exactly where EFIS screens should be located. This is a well known "issue" and the modification will be quite simple.
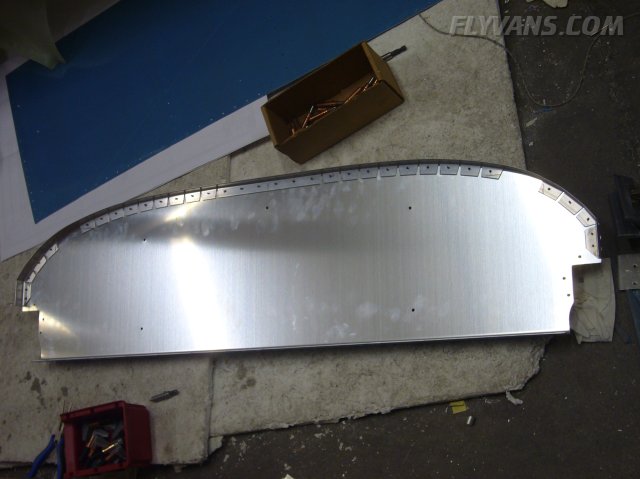
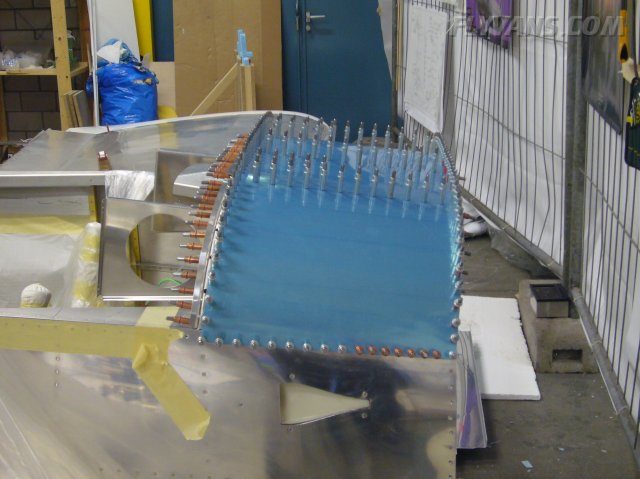
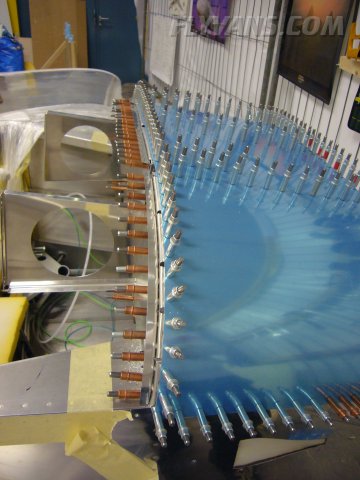
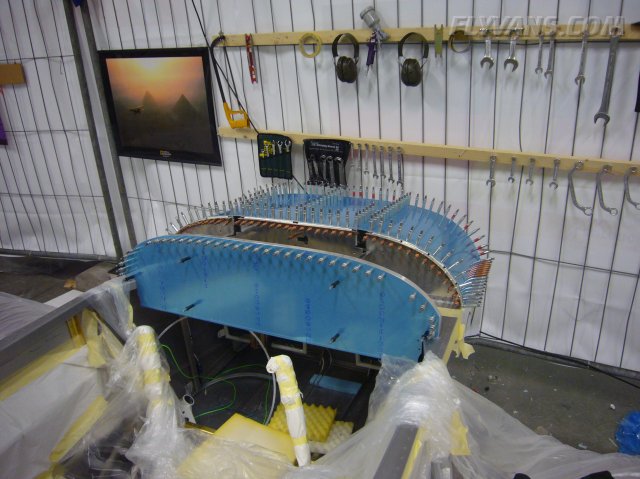
Skin on for the first time.
Used almost all clecoes and even some that we borrowed from Domi.
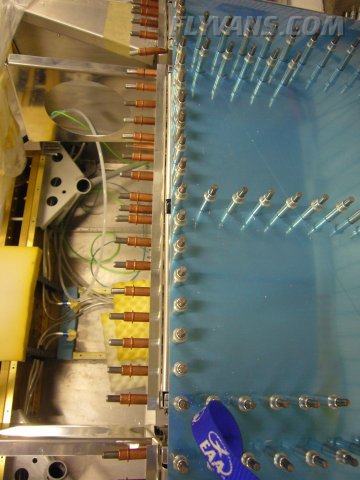
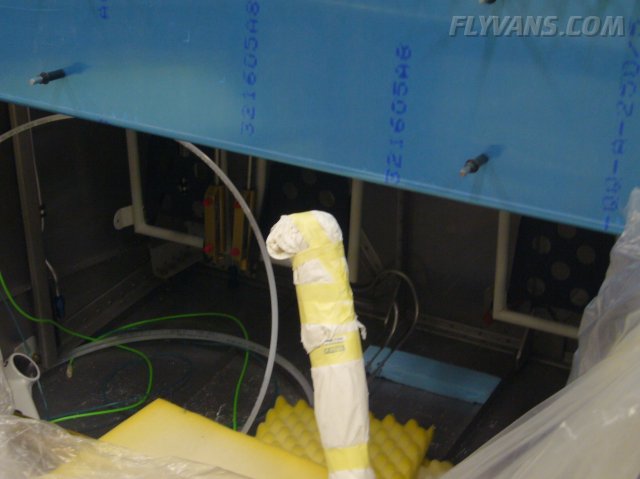
The fuel tank vent line, as per plans is at about the worst possible location for match-drilling and riveting later on. Bent it away from the sides. And I currently can't see a reason why they couldn't be left that way.
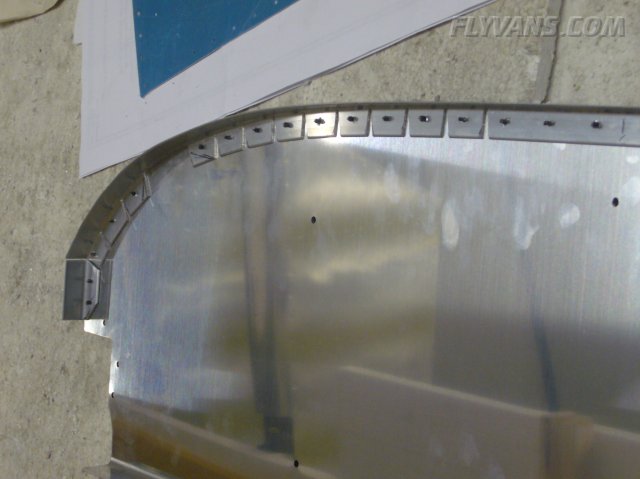
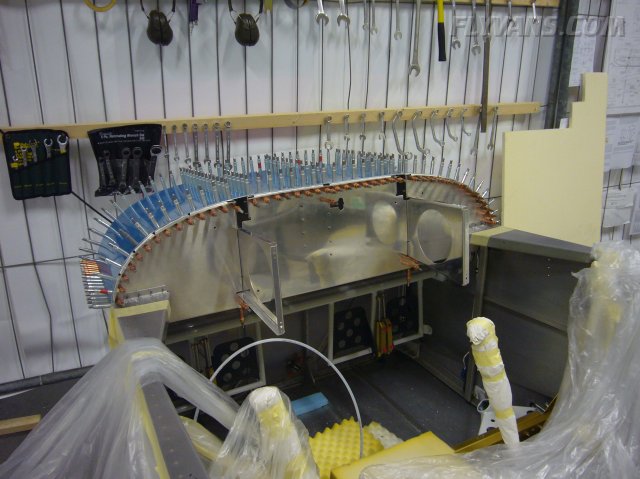
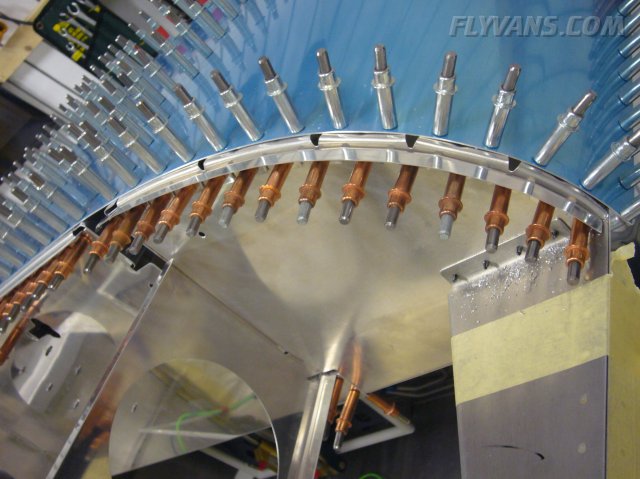
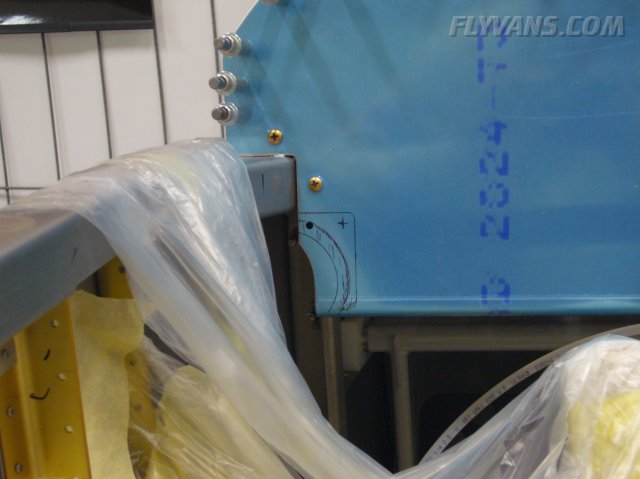
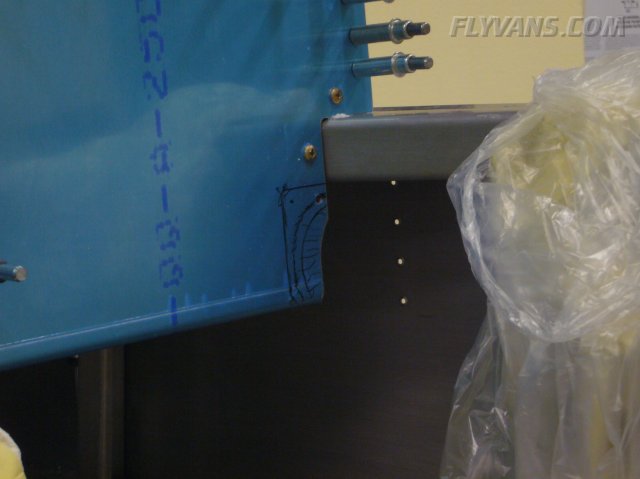
Sealing the canopy gap will be quite a challenge. Here you can see the cutouts in the rib flange, which present one large leak each!
Sealing this won't be that easy, since the skin is about the last part to be riveted in place... Maybe we can come up with a silicone bead using a removable placeholder for the skin.
Another view of the parts requiring sealing.
We did not cut the sticks (other than making them same length). Clearance to the panel is fine, but the center console will have to be designed accordingly.
Also, for aestethic and legroom reasons, we shall aim to get it done with the standard panel, without subpanels etc... other than the center console.
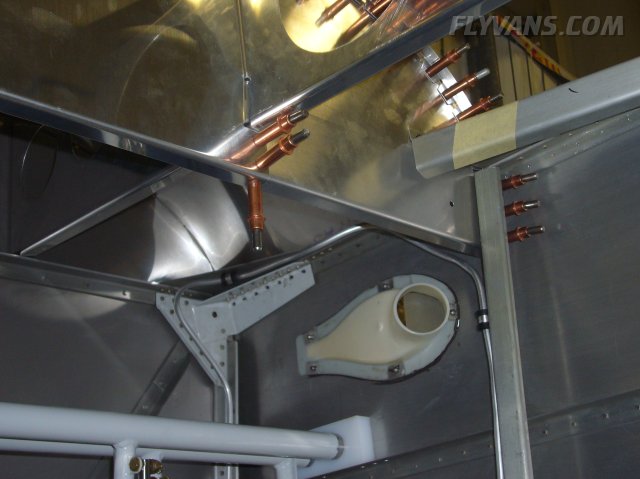
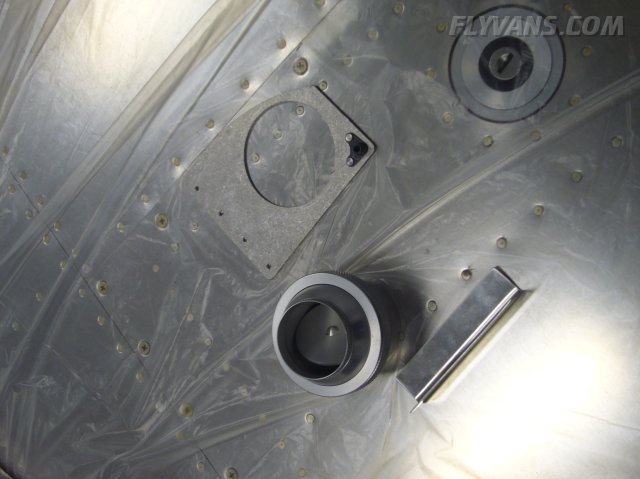
Fitting the experimentalair.com cabin air vents. They look nice and should seal much better than the plastic ones provided with the kit. Unfortunately, not cheap. We'll use plastic vents to make a defroster for the canopy.
The take a bit more panel space than default.
Trimming the panel.
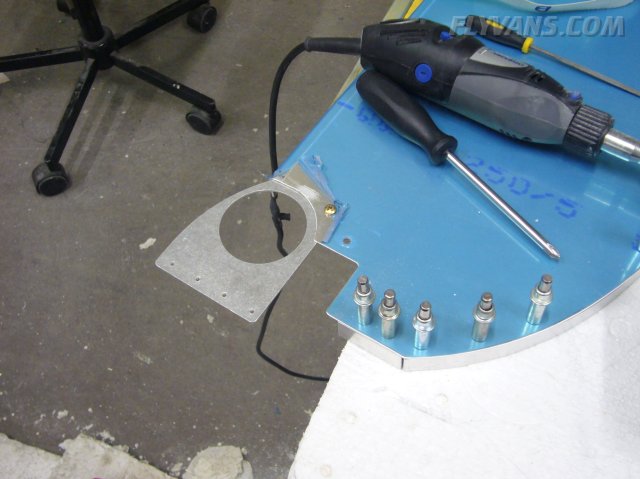
With the bracket test-fitted...
Next, the angle to mount it to the outboard skin can be drilled in place.
|
|
|||||||||||||||||||||||||
|
||||||||||||||||||||||||||
|