|
|
|


|
| |||||||||||||||||||||||||
|
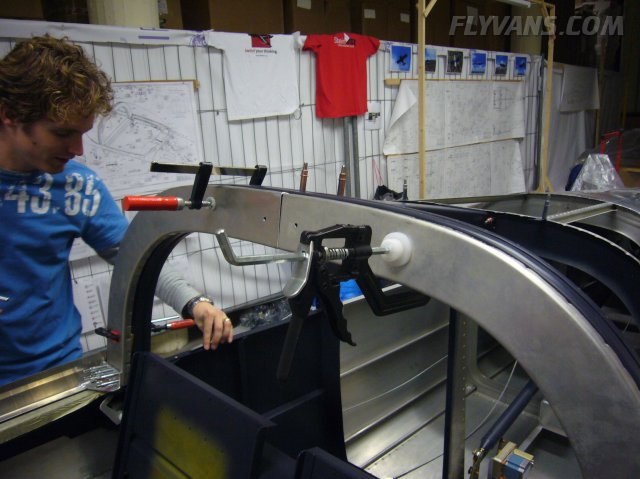
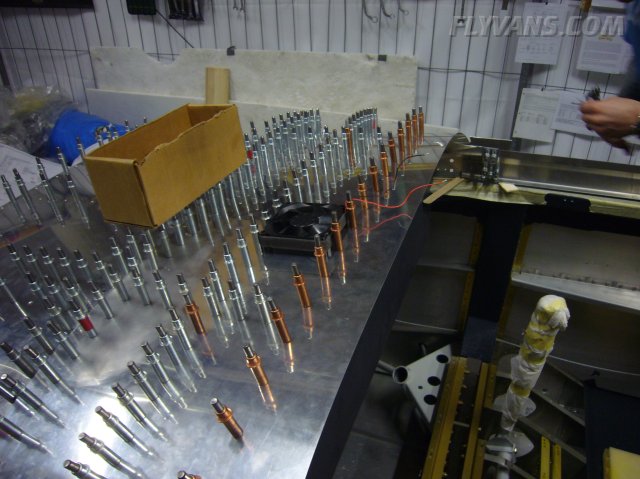
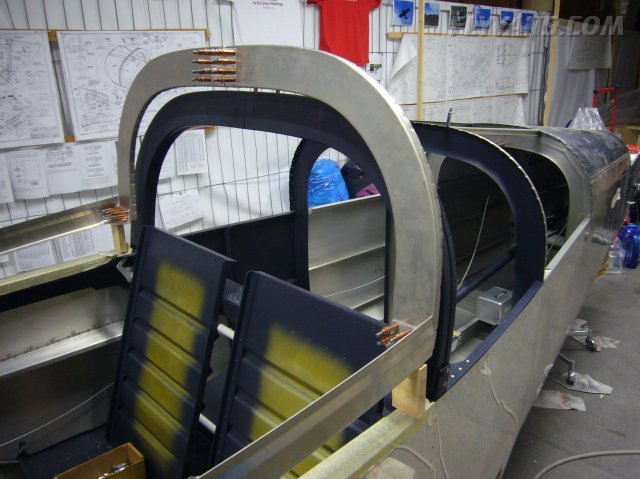
The canopy frame is very fragile, especially when not yet riveted and without the plexi installed. So lots of clamps are helpful. 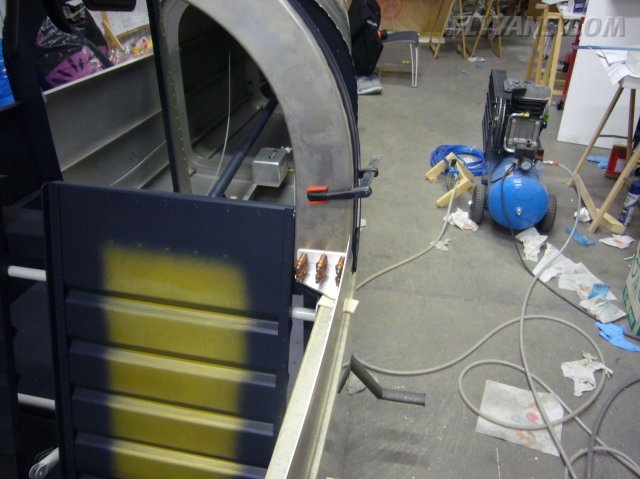
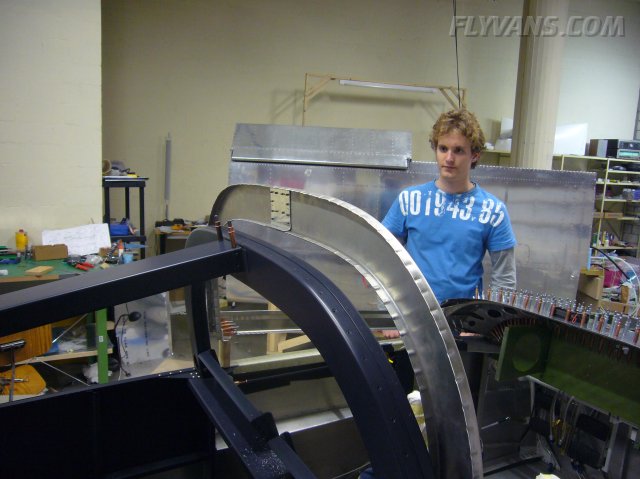
Got another visitor to the workshop.
Markus, a fellow ATCO... Actually we had planned just to visit the shop, but it ended in a nice long and productive building session.
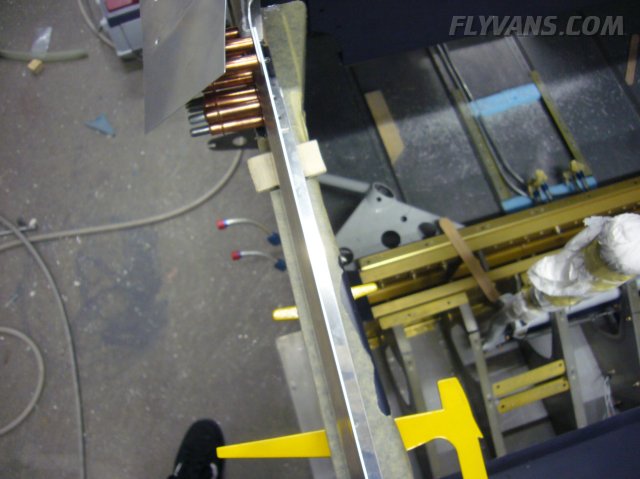
Wooden spacers position the rear ribs and side rails.
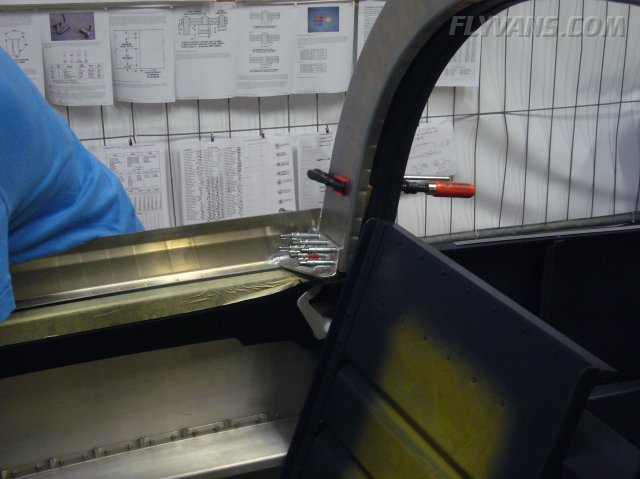
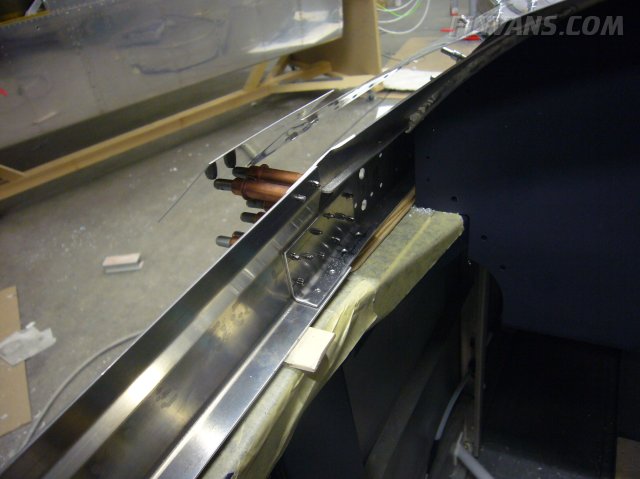
The interface between the weldment and the siderail. Note that we slightly deviate from plans by mounting the siderails about .125" inboard. This to increase the width of the slot for the canopy, leaving enough room for a nice bead of sikaflex.
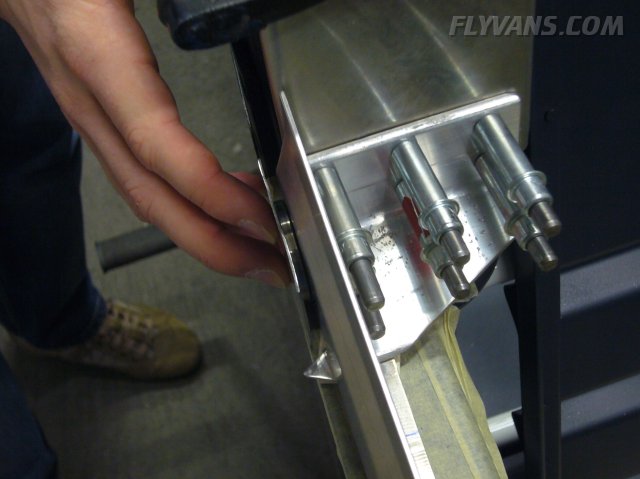
Between the forward part of the bracket and the weldment, we mounted 2 .064 spacers. And the top "lid" of the weldment simply goes outside instead of inside the rails.
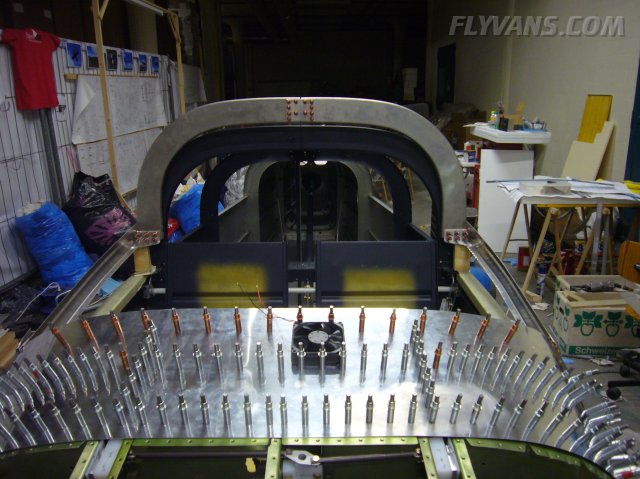
Contemplating which kind of defroster to install... By design there is none. But several builders report it being a good thing to have. Most ideas either float around using PC-fans to keep air blowing inside the canopy/from the avionics compartment or then take some "heated air" from the cabin heat duct and route it upwards to the windshield. We'll decide once we have the plexi fitted.
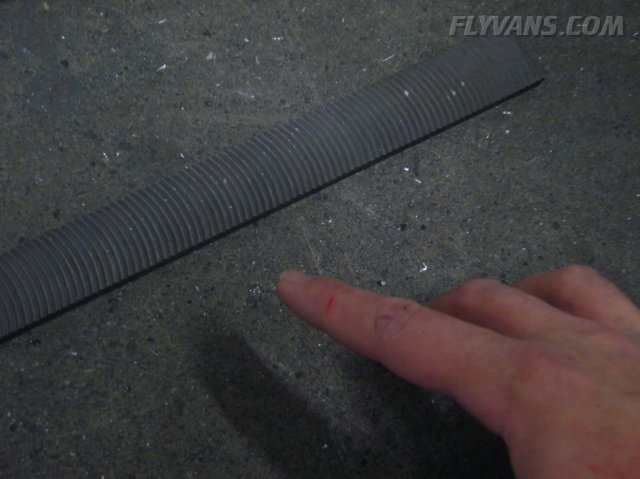
Once in a while, things go wrong... Although we are happy to say, that up till now, a few bruises are about the only injuries that we got from building. Considering the danger from all the specialty tools and drillbits, that's not that bad. Also aircraft aluminum is beatiful to work with. Few sharp edges, no splitters etc...
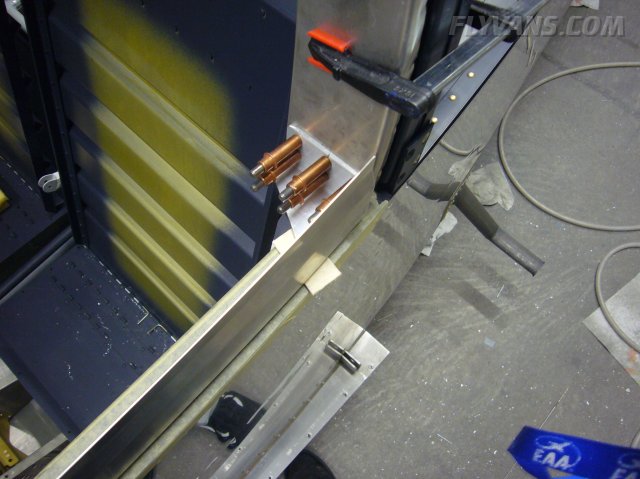
Here you can nicely see the slight offset of the siderail.
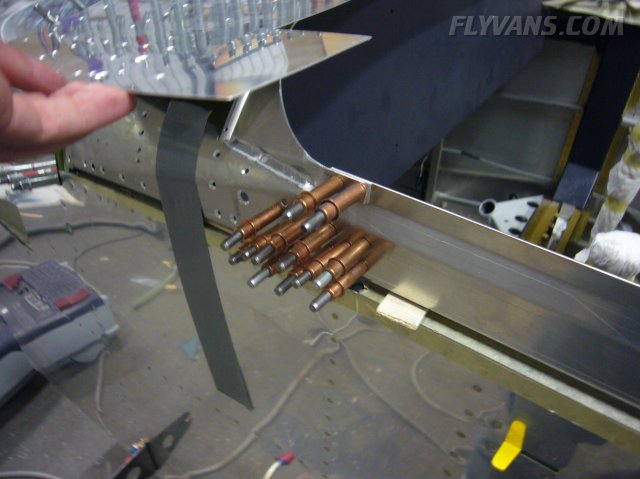
The same thing to the forward side.
And that's how it will fit in the end when the outside skirt is spaced.
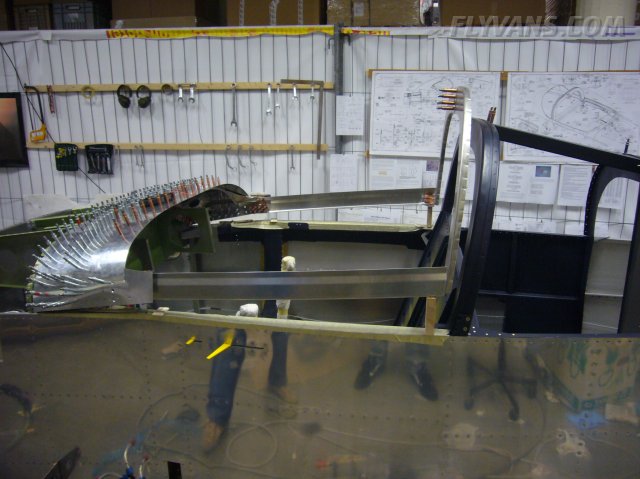
Removed the top forward skin to be able to move/hinge the whole canopy frame assembly without catching on skins.
Opposed to the instructions, we already drilled the rear frame center bracket. The plexi will be spaced a bit from the ribs anyway and the gap sealed with sikaflex.
So far, everything is turning out great! No parts that have to be redone etc... Hope it stays that way. Ordered some various weatherstrip seals hoping to improve the hinge line sealing. They should get here in the next few days.
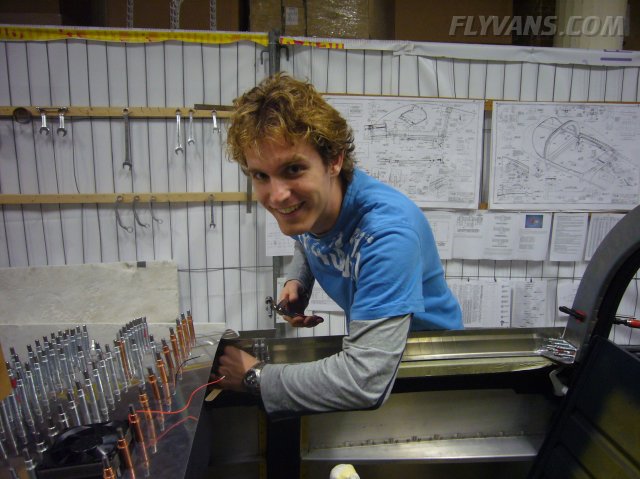
Enjoying the fruits of labour.
Working on ideas for the spacer between the WD-725 side rails and the C-603 side skirts... Rough estimates indicated that if filled with solid aluminum, we'd add about 600g of "dead weight" to the airplane. Trying to optimize that. First idea was to use some kind of plastic as the spacer. Bought some cheap semi rigid kitchen cutting boards and a desk protector at IKEA.
Then tried the different materials as a double layer sandwich between two sample pieces of aluminum. The top example would be about perfect in width. The problem is, these plastics, although light and strong, are still too soft to be riveted straight with solid shank rivets. Shop heads turn out bad, skins shift etc... One way that would work ok is with a double layer of the desk protector plastic and the whole thing riveted with CS-4-4 pop rivets. But i think we'll have to go with aluminum spacer strips, trying to cut as many lightening holes as possible.
|
|
|||||||||||||||||||||||||
|
||||||||||||||||||||||||||
|