|
|
|


|
| |||||||||||||||||||||||||
|
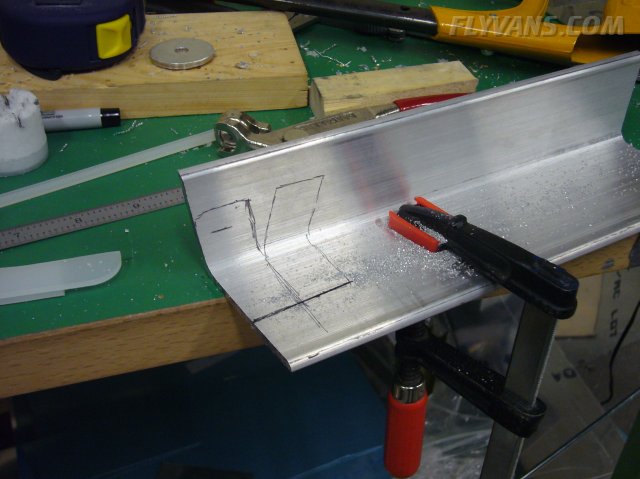
Made the "wedge" type spacers for the bottom between the weldment and the brackets. 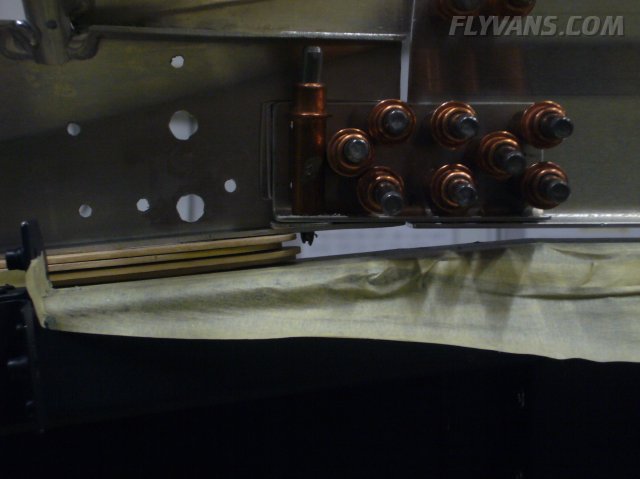
One side is quite a bit bigger than the other, just how our canopy turned out. The differences arent noticeable.
Shamelessly stealing ideas from fellow builders on the internet.
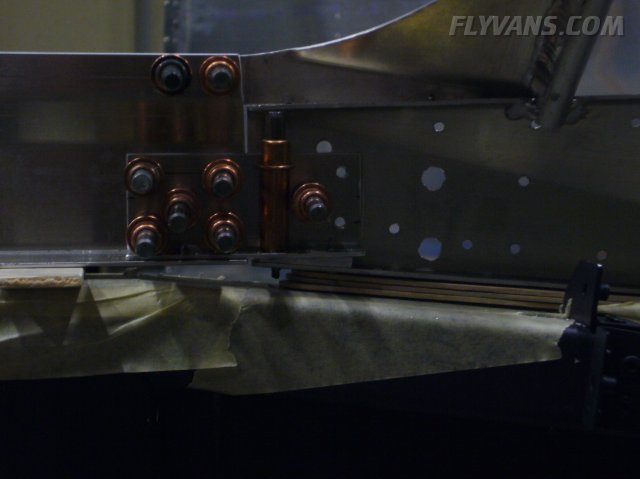
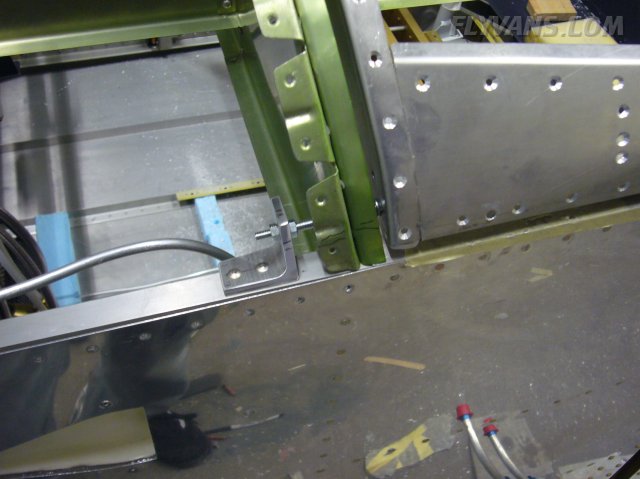
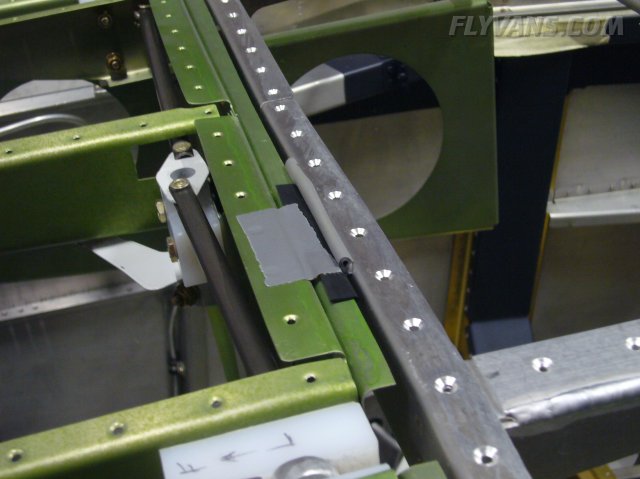
Lots of builders complain that the lift struts will distort the tipup canopy when closed, affecting the gap between the skins. To avoid this, forward stops for the canopy frame are made from a beefy angle and a bolt.
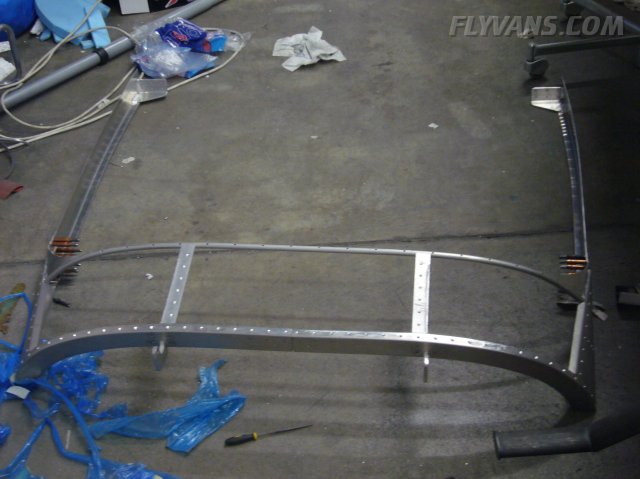
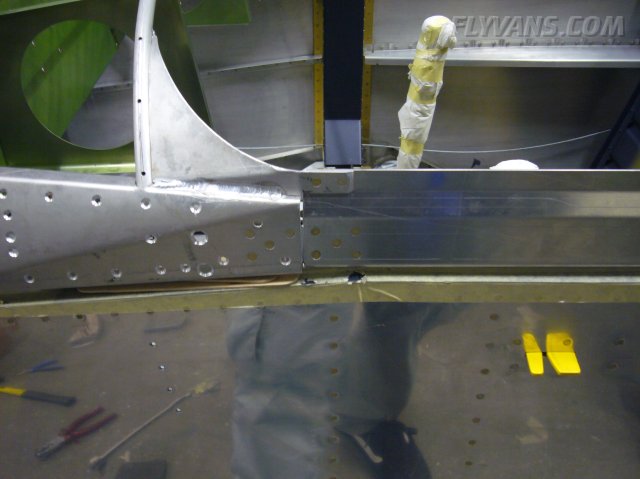
The canopy frame is ready to rivet.
Riveted it in place and installed on the fuselage to make sure that all relative angles etc... are correct.
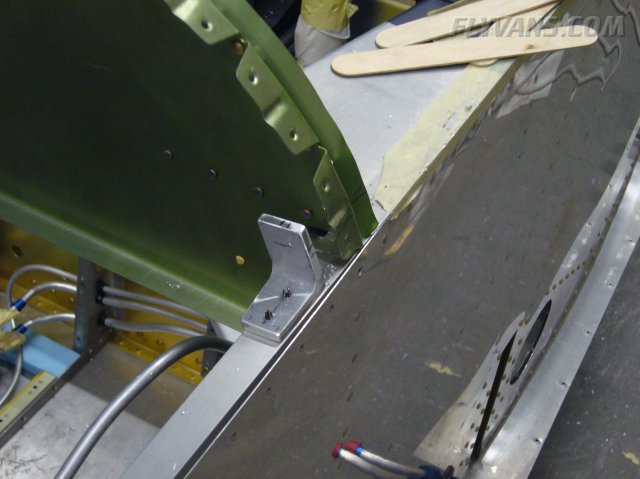
And the canopy frame forward stop in place. Not yet adjusted in it's final position. Note that there's enough room left for a small bucking bar... Somehow the forward skin must go on when the time comes.
Note that one rivet is left, it's the one which is shared with the outside skin as well.
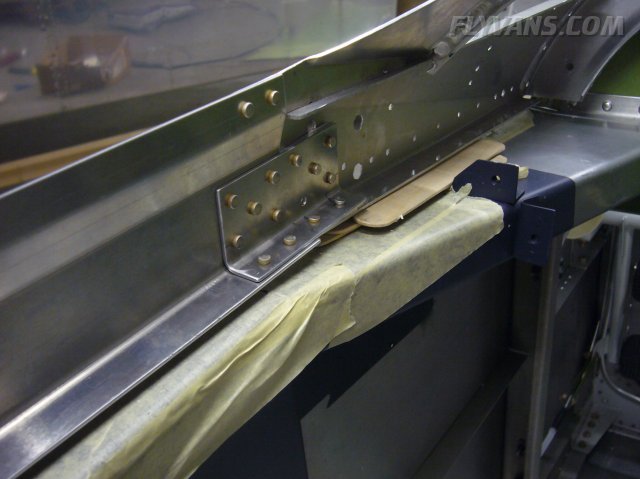
The 1/8" inboard offset for the sikaflex turned out nicely.
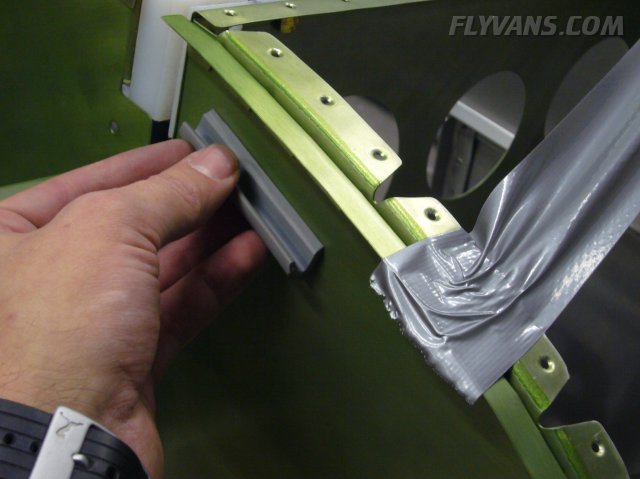
Ordered quite a few different rubber/weatherstripping profiles from a local source (Angst & Pfister). Trying to improve the canopy seal/air/waterthightness. The default Van's weatherstrip on bare aluminum is just way too flimsy. Also, we believe an extra effort here will save us trouble down the road.
Trying some superglue between rubber pieces as well as between rubber and aluminum. Excellent adhesion.
A combination of 2 seals will give us the best possible protection while keeping everything functional. One is an U-shaped black rubber seal being put on the seal channels and the other a foam profile glued to the forward canopy frame web, just below the skin.
The forward skin will be sealed with silicone when it's installed, same goes for the various gaps at the rivet joints. Working on a solution for the area where the hinges are.
|
|
|||||||||||||||||||||||||
|
||||||||||||||||||||||||||
|