|
|
|


|
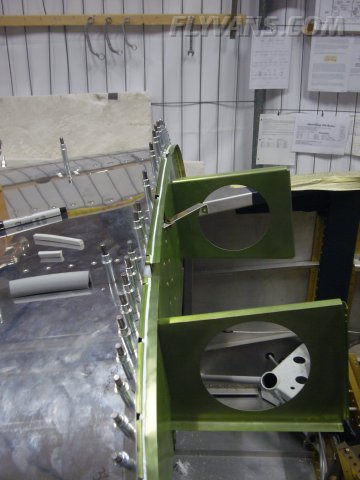
| |||||||||||||||||||||||||
|
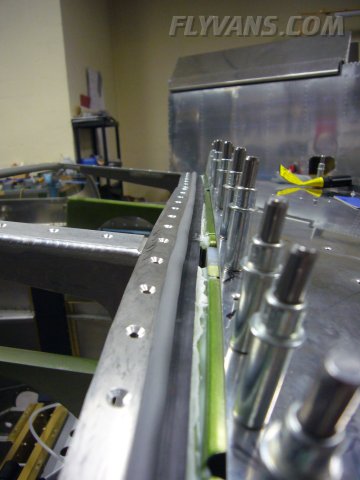
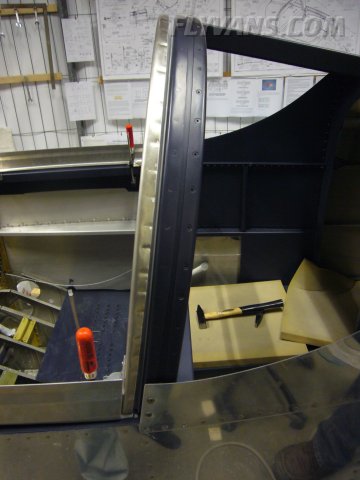
Sealing the gaps between the subpanel and the seal support angles with some paintable filler. 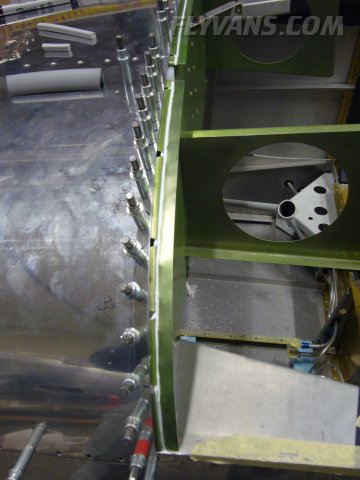
It will become transparent once hardened. Now only the areas around the hinges and the forward skin gaps have to be sealed, but probably only when the forward skin will go on for good.
And with everything installed.
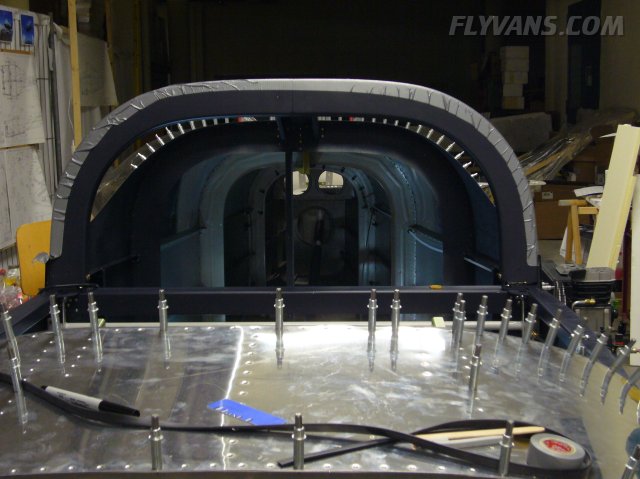
We think we've come up with a pretty neat gap seal solution.
The P type weatherstrip on the canopy frame will squish itself onto the black rubber channel.
And sealing the bottom of the canopy frame.
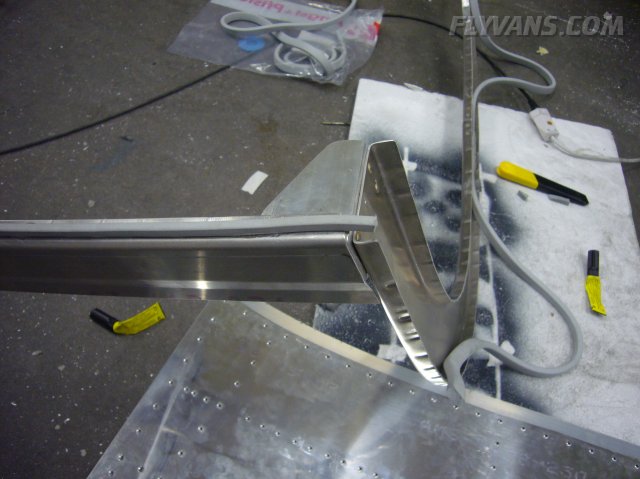
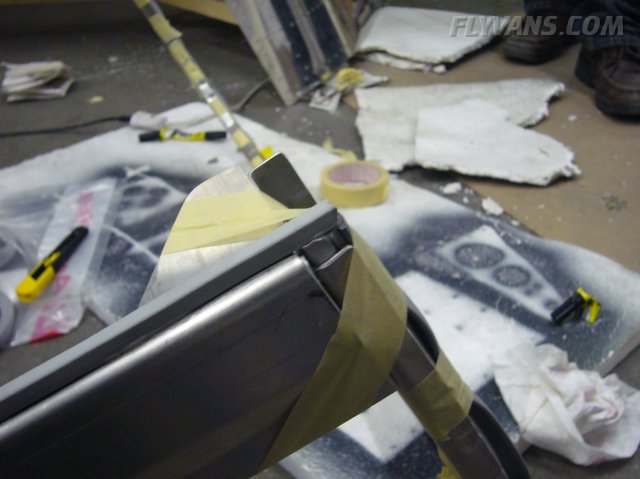
The weldment has a slightly larger gap at the bottom than the siderails. Also the profile tends to push inwards when being compressed.
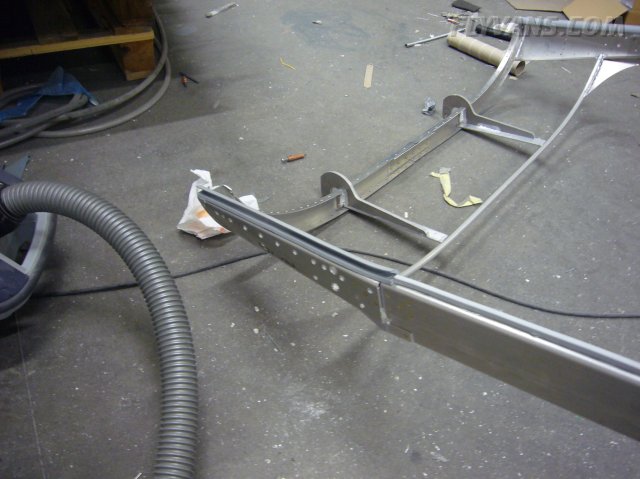
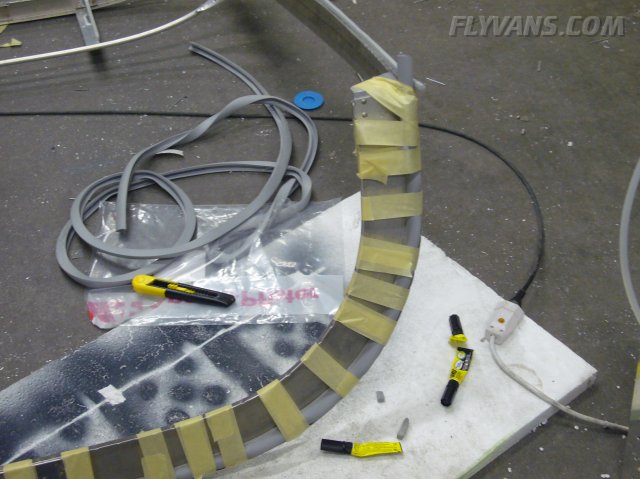
The joint at the rear. Bottom of the siderails is a 6x6mm rubber profile.
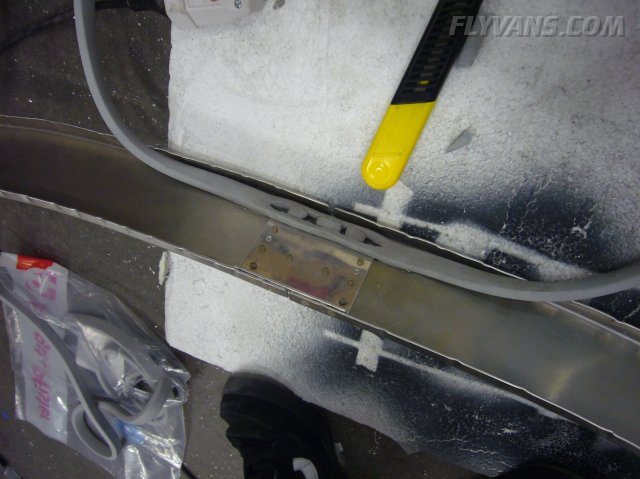
Making the rear seal out of 2 profiles. First a flat "riser".
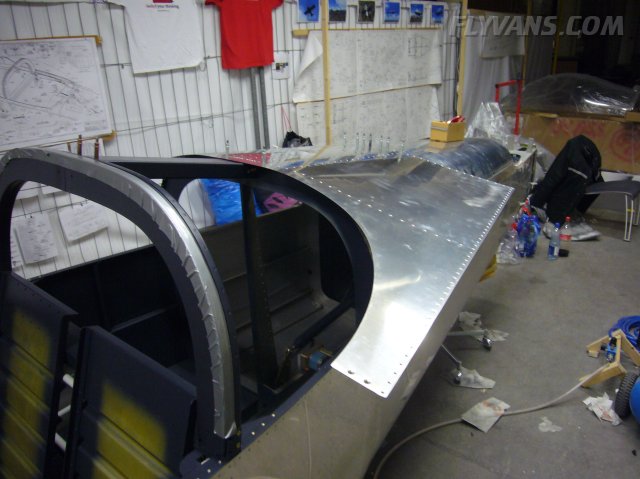
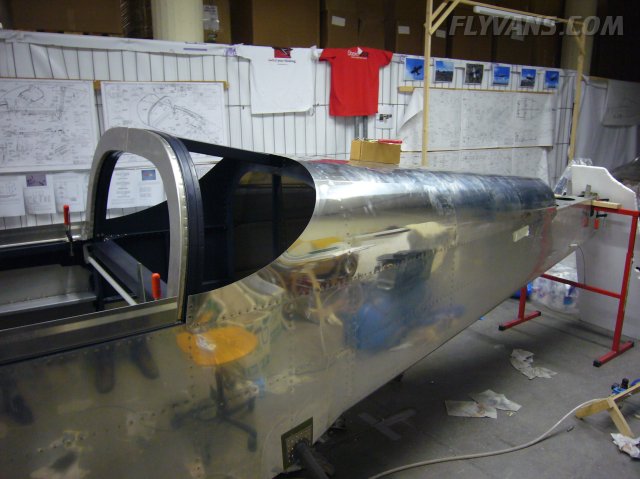
Also final installed the rear top skin.
It's getting dark in the back there... Having to start using lighting :-)
On top of the flat rubber profile, the second profile with the flap is fitted. This will seal the gap to the rollbar.
The corner where all 3 profiles meet.
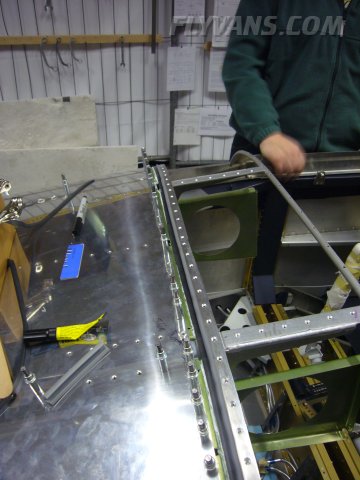
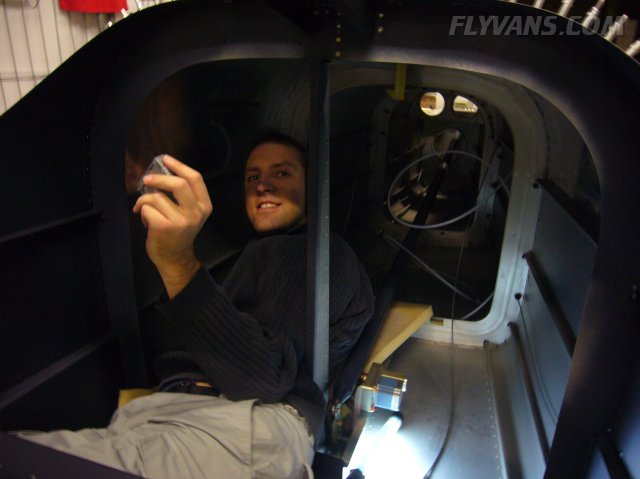
Bernie bucking while laying inside the rear fuselage.
And the rear skin is on, now only the rear window needs to be trimmed and fitted.
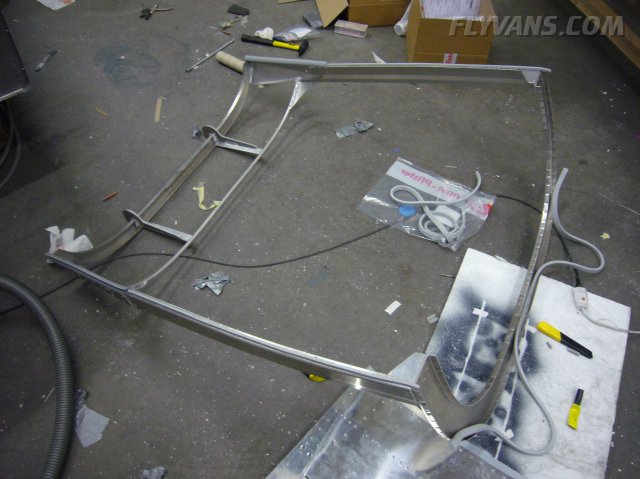
The rear gap seal fitting perfectly. The frame needs a slight pull to tightly seal everywhere, so the latches will have to be slightly preloaded. The second canopy handle on the top center, will allow to pull it down for easy opening and closing.
|
|
|||||||||||||||||||||||||
|
||||||||||||||||||||||||||
|