|
|
|


|
| |||||||||||||||||||||||||
|
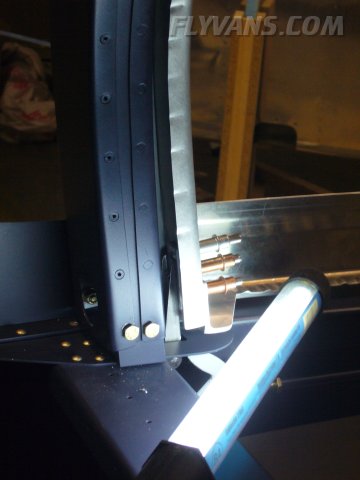
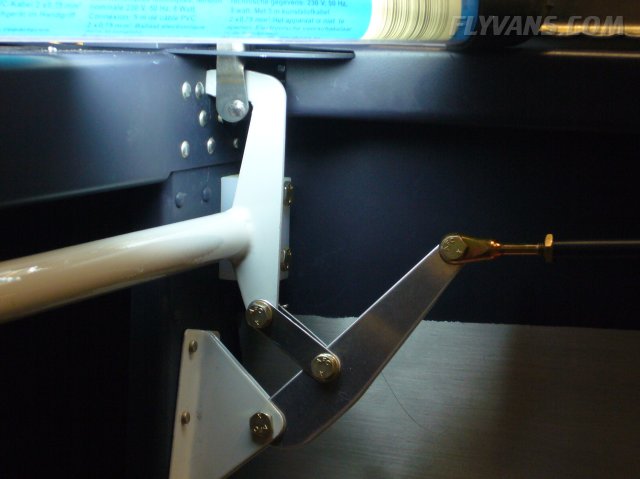
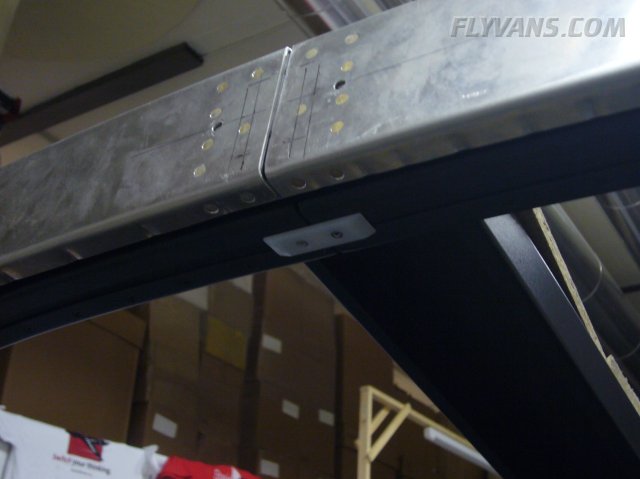
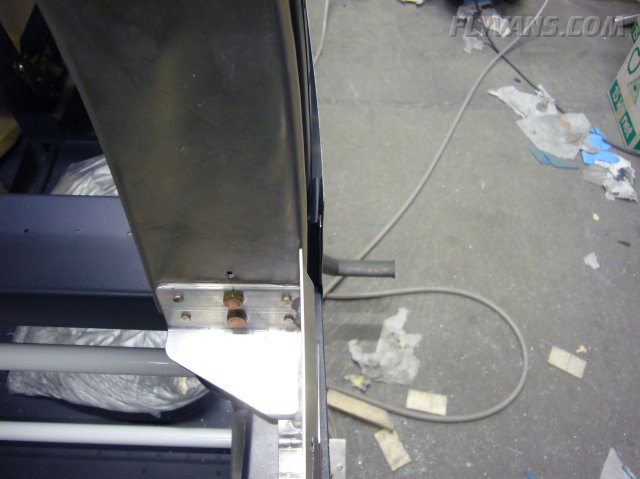
We found out, that the gas strut mount as per Van's is not optimal with our setup. So removed the spacers, made a cutout in the siderails and switched direction for the strut mount towards the inside. 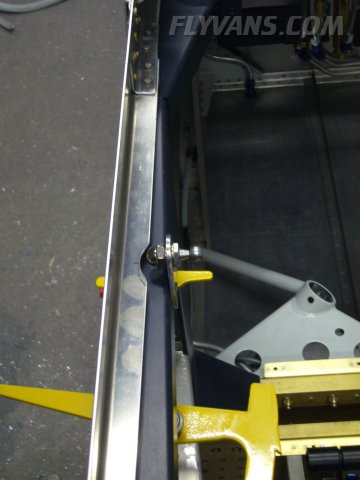
Also drilled the closing latches to the frame. Note that there is a temporary .125 spacer in this picture, which has been replaced by a few washers on the bolts.
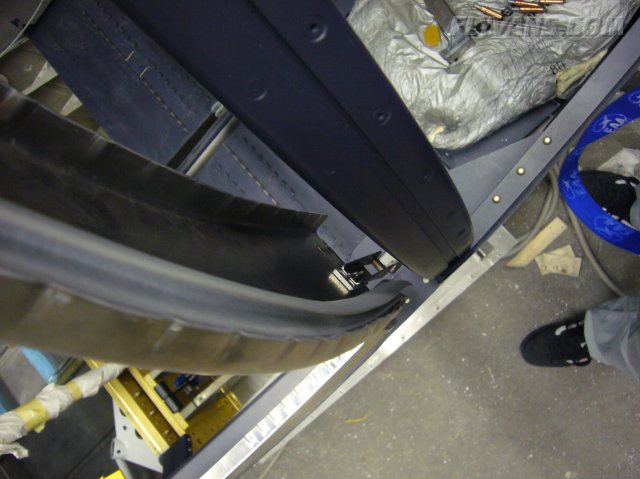
Trying the fit.
Just about perfect, slight downforce on the weatherstripping required.
Here, the weatherstripping can be nicely seen.
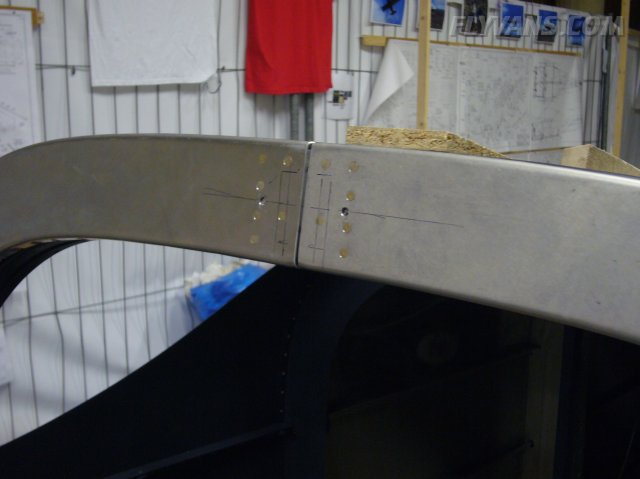
Marking the fit of the top center latch.
And installing a custom scratch protection on the inside of the rollbar where the latch handle will rest.
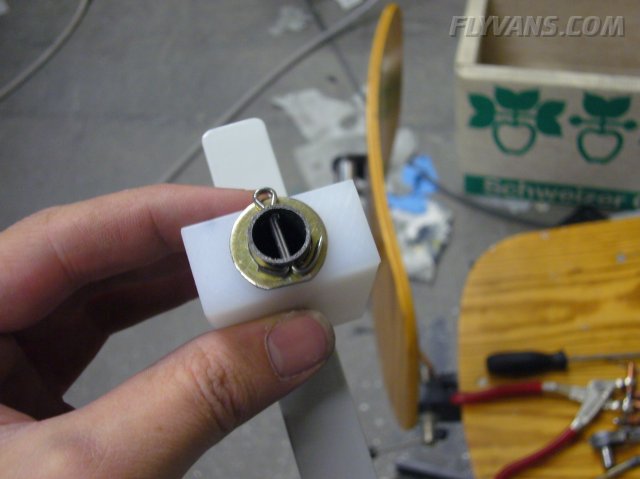
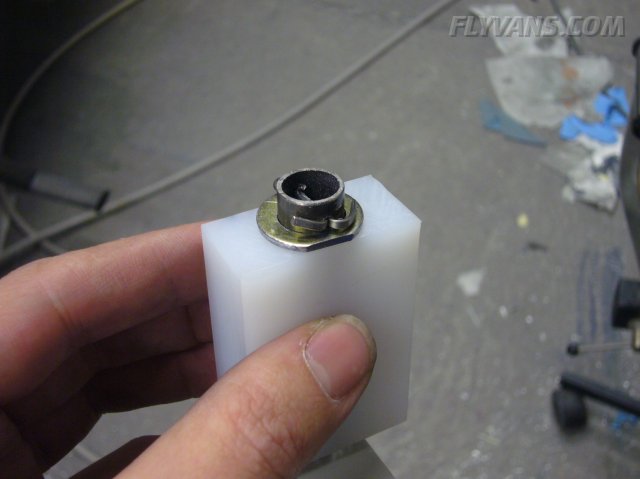
Trimmed a washer to fit on the top latch handle. Also, the direction of the cotter pin needs to be planned carefully, as the loop side will interfere with the rollbar.
For now, there is quite a bit of breakout force required for turning. Should this loosen over time, we might have to come up with a turn lock, so that the canopy cannot e.g. lock itself while nobody is inside.
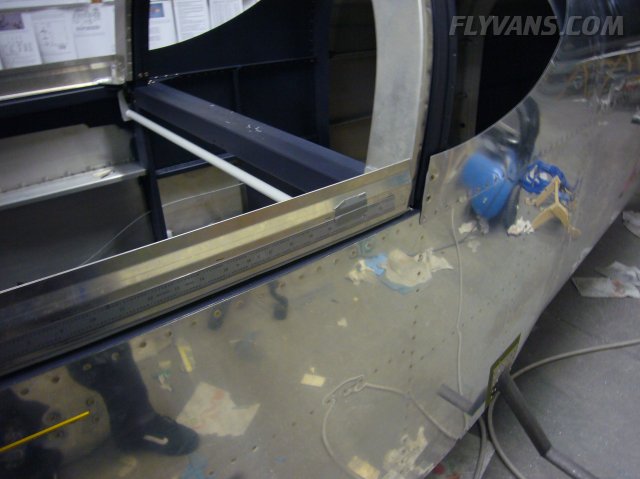
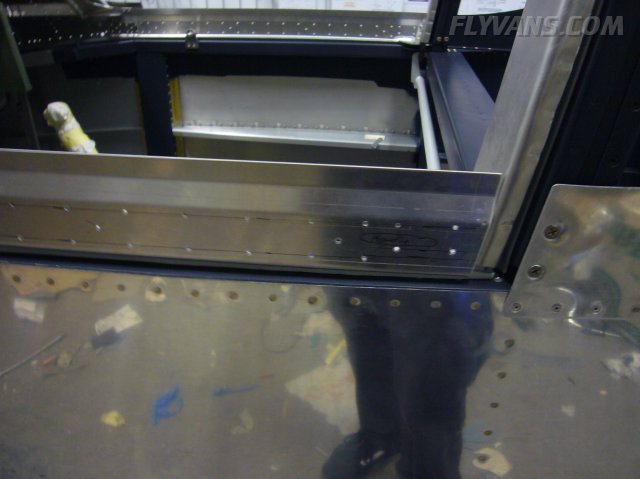
Since we mounted the siderails slightly inboard to allow for a better sikaflex joint, we had to manufacture spacers on each side.
Also a small spacer on the rear top skin is installed to provide a flush fit.
Pre-drilled the hole pattern for the spacers and the canopy skirt.
Looks simple, but this was actually quite a bit of work! Marking first, then drilling. So many holes that the cordless drill had to be recharged before every hole was done!
And now the spacers are drilled to the siderails from the inside pilot holes. The spacers are made from the same .063 straps that are also used to hold the rollbar halves together. We were allowed to cannibalize them from Domi's kit, to be replaced of course. Thank you very much. 2 Layers on each side.
Also lightening holes will be drilled into the straps.
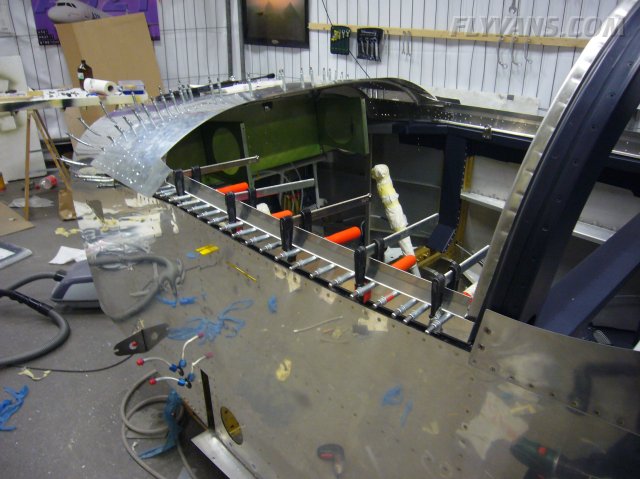
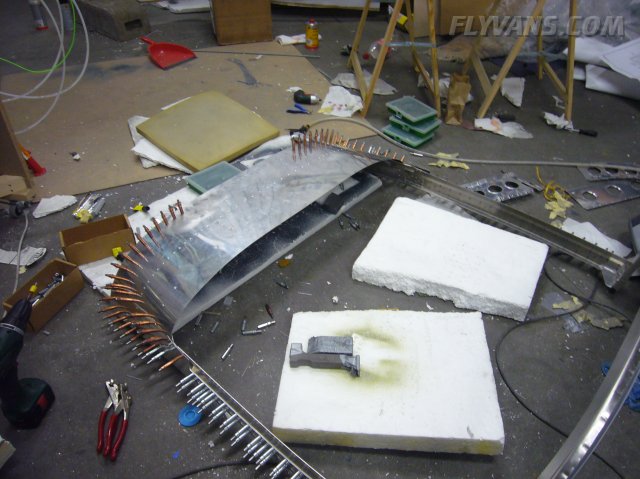
The canopy frame ready for riveting of the top skin.
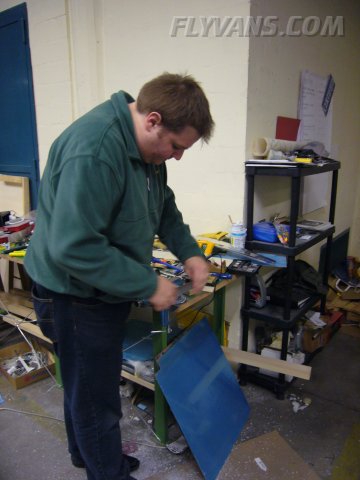
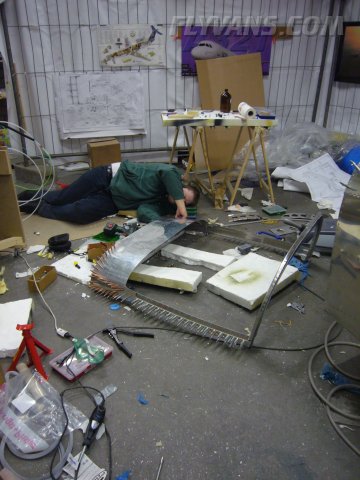
Patrick working on another "make from" part, i think it was for the battery box ;-)
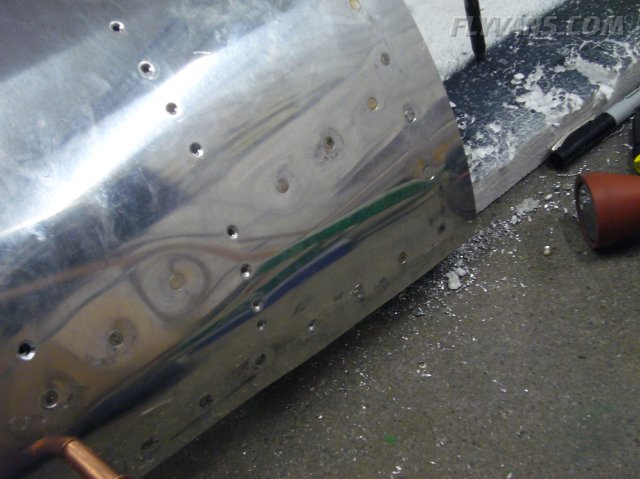
After the first few rivets we already ran into problems. The canopy weldment is made from softer aluminum than regular aircraft aluminum. Together with the enlarged holes from countersinking this is providing for pretty bad rivet guidance. Out of 10 rivets, we had to drill out approximately 8! This couldn't continue in that manner of course.
First thing we did was to drill some #40 (AN-3 rivets) to #30 (AN-4 rivets). That helped a lot, at least in the flanges of the forward rib. Rivet heads were now turning out alright.
Then the most problematic rivets proved to be the 2 rows along the bottom of each side. One hole got so enlarged from drilling out rivets, that we had to fix it by countersinking for an M3 screw, washer and nut.
|
|
|||||||||||||||||||||||||
|
||||||||||||||||||||||||||
|