|
|
|


|
| |||||||||||||||||||||||||
|
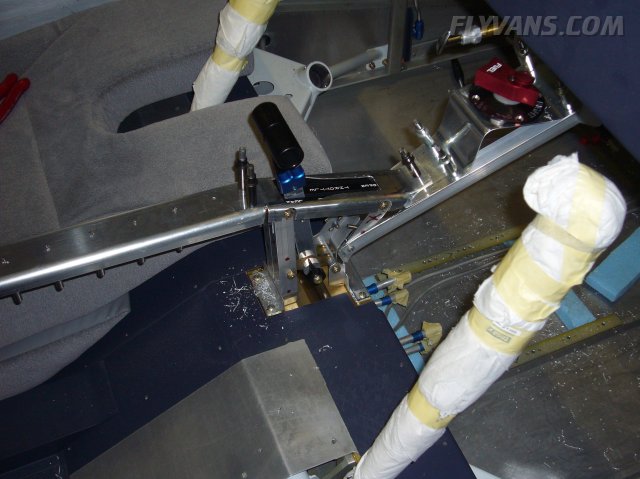
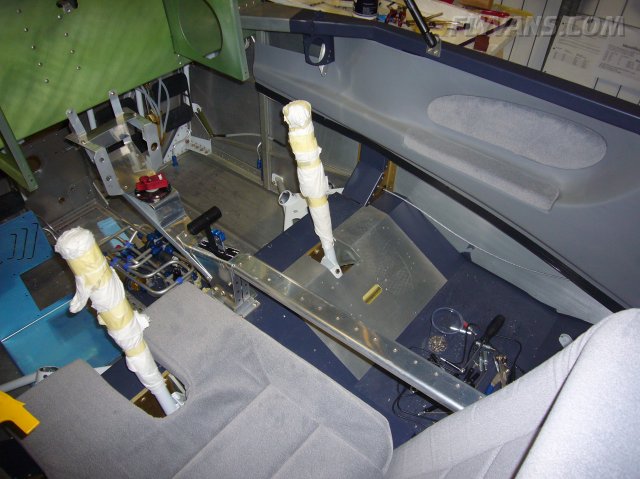
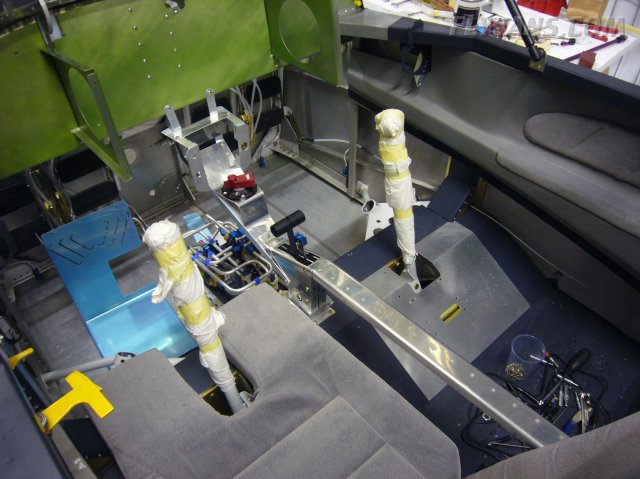
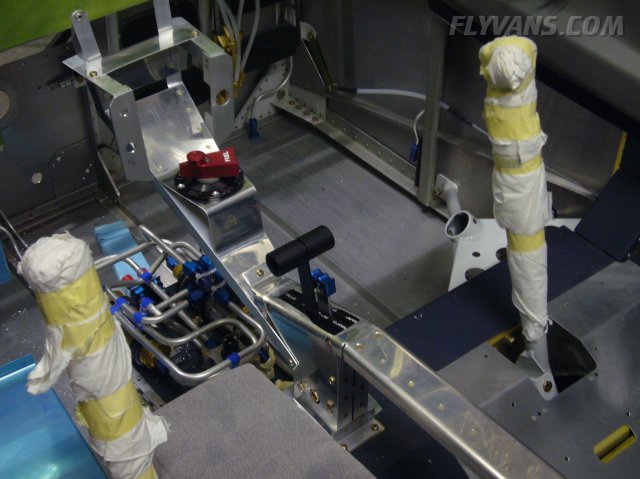
The center console still in raw state, clecoed. 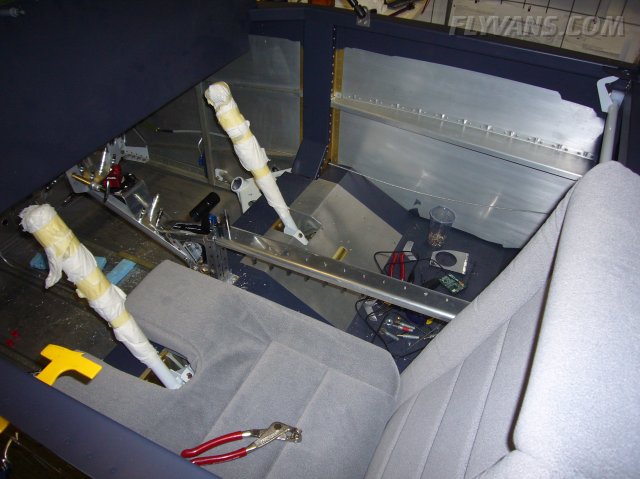
In parallel, we accomplished a lot of little things, like preparing the mount of the parking brake control cable etc...
For now, it's not planned to cushion the armrest. If it's going to be required for comfort, we have some extra interior material from classicaero.
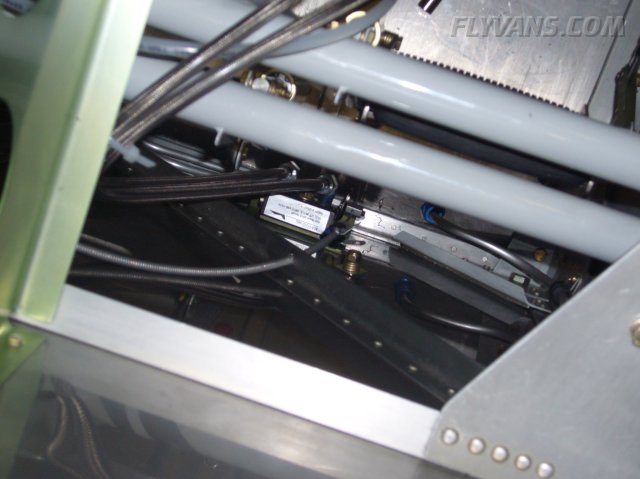
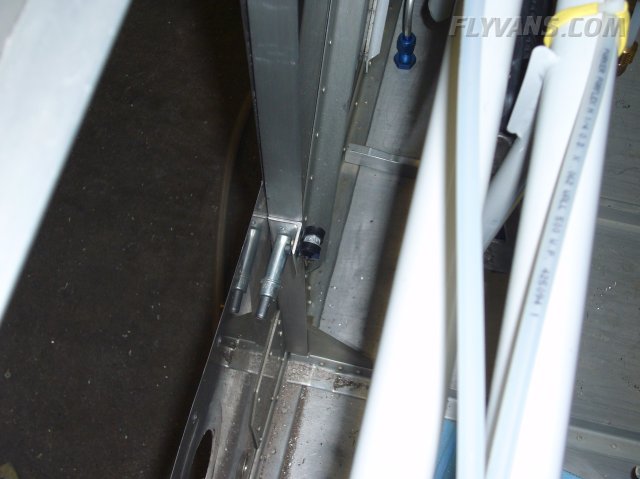
Closeup of the throttle quadrant section mounted to the wing spar bridge using already existing holes. Did some trimming to the floors so that they can be removed/installed independently from the center console.
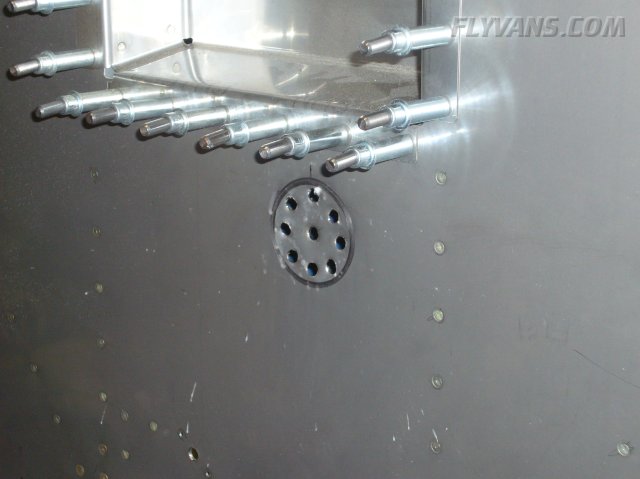
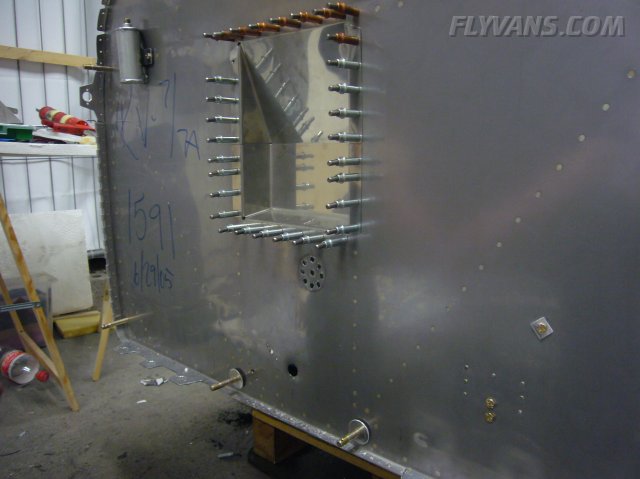
Made the hole for the cabin heat valve.
A few pilot holes with the unibit and then dremeling with a grinding stone.
Another small task done.
Also made a bracket for the cabin heat valve control cable.
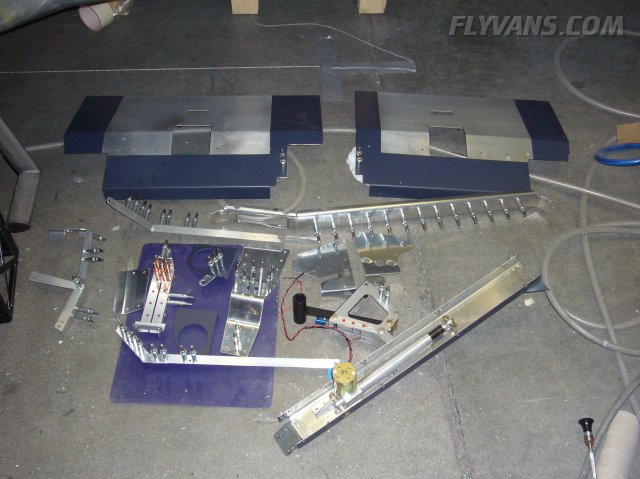
All center console pieces ready for final deburring, countersinking, riveting.
And the center console completed :-) Only remaining to be painted.
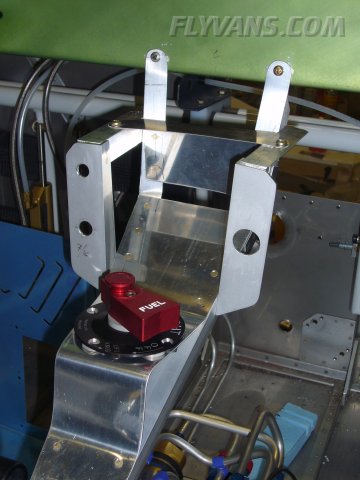
Also attached a bracket to the right cabin vent mount where the cabin heat control will be located. This keeps us from having to modify anything on the interior package nor do we have the "fixed" controls attached to the panel.
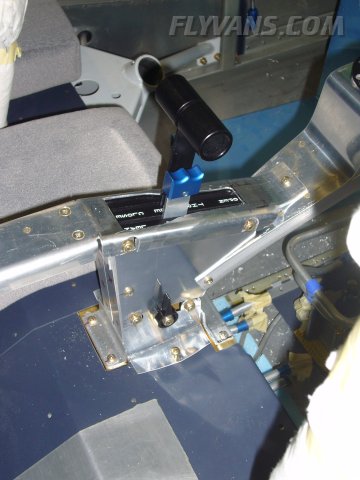
Top left hole will be the control for the oil cooler shutter, left bottom hole is the parking brake, right large hole will be the mixture vernier. In between on the angled "slope", the touchpad for the mappc will be located.
Also, the throttle quadrant is nicely faired with thin aluminum, protecting the controls from jamming.
The instrument panel will cover the top, yet mixture and parking brake will be visible to the pilot.
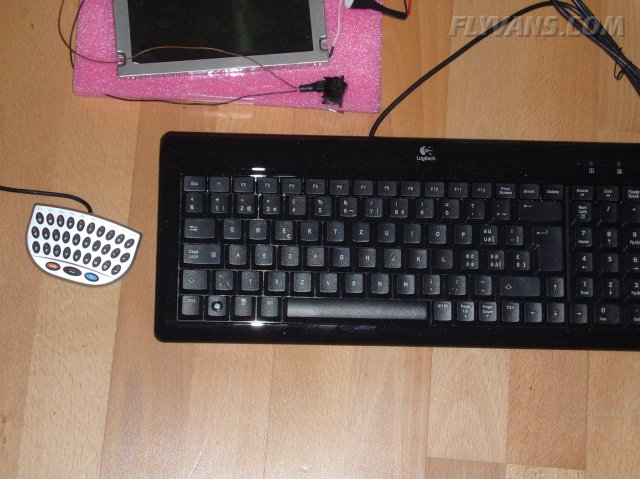
Now the only thing remaining in the interior is a cover for the fuel pump package and the modification of the forward floor cover. Received the Dreamgear minikey usb-keyboard. Awesome, already tried it out. Definitely the smallest QWERTY Keyboard working with a PC that i have ever worked on. This will let us input data comfortably.
|
|
|||||||||||||||||||||||||
|
||||||||||||||||||||||||||
|