|
|
|


|
| |||||||||||||||||||||||||
|
After a lot of travelling this summer, had to get back into the building routine...
That was a nice ending to the awesome trip to the U.S., meeting great people, seeing a lot of planes and just generally enjoying it.
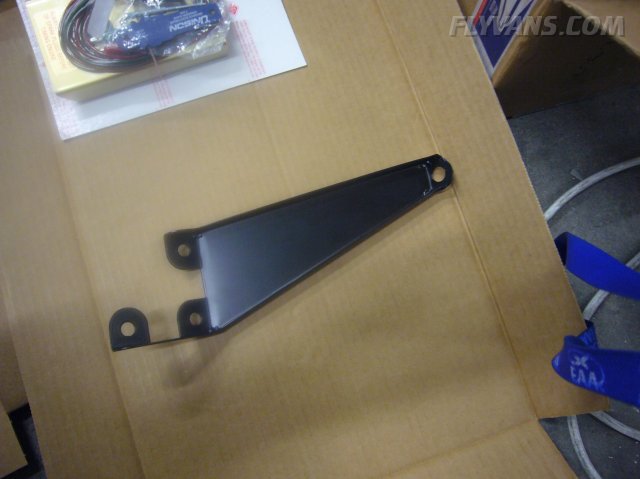
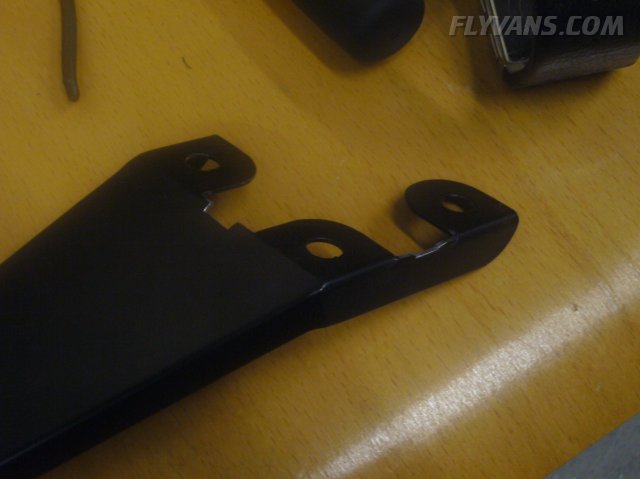
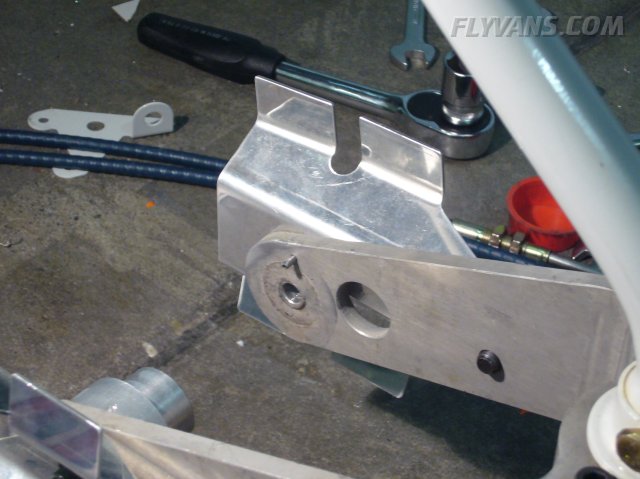
One of the many parts i took home with me is this mixture control bracket, made by Robbie Attaway (www.attawayair.com) for the ECI EXP Fuel Injection. This was a major stumbling block and held up progress on the Firewall Forward stuff for quite some time.
It mounts to the base studs of the Fuel Pump and extends into the line of the lever.
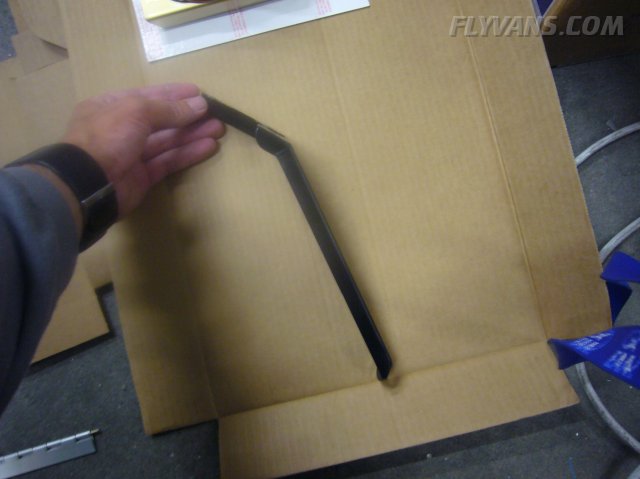
It almost fit perfectly, except for these notches i had to grind. The fuel pump base has these small bumps (vent fittings) that protrude. Pictures of the full installation will follow, as soon as the custom control cable is installed.
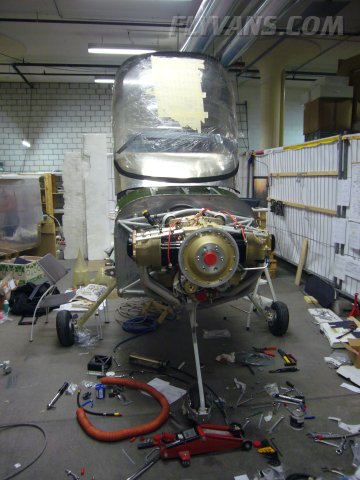
Put the canopy back on.
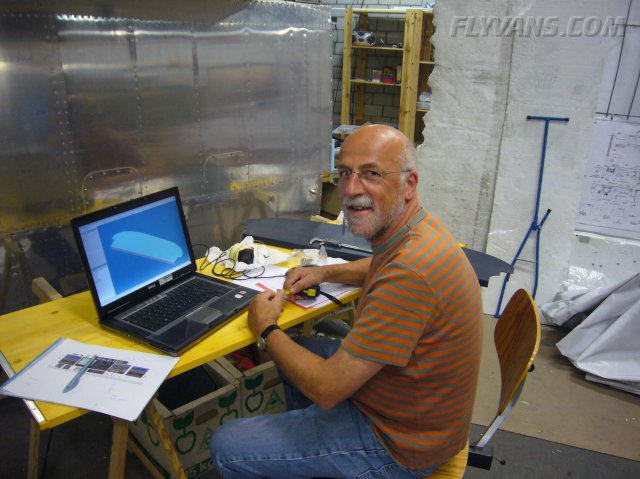
My dad came over to help for four full days :-) He's taking on the mechanical construction of the panel.
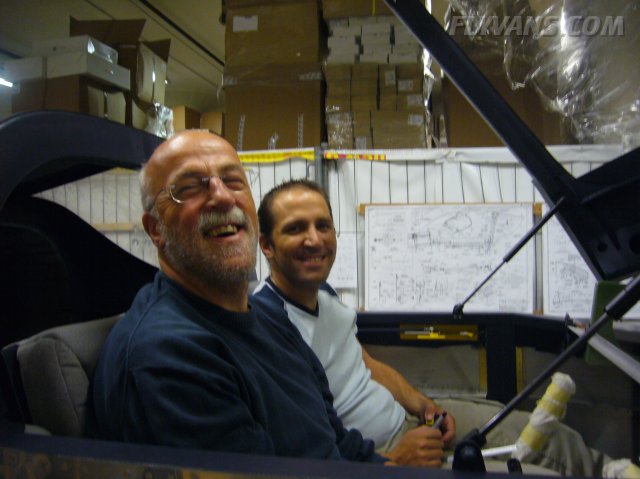
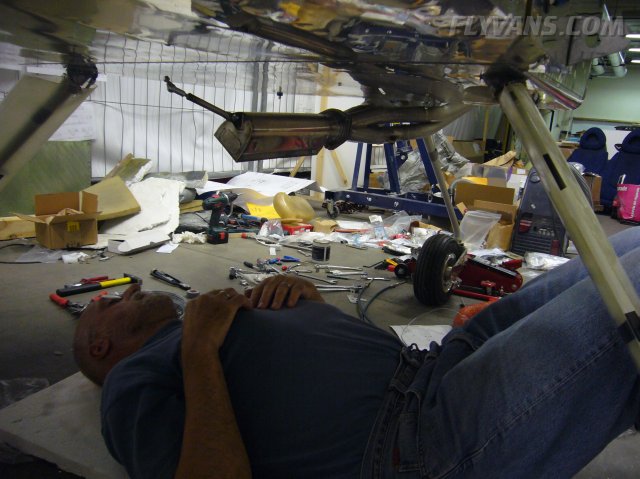
Of course he had to check out our cozy interior. Once you sit for a while, you barely want to get out...
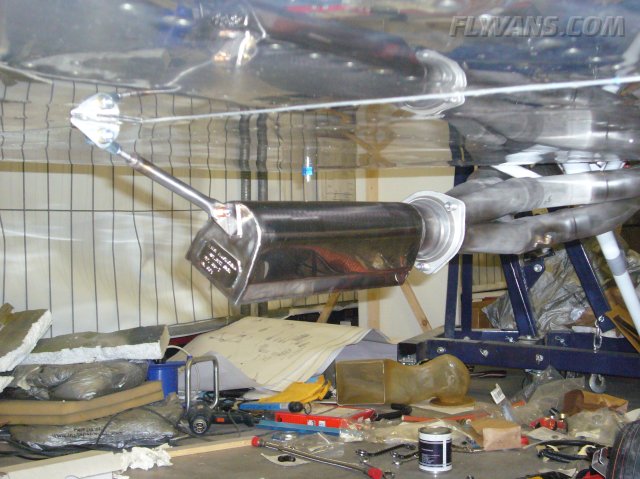
Dad tackled the support for the Liese muffler.
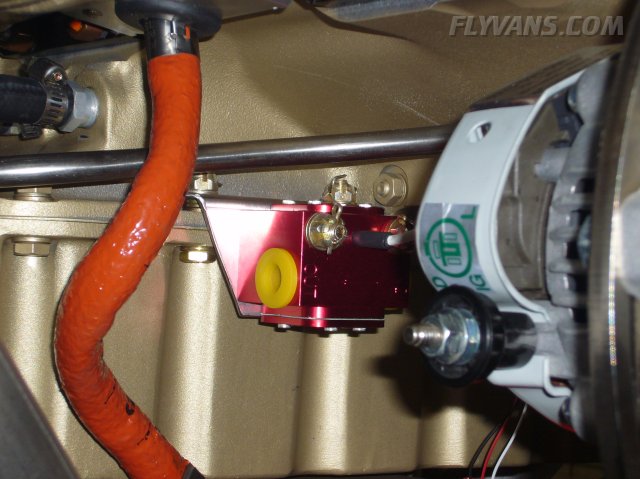
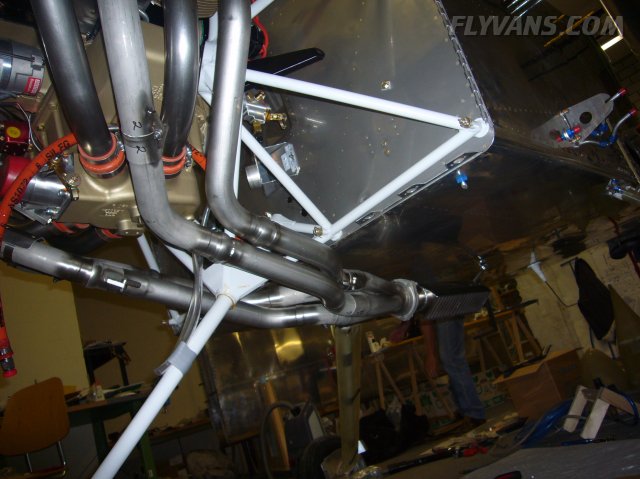
While I made a bracket to mount the fuel flow meter to the engine case.
Turned out great. Measuring and ordering custom firesleeved hoses is next.
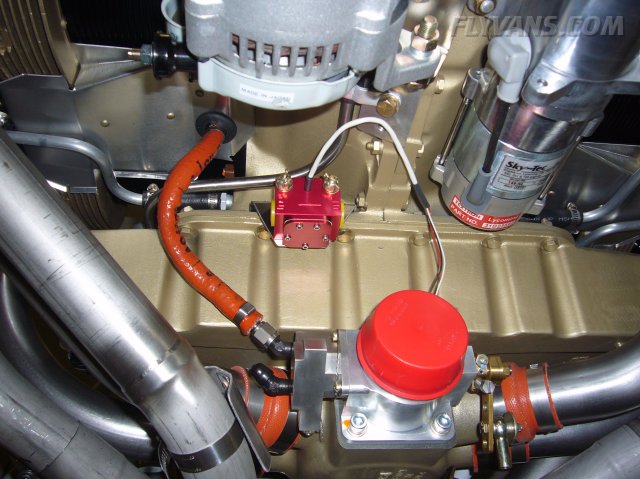
Another view.
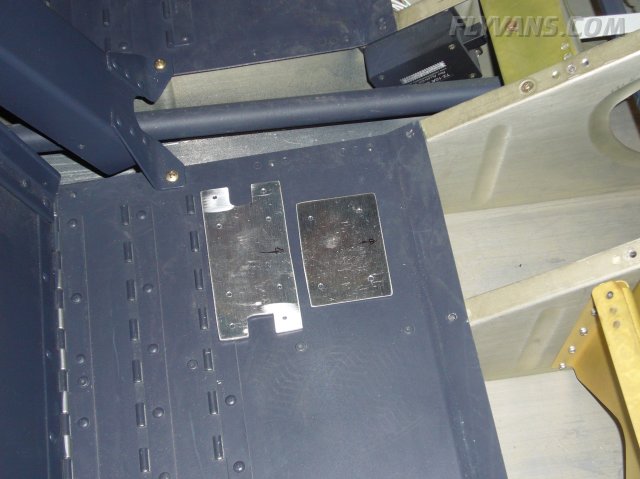
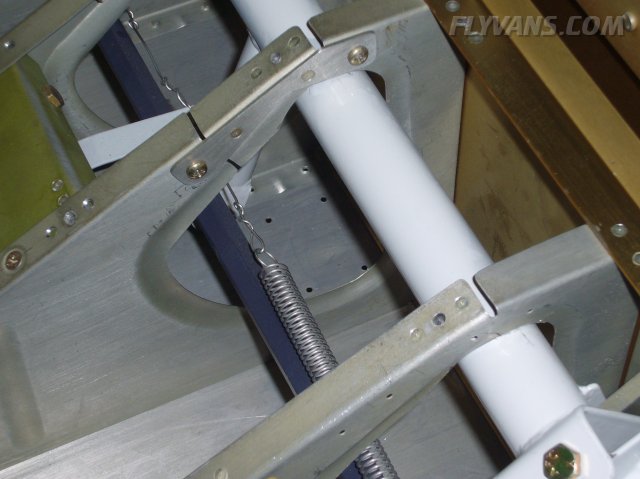
For the muffler mount, manufactured a doubler and a spacer that go on the inside of the bottom skin.
Location is pretty perfect (by luck). Never specified where the whole system should end. Just turned out that way. With the spring mount, the muffler attaches to the bottom skin, right behind the main wing spar.
To me it seems still like there's a lot of unsupported weight around the nose gear leg / bottom of the firewall. However, according to the muffler and the exhaust system designers this should do, at least until experience shows otherwise. It's a unique setup, so there's no field experience.
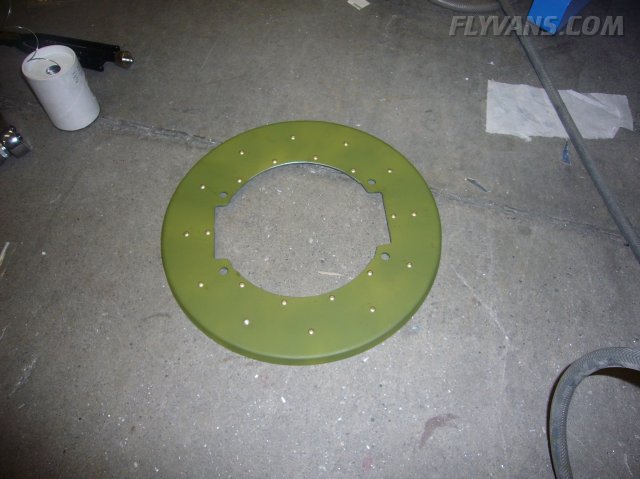
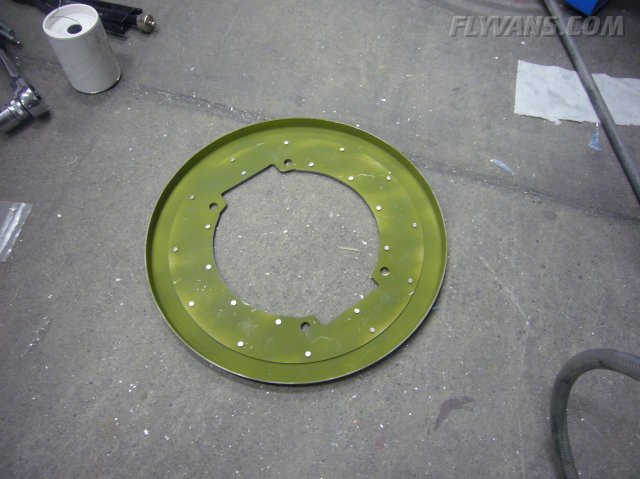
Dad also cut out the spinner plate for the constant speed hub.
and the doubler attached to the back side.
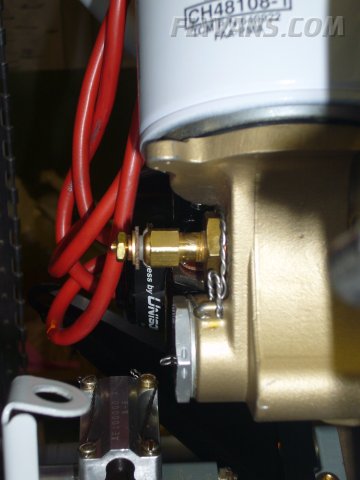
Got all the engine monitor sensors at OSH, here's the oil temp sensor installed into the oil filter adapter and safety wired.
Next project: mounting the manifold pressure, oil pressure and fuel pressure sensors.
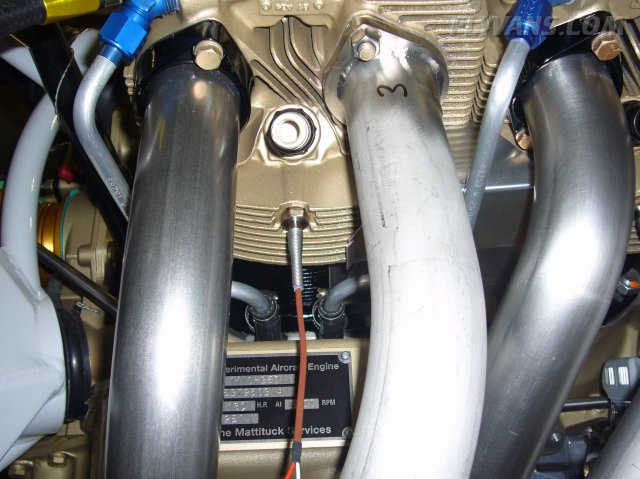
Also installed the CHT (Cylinder Head Temperature) sensors.
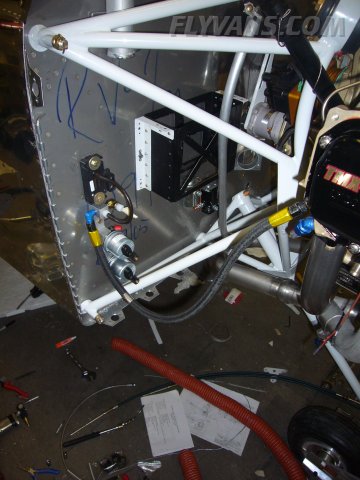
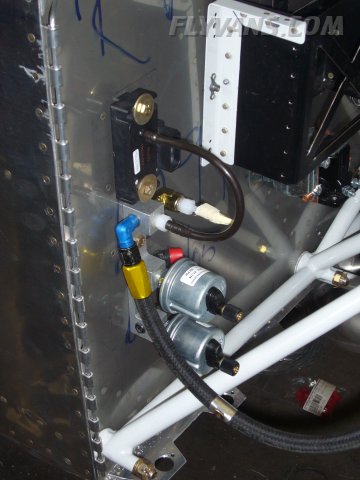
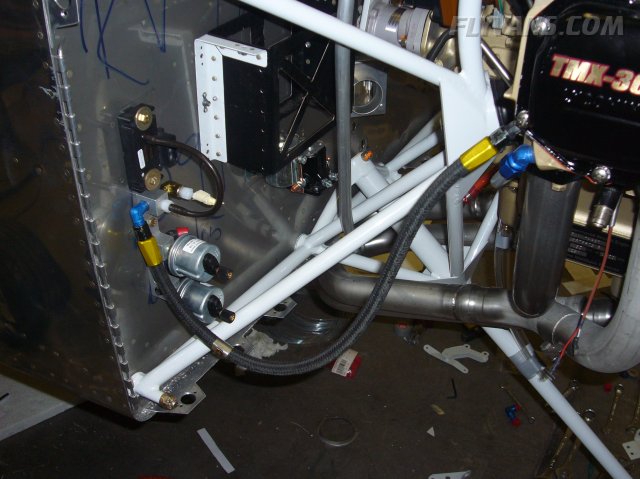
Made a doubler on the inside of the firewall. Top black part is the Advanced Flight Systems manifold pressure sensor. Short connection to the Van's manifold piece. There it tees to the pmag eventually and the hose attaches to the manifold pressure fitting on the cylinder.
The default Van's location didn't work well, as hoses would have had to be way too long for our engine.
Oil presure and fuel pressure ports both have restrictor fittings on the engine, so a leak on these sensors / hoses shouldn't be as catastrophic...
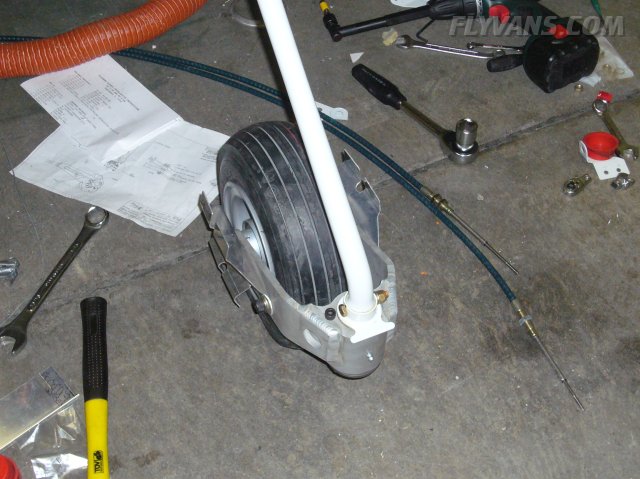
Installed the new Grove nosewheel rim and bearings. After a lot of great reports on vansairforce.net, decided to get the better quality Grove rim and axle, tire and tube remain the same. The axle has an inner spacer, so there is much less pressure on the bearings than with the default cheaper Matco wheel. Should take care of a lot of annoying (and potentially dangerous) nosewheel fore/aft shimmy.
The "mushrooms" are fixed with a pin to keep them from turning.
Back on the wheel.
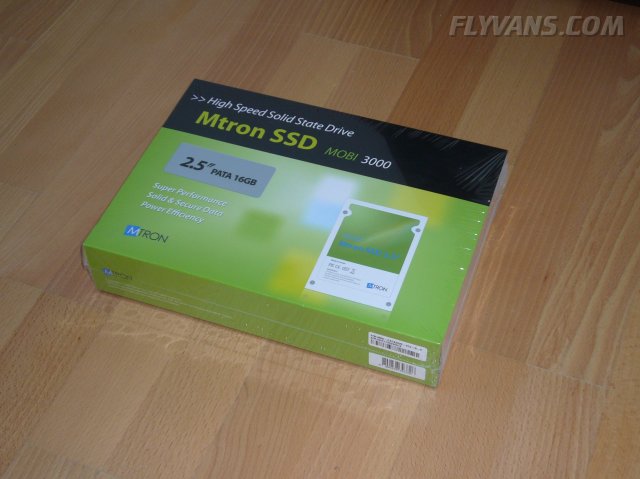
Got a 16GB SSD for the mappc. Should be much faster and most of all vibration safe in the mappc.
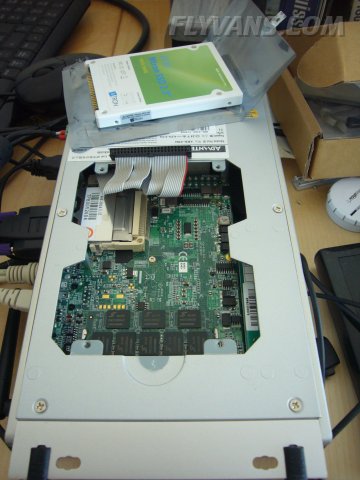
Fitting it to the Advantech case... A simple 1:1 2.5" HD replacement.
|
|
|||||||||||||||||||||||||
|
||||||||||||||||||||||||||
|