|
|
|


|
| |||||||||||||||||||||||||
|
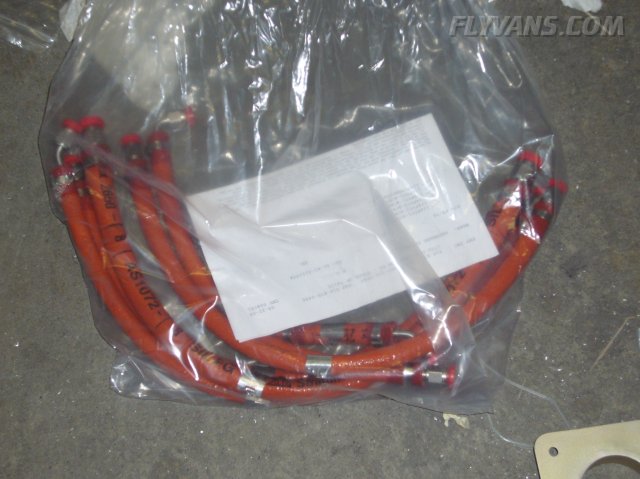
Received over 400$ worth of quality custom fuel hoses, made by http://www.aircrafthose.com
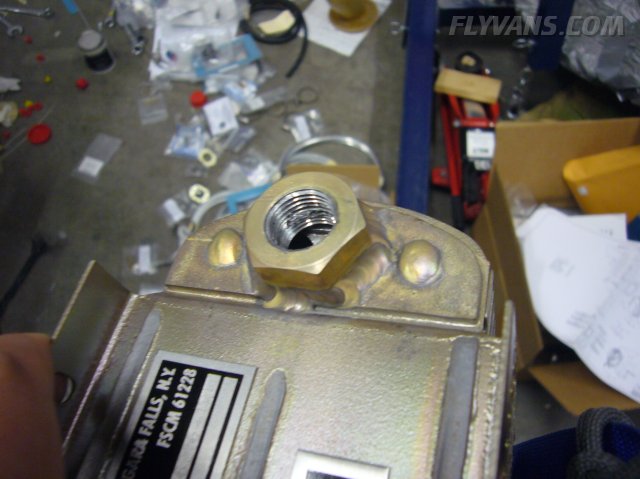
Expensive setback. While installing an AN elbow into the oil cooler threads, one thread got damaged beyond repair. Must have been some pre-existing problem with either the elbow or the oil cooler thread as it was definitely not a case of overtorquing. The other nipple went in and out without any problem at the same force. Anyway, new oil cooler for $222 plus shipping and handling and taxes... So more like 300$... ouch.
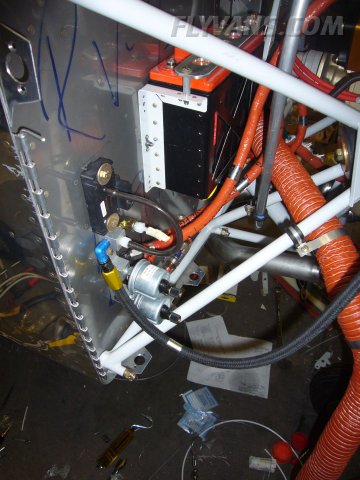
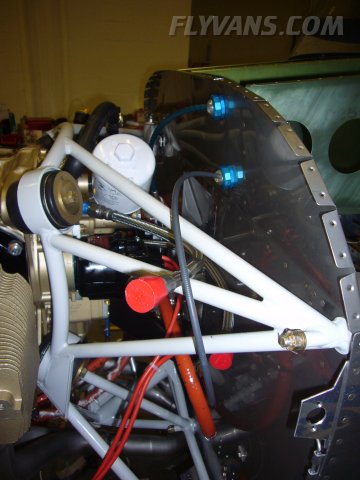
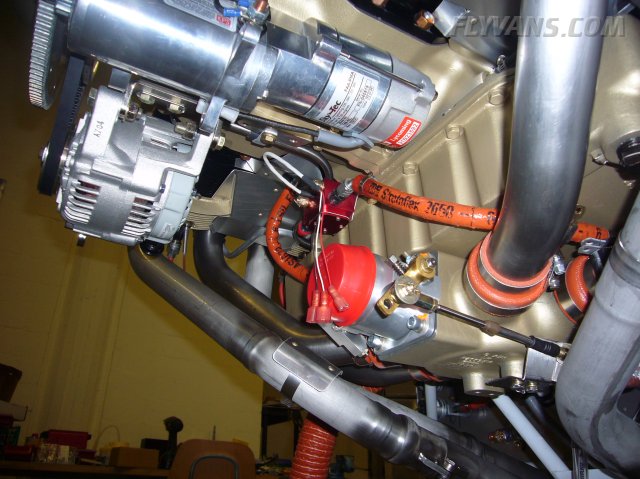
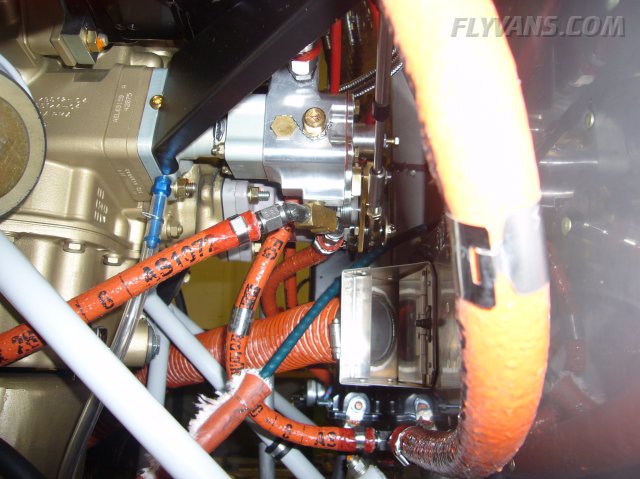
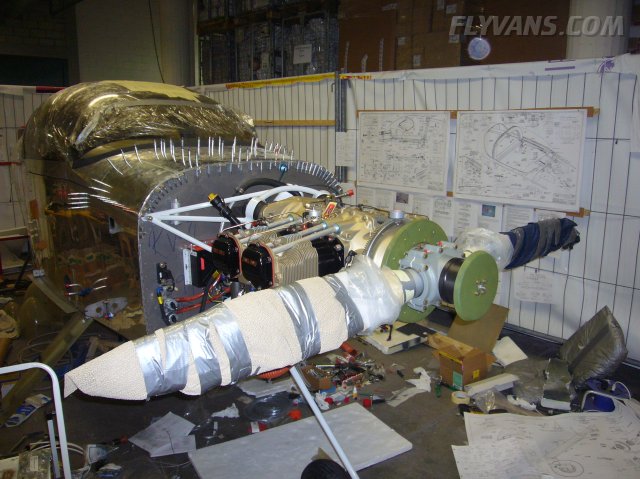
Firewall forward is getting ever more complete, oil pressure and fuel pressure sensor hoses installed. Of all the building sections, noticed that firewall forward shows very flat and confusing on pictures because everything is so three dimensional.
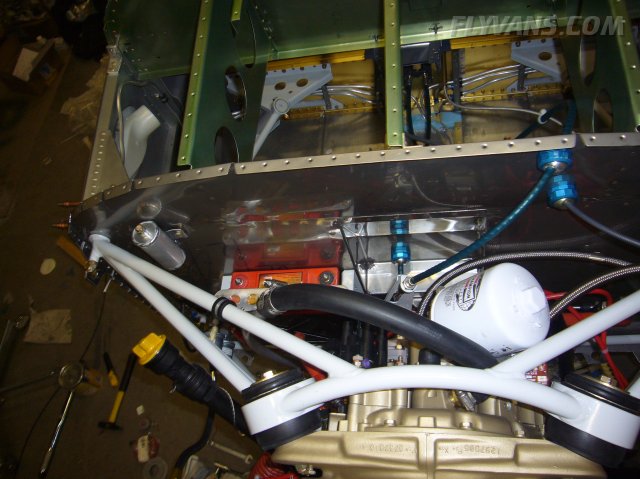
Mini ANL 60A fuse holder, will safety the alternator from the main bus.
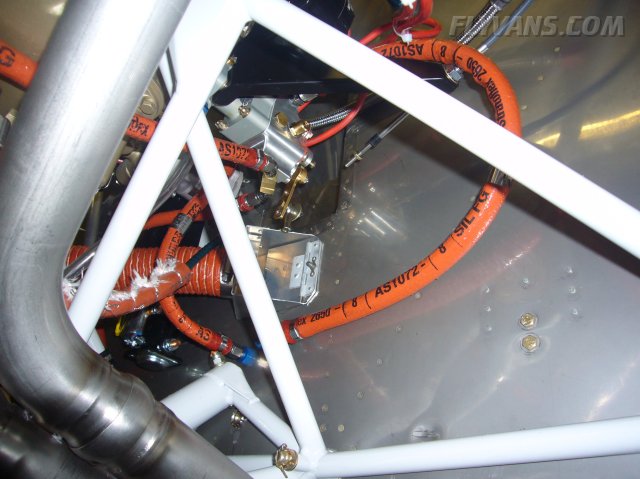
All the custom control cables mounted.
The engine crankcase breather line using the original Van's firewall forward parts.
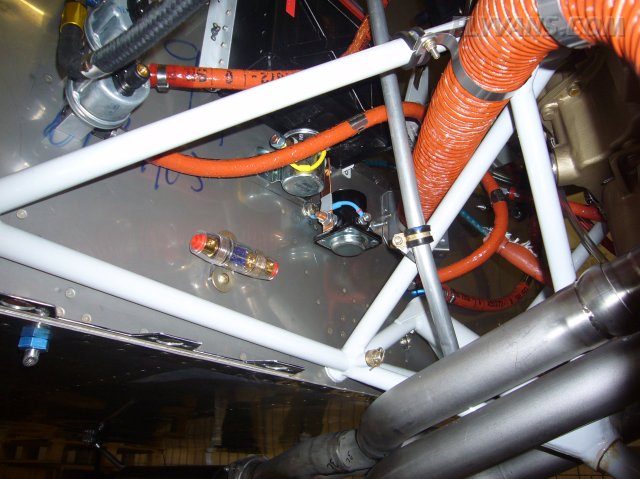
Fuel supply hose.
Fuel supply from and fuel return to the firewall.
Fuel line to the fuel flow meter.
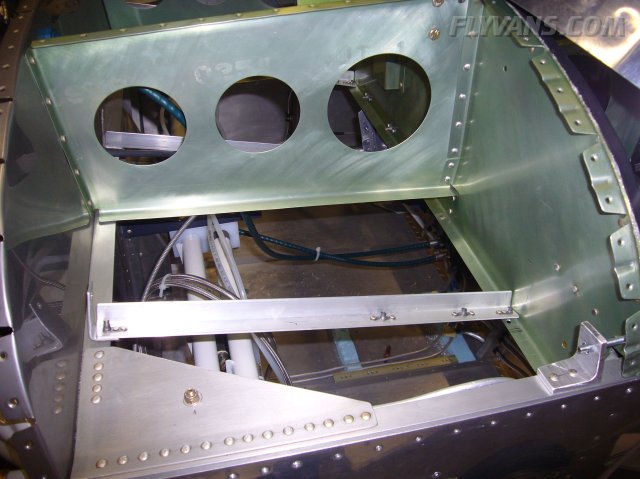
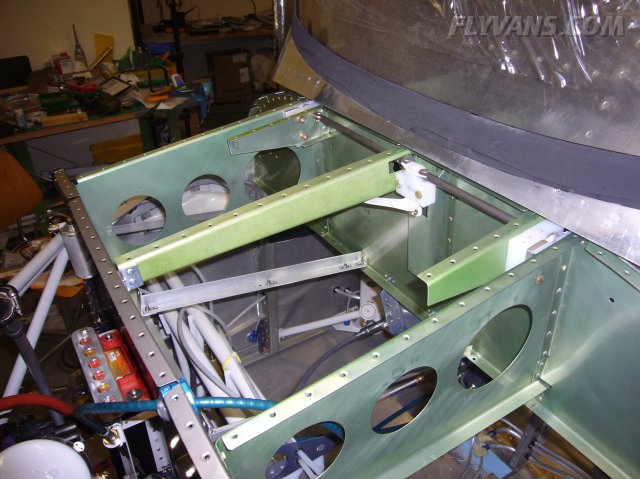
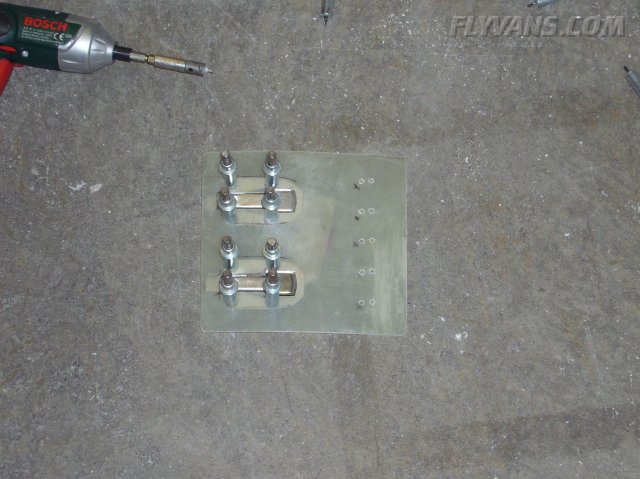
Manufactured 4 of these brackets. 2 will hold the vertical power control unit, 2 will hold the embedded pc case.
Mounts to the subpanel lower flange and the firewall stiffener angle forward.
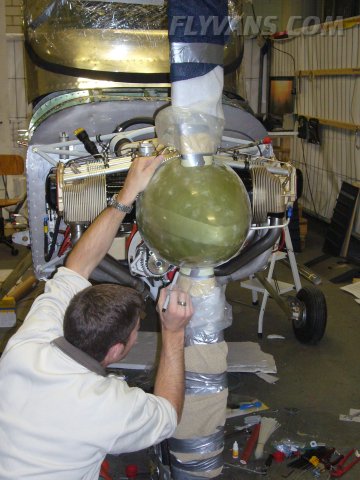
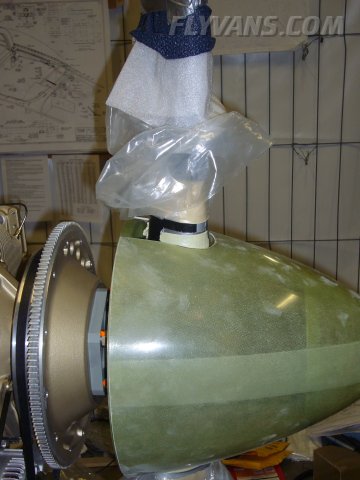
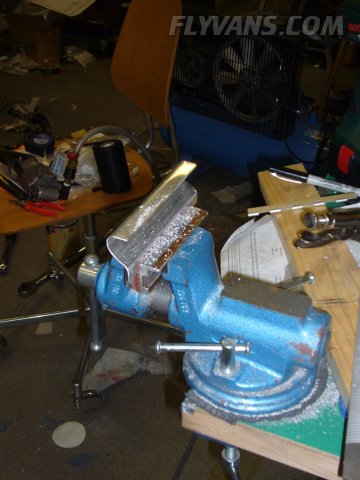
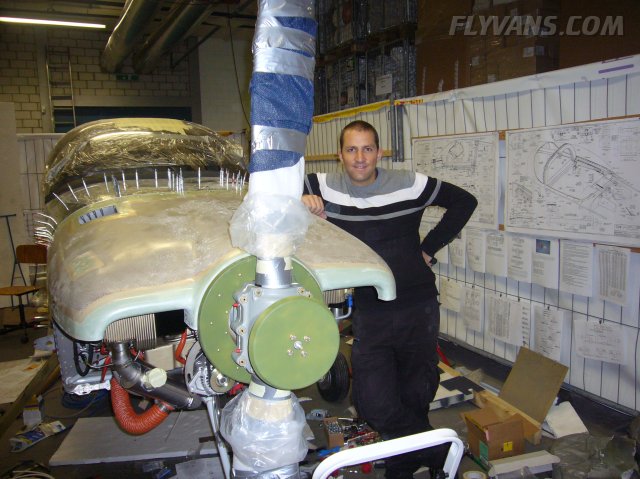
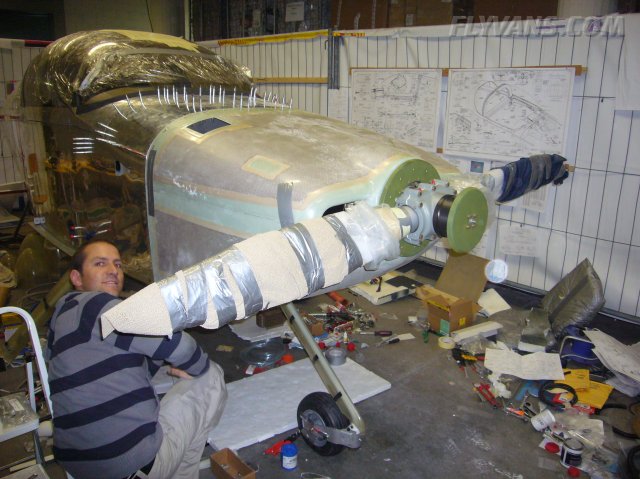
Trimming the spinner with the prop blade cutouts.
Remains to be drilled and installed to the plates.
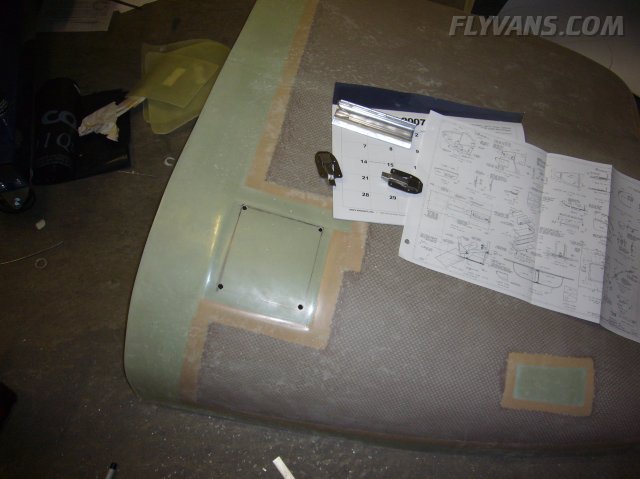
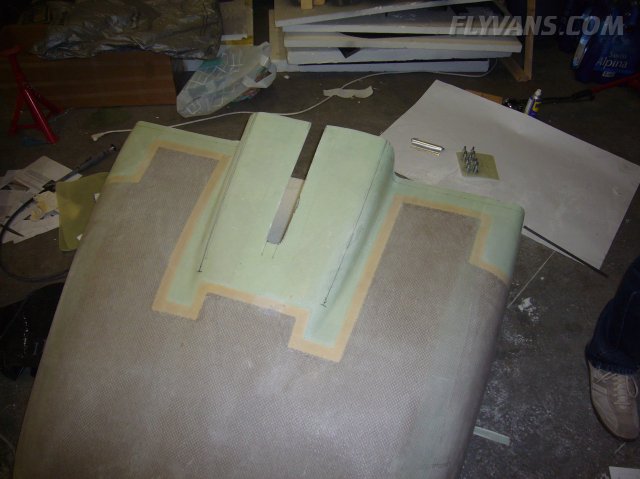
Self-made hidden oil door hinge.
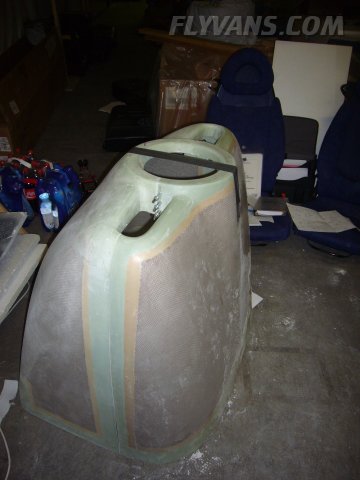
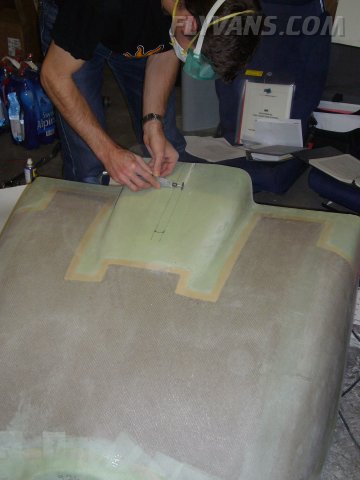
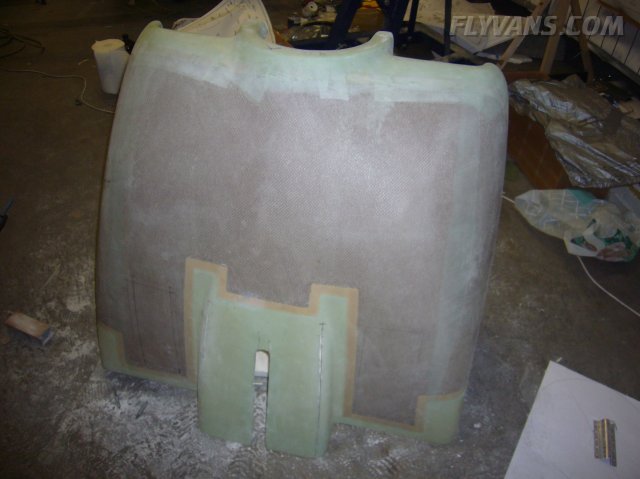
Cutting the oil door out of the top cowl.
Trimming, filing and sanding the front parts for a good rough initial fit.
The oil door with 2 nice hartwell latches. Misdrilled the hinge in the first attempt. Since it's fiberglass, it will be easy to fill one row of holes.
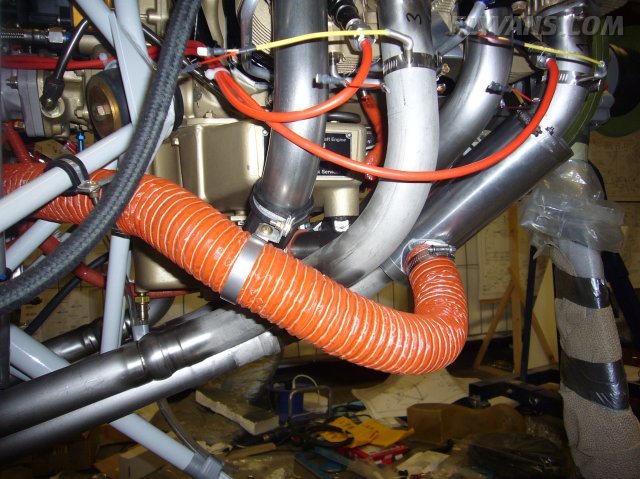
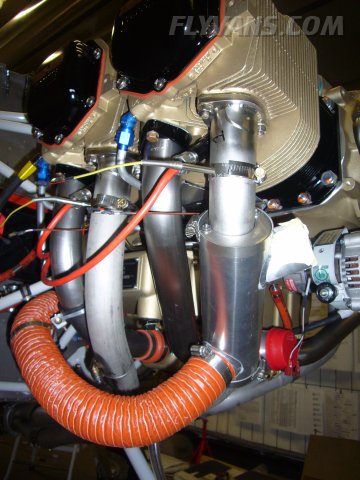
Received the IO-360-M1B version of the cabin heat muff from http://www.robbinswings.com.
Another view. Also installed the Advanced EGT Sensors on each exhaust.
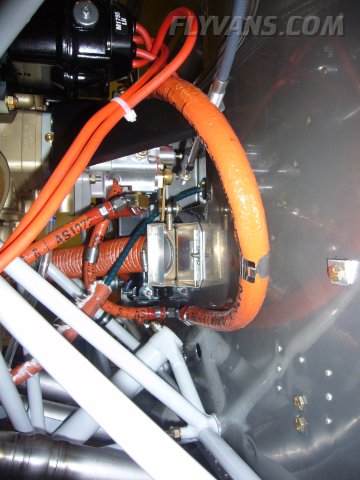
The short hose from the fuel flow sensor to the throttle body.
Fritz Jost was kind enough to professionally crimp the large gauge cables. Starter, main bus etc...
The custom spruce vernier mixture cable was a bit short for the Attaway ECI mixture bracket, so had to order a 1+" extension .
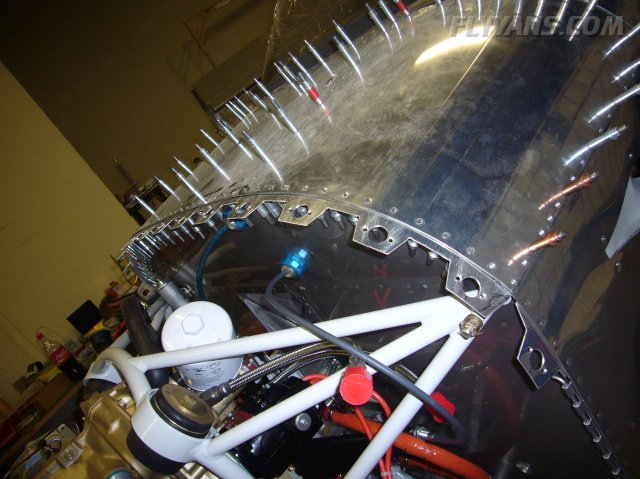
In between all these lines, will have to figure a way of supporting the exhaust towards the back. Stress relief exhaust hangers.
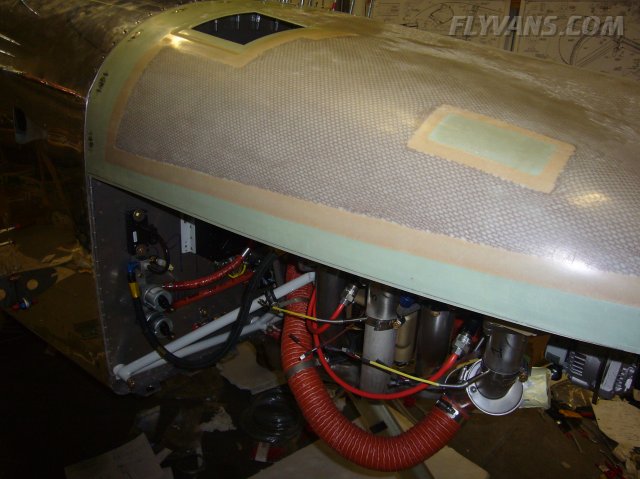
Once more, the forward top skin can only be clecoed in place as final riveting can only be done after wiring.
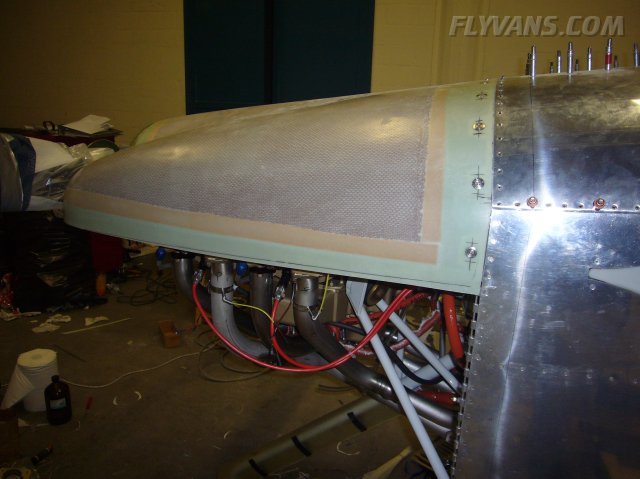
Trimming, sanding and filing the cowling to the fuselage. An iterative process over many steps. You don't want to end up with too short of a cowl. That would be a very expensive piece to replace and ship. Mike is again a great helper and we get there quite fast.
The cowl is mounted using beatiful and practical 1/4 turn fasteners from http://www.milspecproducts.com
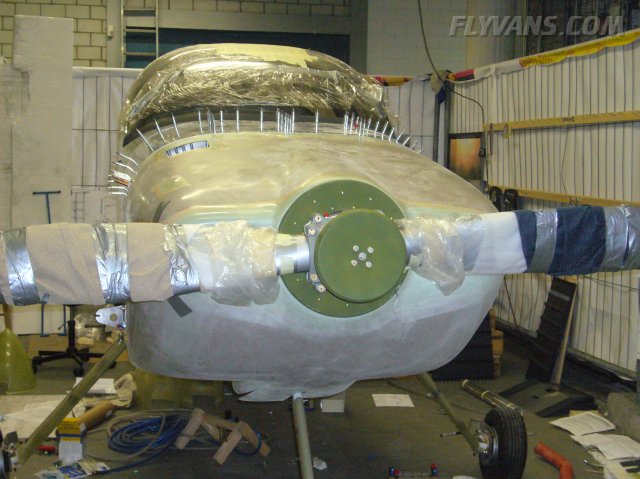
Top cowl is on :-)
Milspec receptacles. Depth of the fasteners can be adjusted by screwing in and out and then pulling the pins.
Cutting the notch for the nosegear leg and fairing. Very hard to locate as there is no clear reference. Figured as centered as possible and undersize so we could correct. Again several steps but the end result is pleasing.
Now the prop is turned from vertical to horizontal. 2 blades are a big advantage over 3 blades in this respect.
Notch complete. Also, we cut along the marked lines and split the exhaust cover corners apart. The whole bottom needs to bend down a bit more and we will build it up again with fiberglass in the new position.
Trimming the sides.
It's impossible to get a 100% tight fit, there might be a tiny visible gap once in a while. But still much more accurate compared to a Cessna or a Piper.
Initial marking of where the louvers will be embedded.
The bottom cowling taped onto the top cowl for now. Will have to drill the hinge / fasteners next time.
On the bottom near the outlet, the split of the edge can nicely be seen. Currently it just touches the exhaust. Giving it some extra space and laying up more fiberglass should be easy though.
|
|
|||||||||||||||||||||||||
|
||||||||||||||||||||||||||
|