|
|
|


|
| |||||||||||||||||||||||||
|
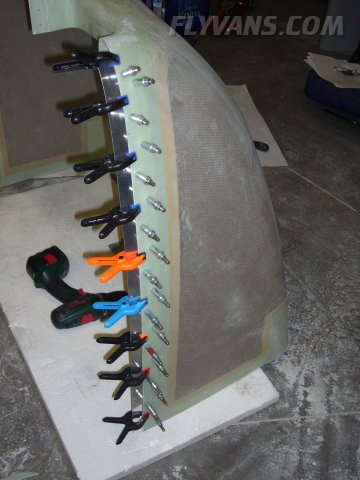
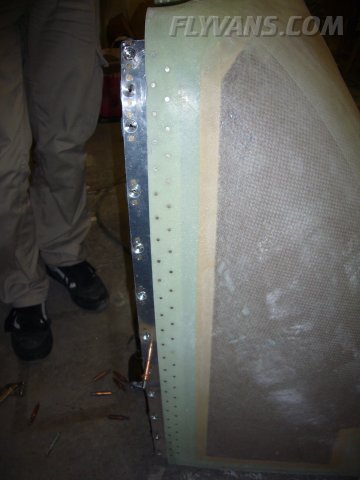
Working on the camloc install strip. Had to make as narrow overlap as possible, otherwise the cowling could be shifted out of alignment.
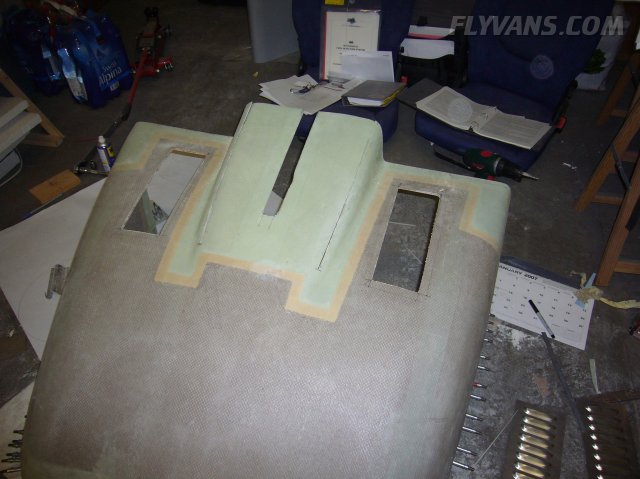
The bottom cowl modified for 2 louvers to help cooling, as our exhaust system blocks much of the default outlet area. We'd rather run too cool, we could always close off parts later. Besides, it's a really simple and cheap mod.
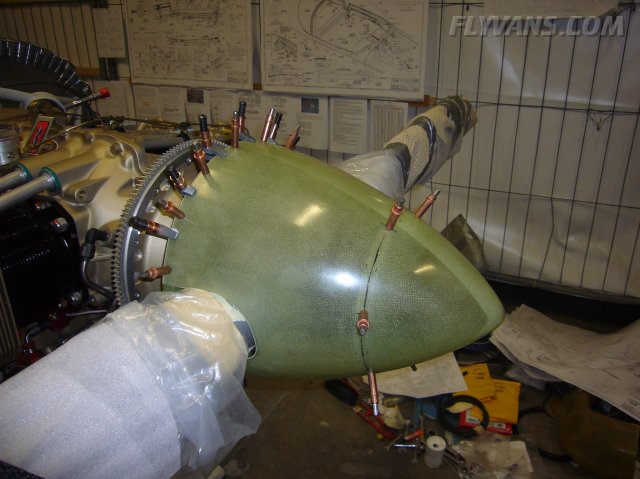
Spinner, clamped and drilled to the mounting plates.
Make sure to protect the paint of the prop, we made a few tiny scratches during initial fitting of the prop blade cutouts.
Installing the 3 forward nutplates on each side.
I'll be glad when all the fiberglass stuff will be over, aluminum is just so much cooler to work with.
Had another visitor to the shop, Andy goofing around with the spinner.
Camlocs installed at the outermost position.
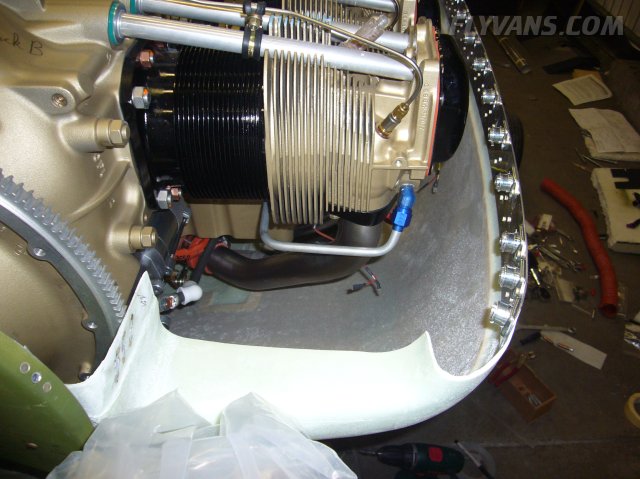
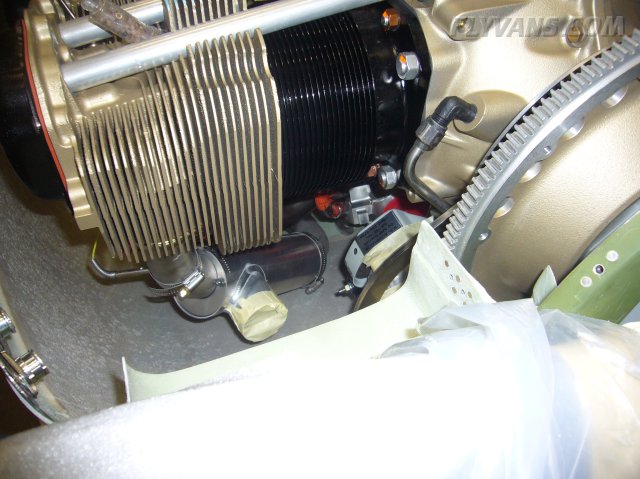
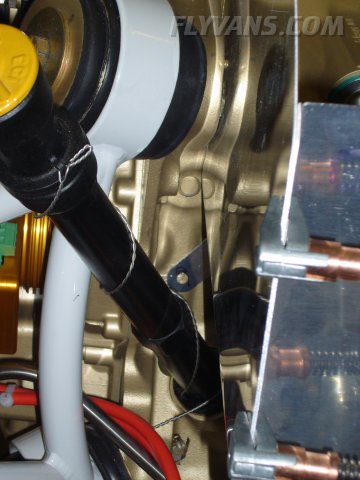
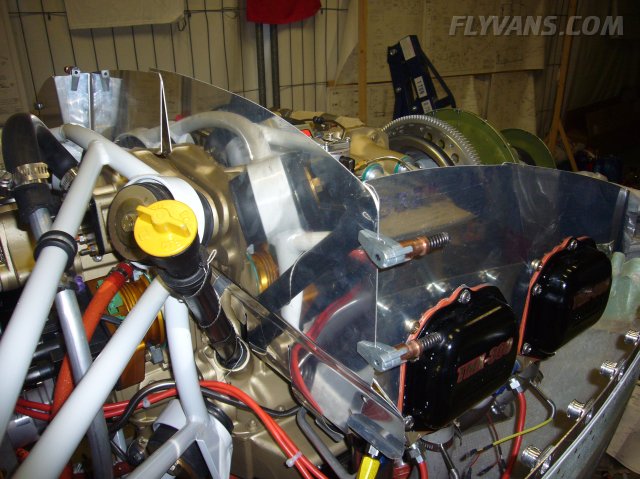
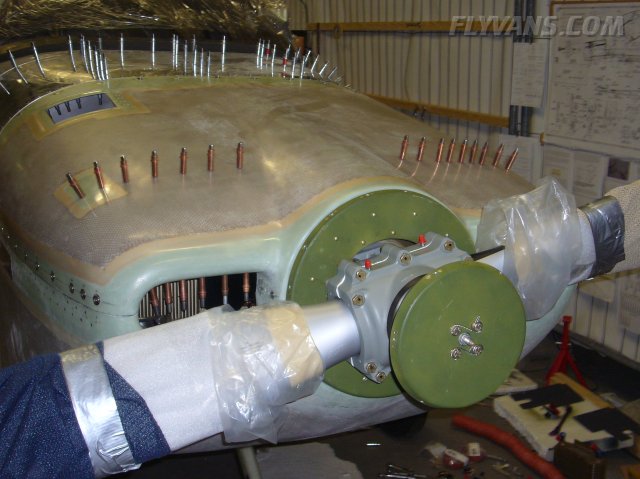
The alternator pulley is quite close to the cowling, although it looks like as it's just going to work. However if the alternator belt gets elongated and needs further tightening, it could touch. Changing for a shorter belt right now would suck as well... Not an unknown problem to many RV builders... Will evaluate options.
This empty space is going to be filled with the filtered airbox (snorkel) .
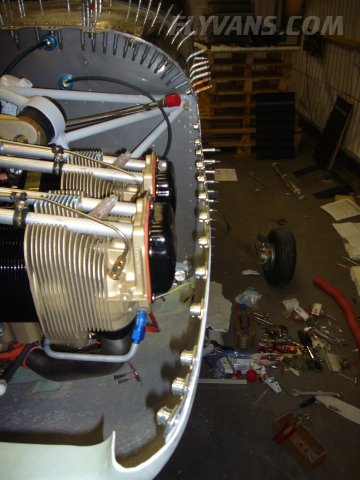
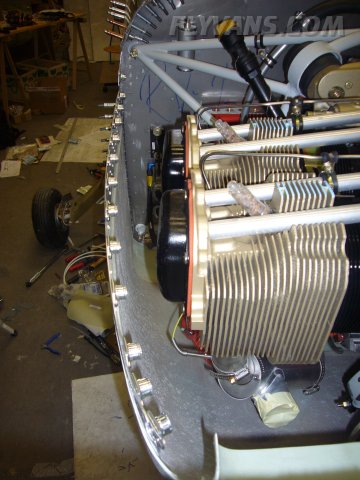
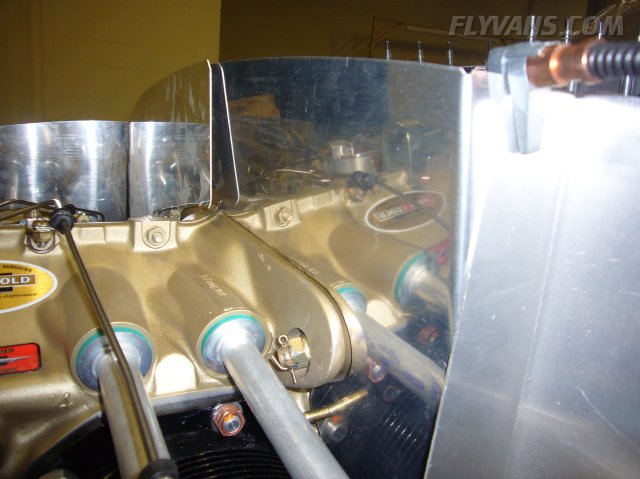
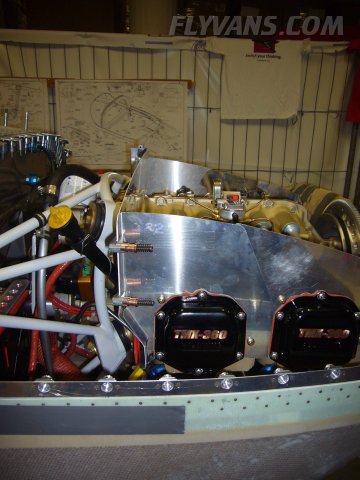
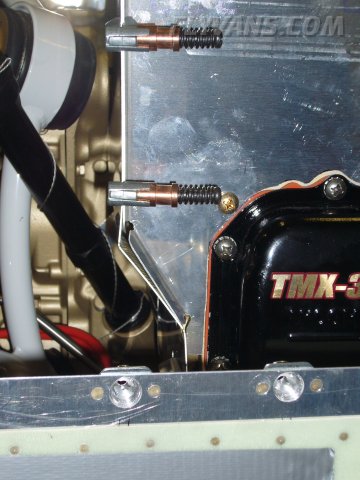
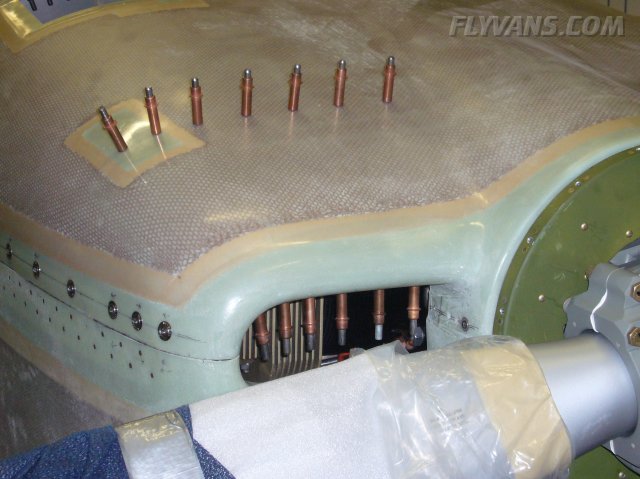
Plenty of distance between the camlocs and the rocker covers of the engine.
Same thing on the other side.
The cabin heat shroud fits quite well. Only critical part is the routing of the scat tube around the exhaust and so that it doesn't touch the cowling.
Spinner nutplates installed and bolts torqued and safety wired.
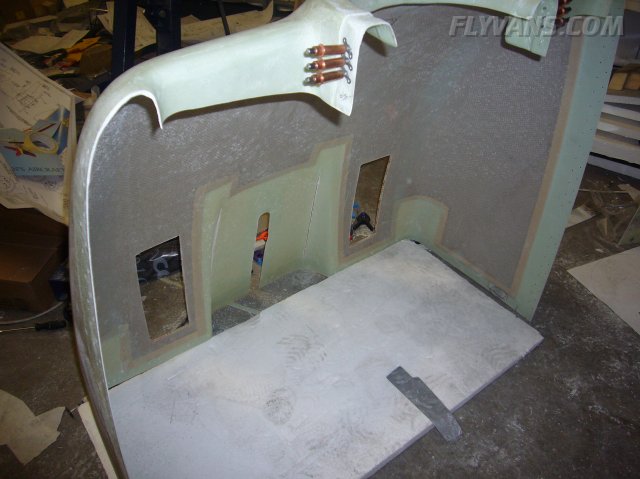
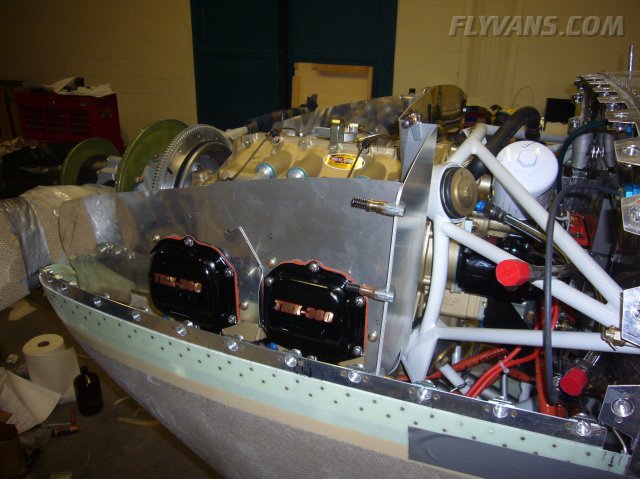
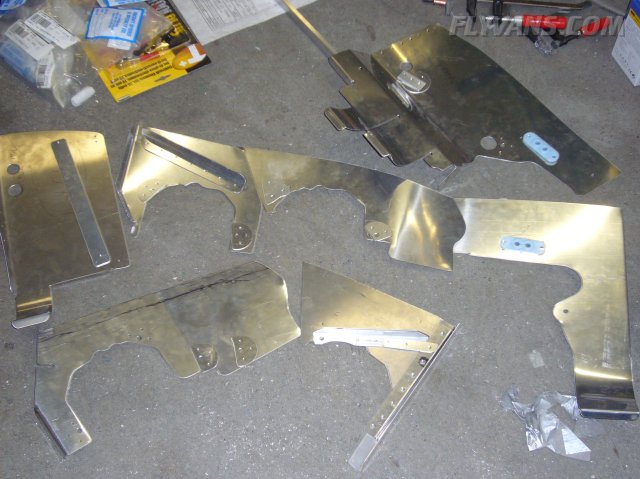
Started work on the baffling, according to many reports one of the worst tasks on the build. So far it's just a lot of tedious sheet metal work, however not necessarily complicated. The plans/baffling kit is rather old, so for us used to CAD drawn plans and the nice 7A kit, the instructions are much worse, so i guess this could be a main factor.
I see the trickiest part coming up will be the trimming of the height inside the cowling.
Fitting was mostly achieved by enlarging a few holes and filing away on the slightly oversize parts.
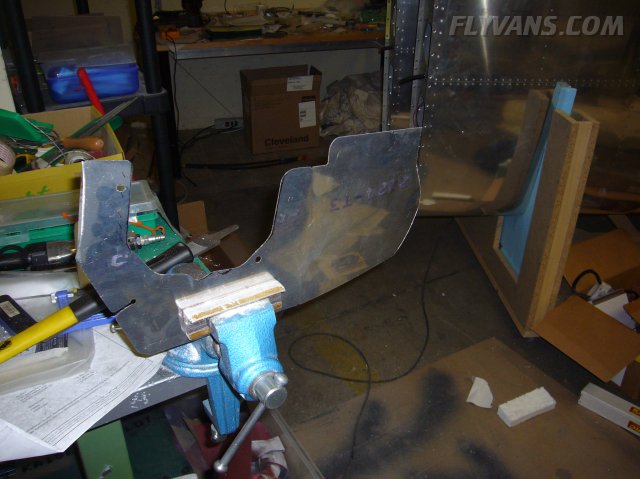
One part had slight misfits, the rear right bulkhead (part 7) and needed some special care ;-)
Made a wedge to fill the gap out of aluminum angle.
Also, this support hole doesn't quite match. However the global fit along the cylinder and engine crankcase is fine.
Contrary to what the instructions say, i was able to fit the parts without removing the oil line or oil dipstick.
Then it's a lot of edge prepping work and fabricating supports / stiffeners. Also, i already made holes for blast tubes and ignition harness pass-throughs.
Also, epoxied the cooling ramps into position. They will get further attention when fiberglass work on the cowling is continued.
They really need many clecoes for a proper fit
|
|
|||||||||||||||||||||||||
|
||||||||||||||||||||||||||
|