|
|
|


|
| |||||||||||||||||||||||||
|
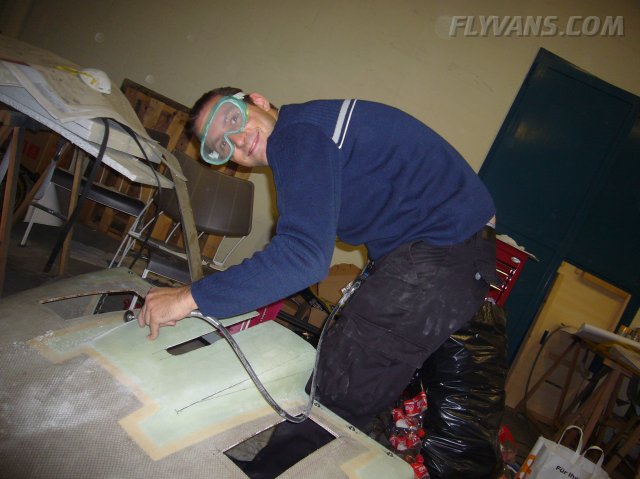
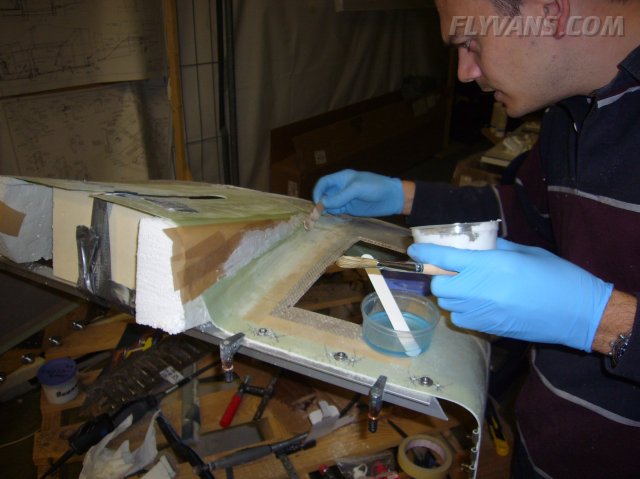
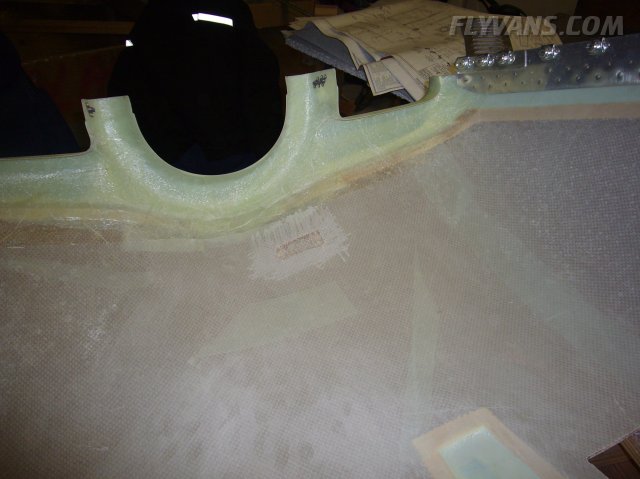
Dominik, as our experienced fiberglass hero, helped out with the modification of the cowl outlet for the exhaust.
Basically, we opened up the outlet a bit further and then rebuilt the shape with fiberglass cloth.
For the initial shape, a temporary mold out of styrofoam was put on the inside.
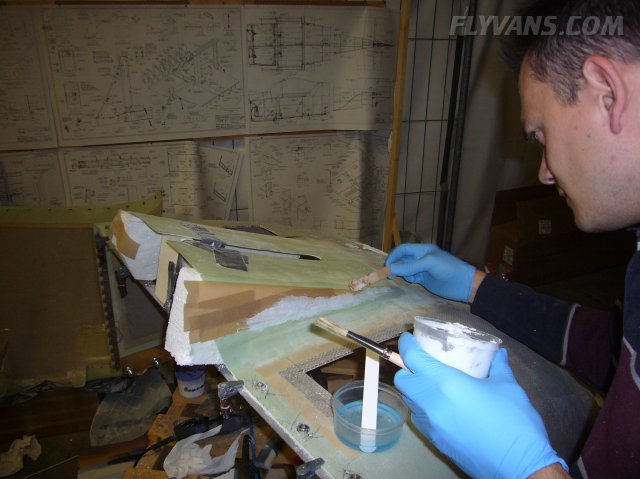
Dominik preparing the surface for the new layup.
And shaping the styrofoam to get a nice contour again.
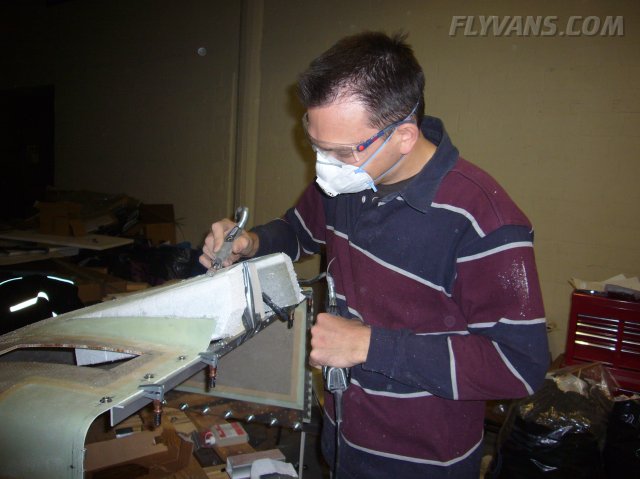
Then, with a combination of filler and cloth, several layers were added from the outside.
On each side of course, the work of one evening! It takes time...
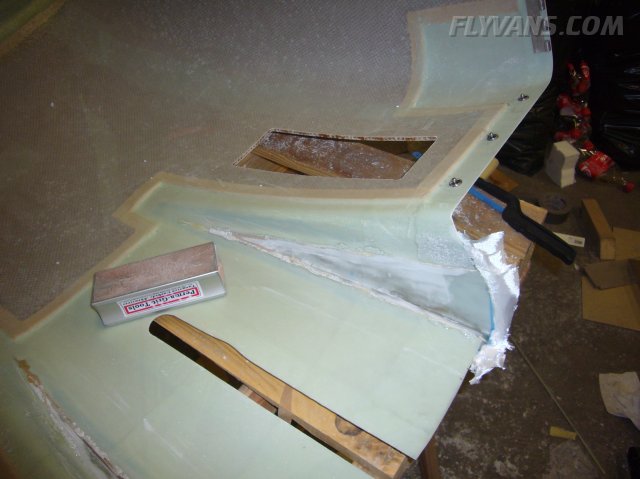
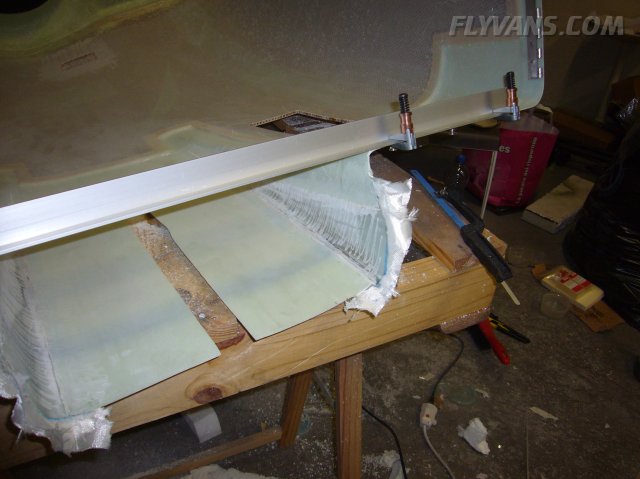
Pondering over options on how to seal the cooling ramps on the top cowl. If these holes are not covered (and not explicitly called for in the instructions), cooling performance is significantly lower as air can escape through this channel from the top to the bottom cowl without passing through the fins.
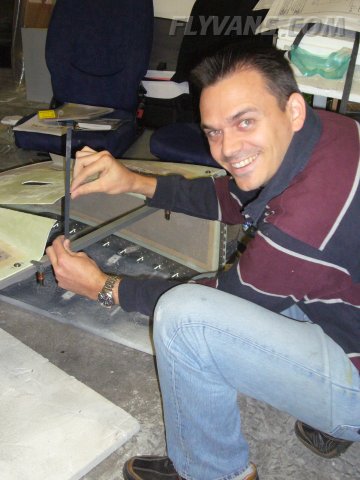
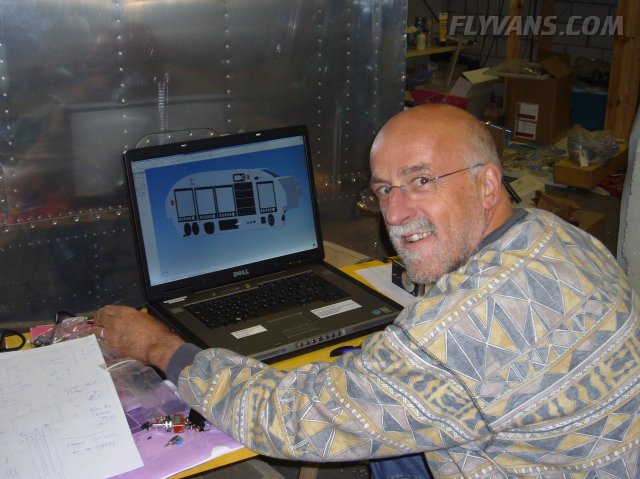
Bernie's dad came over for a great weekend of airplane building. Worked mostly on the final panel layout and how to attach the airplane to the crane at our hangar-spot.
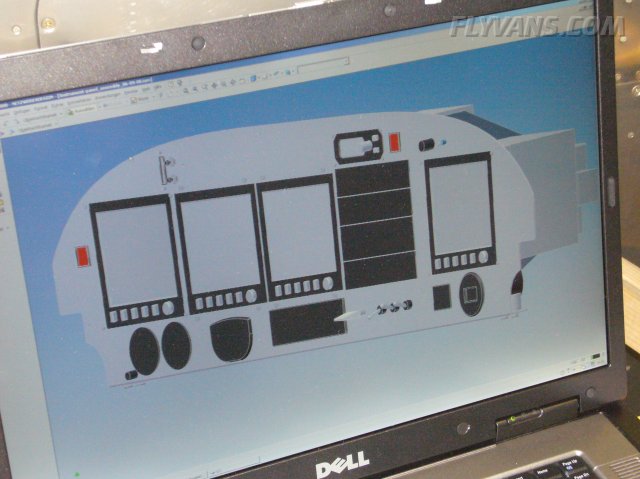
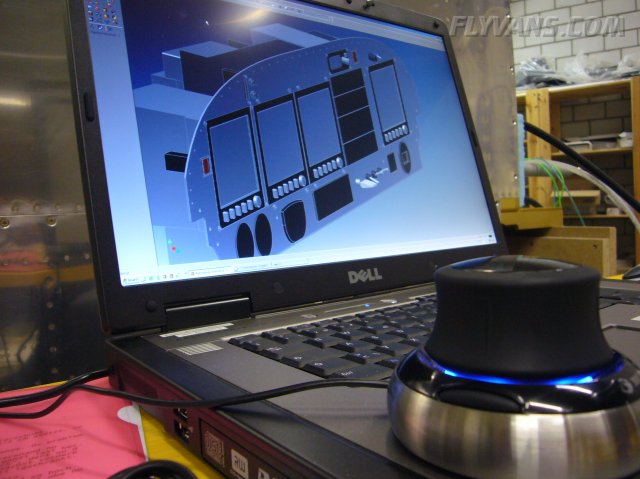
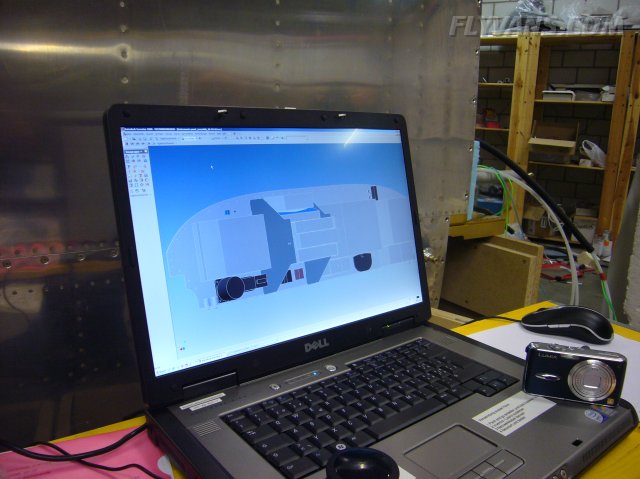
Markus took along the CAD notebook from his employer, so we were able to work on the panel right beside the real aircraft. Our panel is taking serious shape and is about ready to be cut. There's certainly enought glass in it ;-) Still some items missing.
He also took along the space navigator, an awesome 3D mouse which makes viewpoint control a real joy. Amazing how many freedoms of movement it supports.
And the panel from the back. Most notably the support structure for the avionics trays. Will be attached to the subpanel as well, once that's cut. Except for the avionics, all other equipment should fit well in front of the subpanel bulkhead.
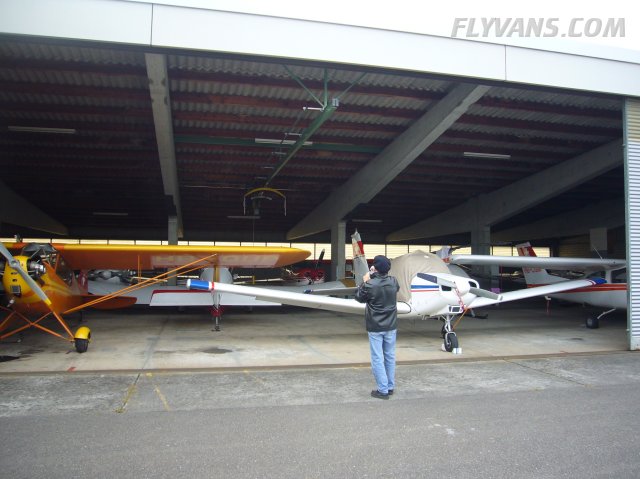
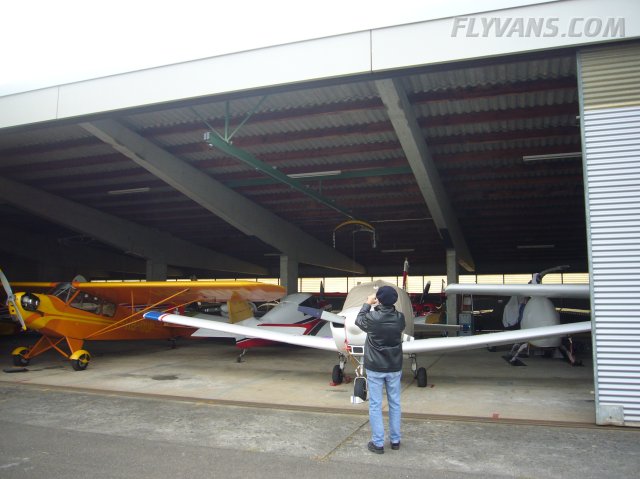
Then we made a trip to the hangar spot to take more measurements.
The piper cub on the left turns out to be a real pain, greatly limiting available height to pass over its wing. Should work out close, though.
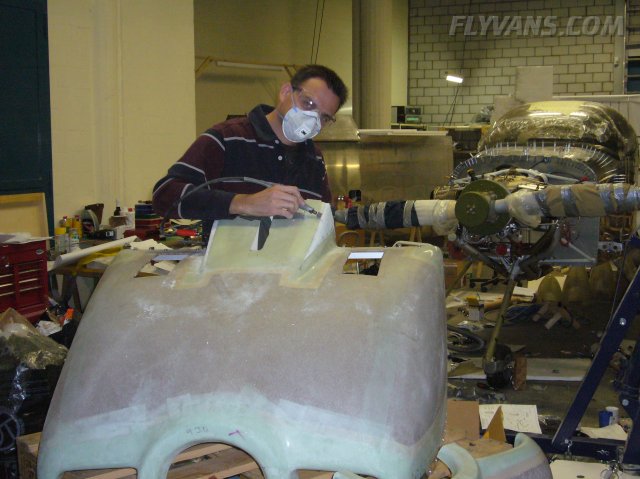
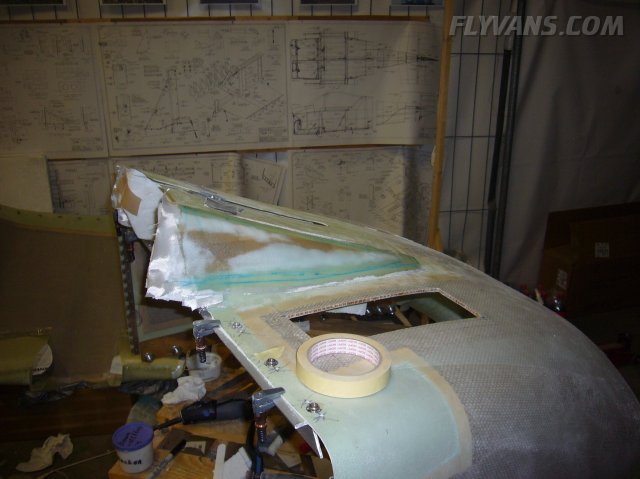
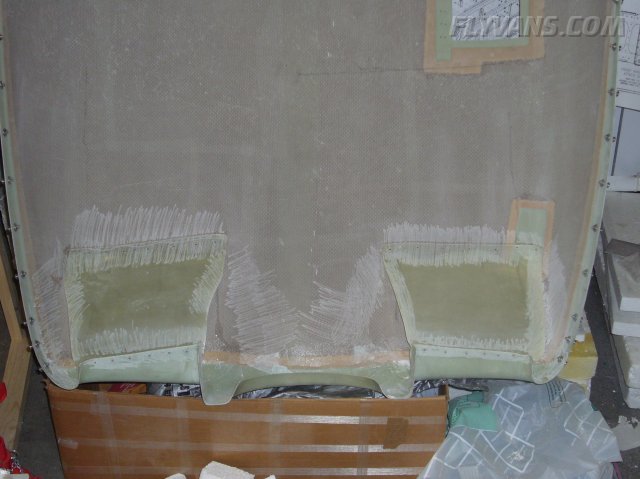
Once the cowling had cured for a few days, removed the styrofoam on the inside.
Roughened up the surface and again put on several layers to build strength. On the inside, didn't have to worry as much about cosmetics, though.
Also, the alternator pulley was awefully close to the cowl, especially when expecting some elongation and retightening of the belt. So removed the honeycomb in that area, to be laid up with fiberglass cloth from the inside.
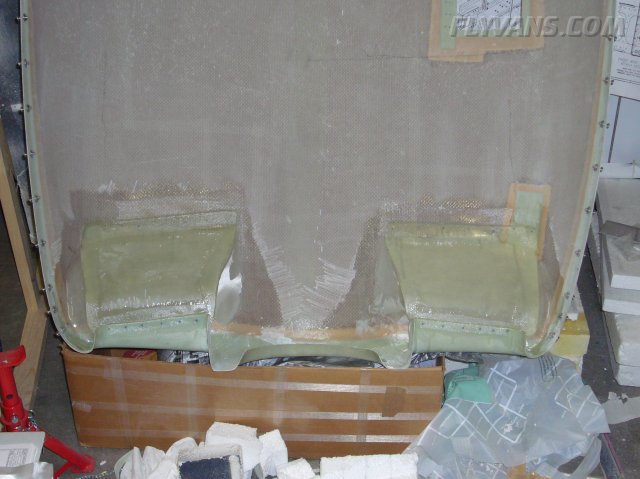
Decided to close the cooling ramp gaps "freestyle", with a single layer of glass and no support initially. Later adding some more glass.
Turned out great (i think)... After it had cured, put on some more glass. Now it only needs to be finished smoothly.
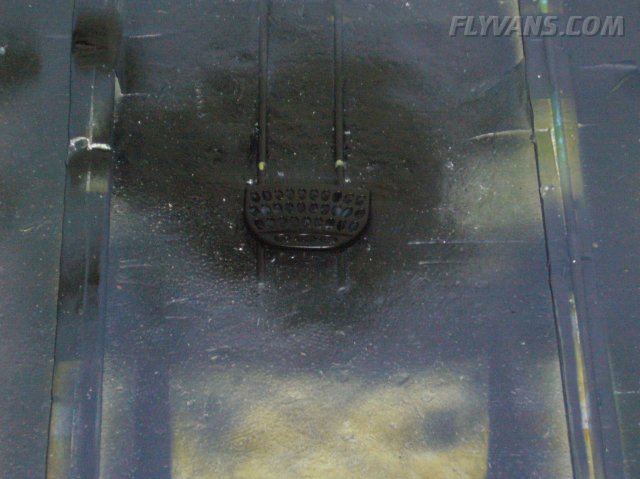
The keyboard going into the panel had a silver body, quite different from all the rest in the panel. So painted it black as well.
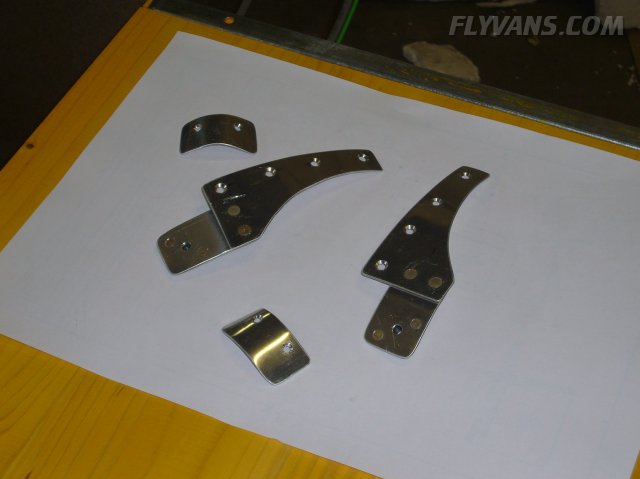
Made the gap fillers for the constant speed spinner.
Here they are, another few hours worth of work... One wouldn't think from seeing the end result. It's stuff like that, that makes an airplane build a big and time consuming project ;-)
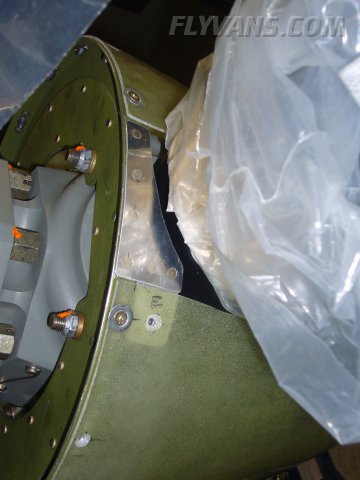
And final install.
Also note the small lip in the bottom corner of the cowl. Made one on each side to better align the cowl with the fuse and cover up a slightly larger gap between the cowl and the fuse in that area. Nobody will notice later unless you know ;-)
Because i had put the baffling on hold, worked some more on the gear leg fairings. Drilling the hinges to the fiberglass.
It is actually straight ;-) Optical illusion.
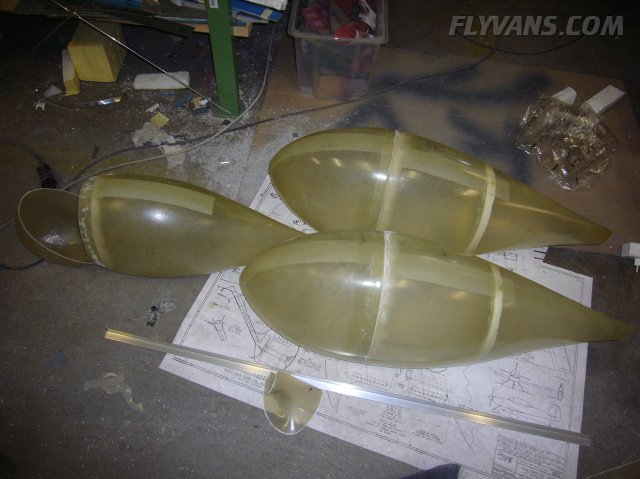
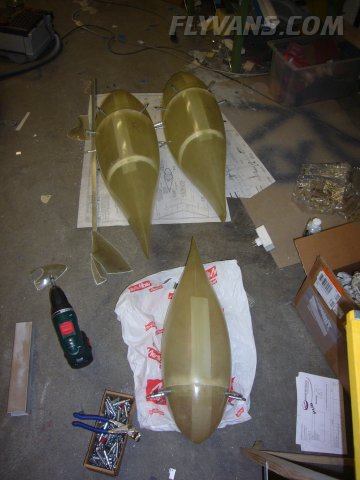
Sanded the wheel fairing halves to fit closely. Only relatively little finishing will be required on these once they are fitted.
Also, fitting them takes time. No templates that show how far to cut in the first attempt etc... So you have to go slow and approach the right dimensions in several steps (cutting the holes for the axles e.g.)
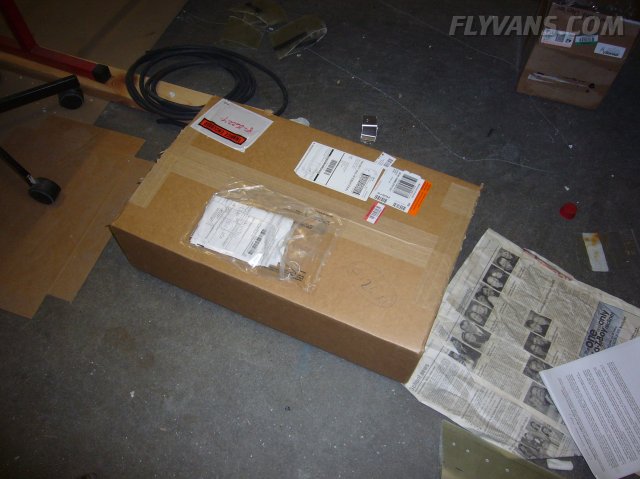
And here's the reason I put the baffling on hold. Having spent several days on the baffling with a ton of work left to do and having read that Van's came out with a new baffling kit about a year ago, i decided to get the new one. Pity for the 3 days wasted, but in the long run we'll be happier. By all accounts they are easier to install, fit better and i'm sure also incorporate lessons learned regarding cooling and longterm wear.
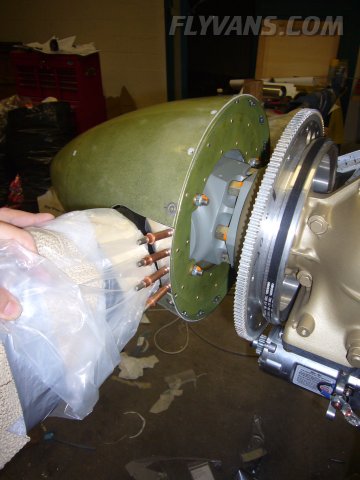
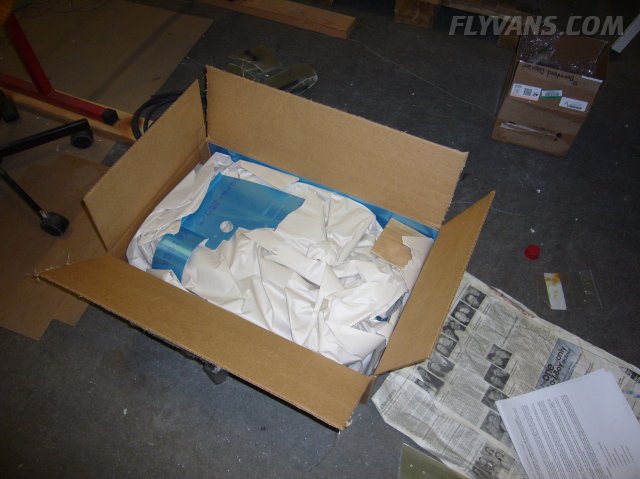
Nicely packaged and looking great.
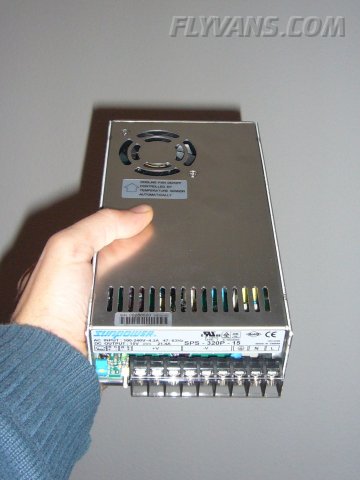
Also, got another goodie in the mail... Ordered this 21A! 14V power supply. It will simulate the alternator when the engine is not running and allow us to practice, setup and test all of our avionics without having to worry about the battery getting drained.
|
|
|||||||||||||||||||||||||
|
||||||||||||||||||||||||||
|