
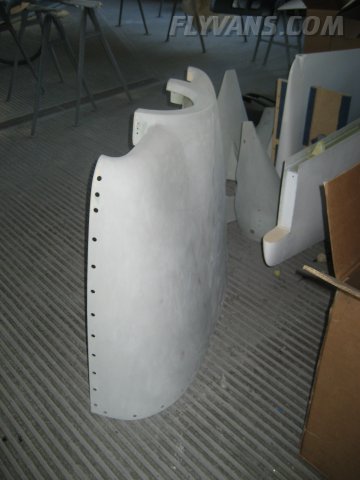
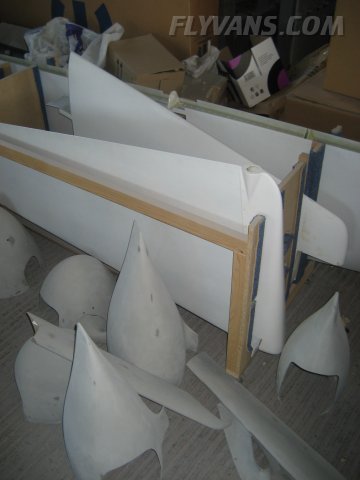
The painters are mostly done with prepping parts.
The final part of the optical finishing is the paintjob of course! Glad that we had prepared everything early on.
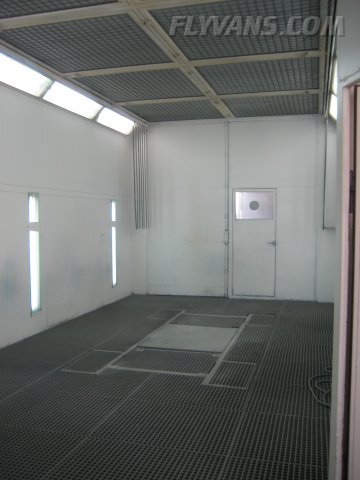
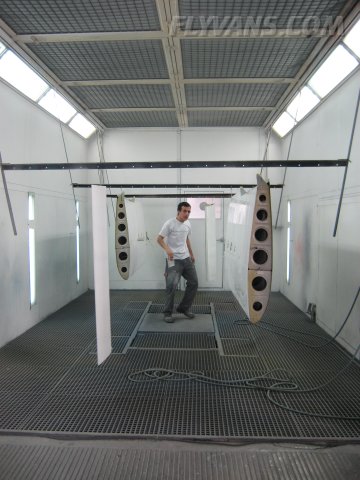
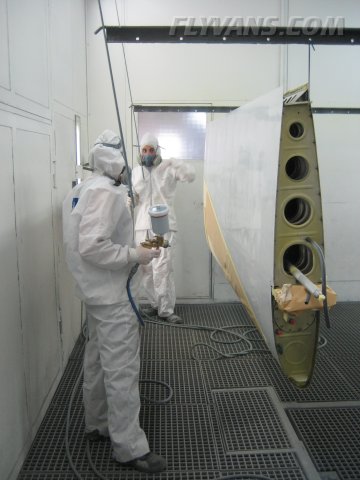
The paintbooth with ventilation etc... The all bright/white light and white parts requires getting used to. We felt dizzy after a while...
An empty box usually means something was delivered *G* Couldn't count all the cardboard boxes that we've used/received, it's gotta be many.
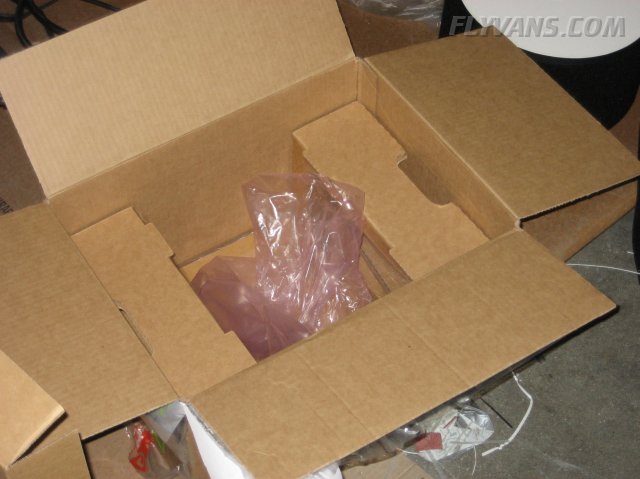
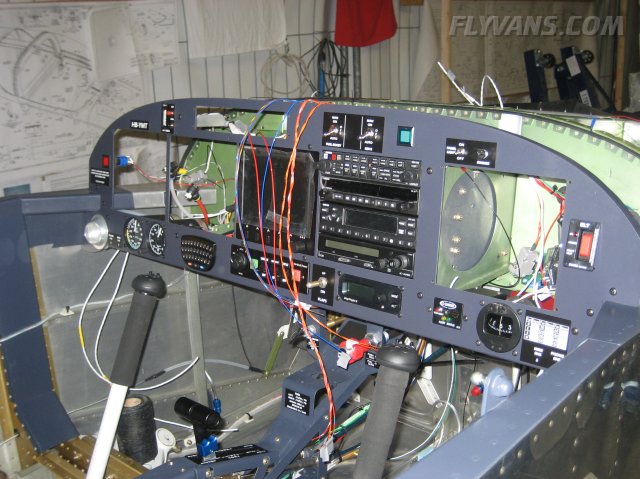
This time it was "only" the SL30 that came back from Garmin after having had a service bulletin on it before we've even ever used it... Hope this doesn't happen too often to any of our parts. Wiring still needs some cleanup.
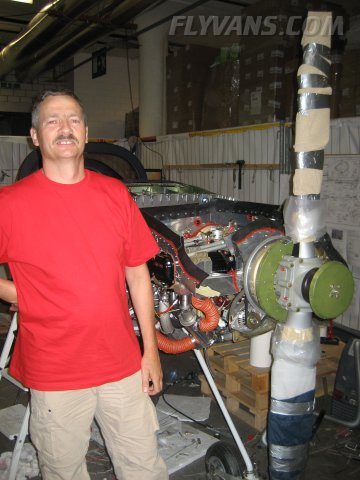
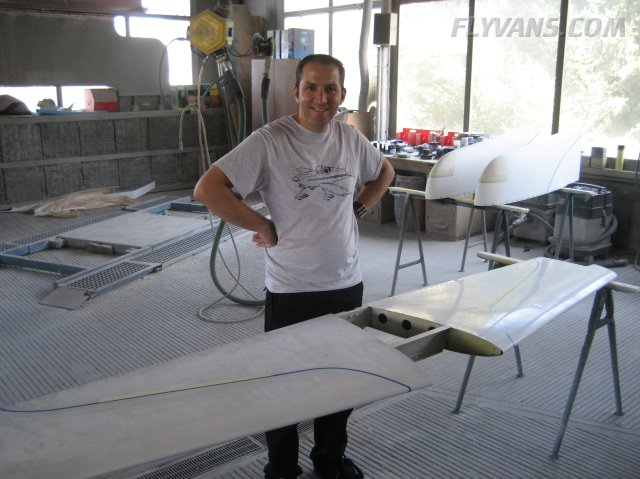
Fritz, an early RV-6 builder here in Switzerland, came over for a quick visit and helped with some advice and a quick look over the engine installation.
Back to the paintshop...
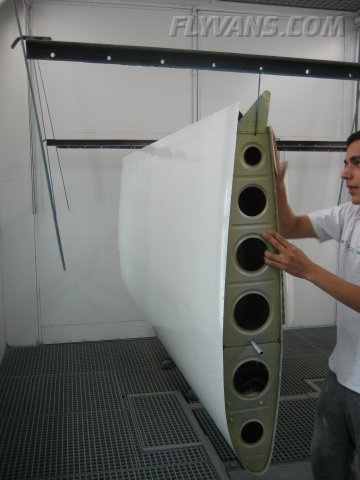
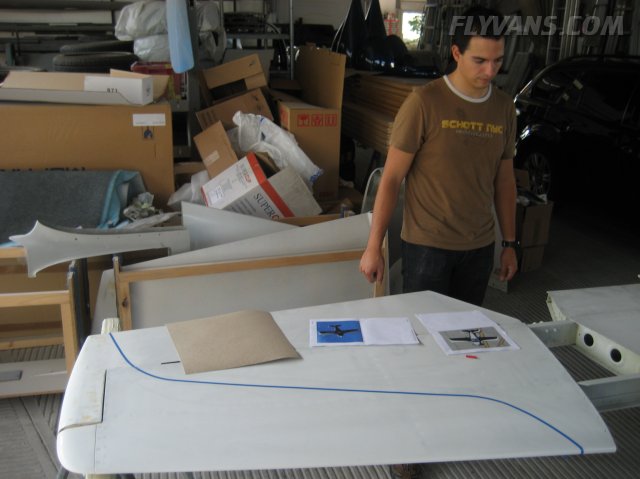
The wings are being readied for the actual painting.
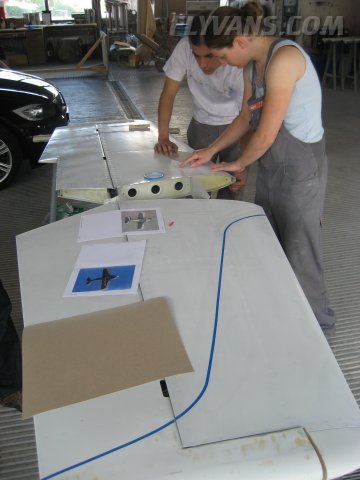
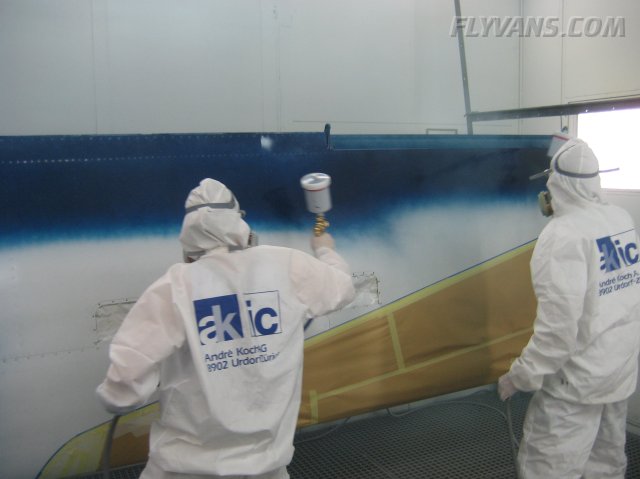
Our design relies on a split line between the dark blue metallic and white pearl parts. For this we agreed that everybody was to be present... Kind of hard to undo anything later ;-) The Horizontal stabilizer / elevators form one unit and the contours need to be similar to the wings.
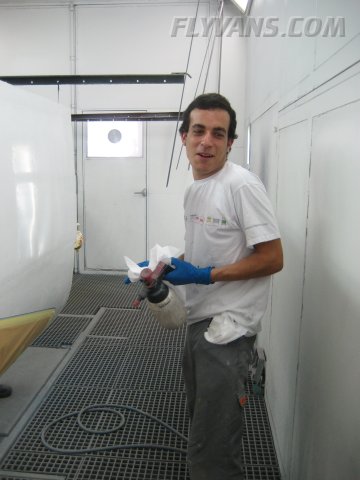
Daniel and Sandra, the fine young painters doing our plane. They're also great to work together.
The wings are masked in the painting position. Over the split line between the colors, we will lay a stripe of grey tape as the "3rd color".
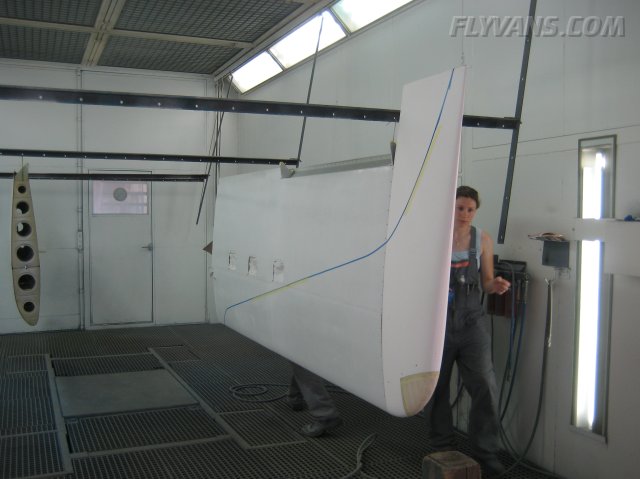
Masked and ready to be painted.
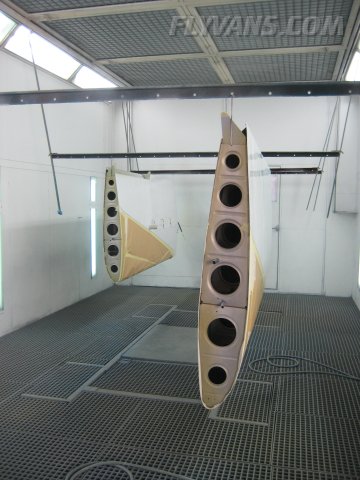
We spent several hours on all parts to get all the curves and angles right. There may be minor inconsistencies but shouldn't be obvious as you never quite see all surfaces from the same angles.
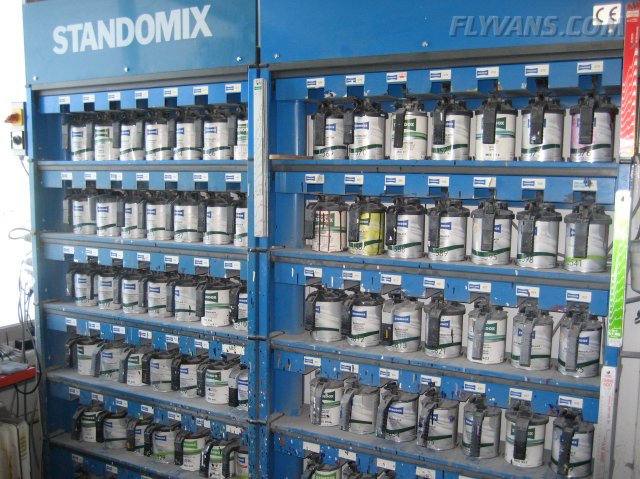
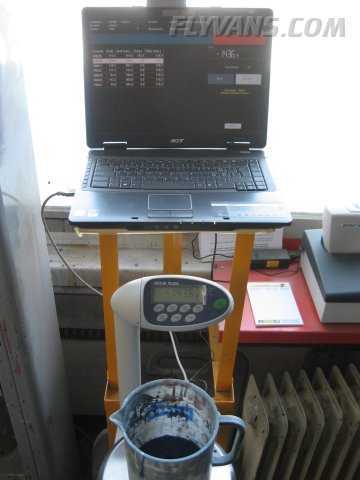
The paint mix area. Quite a repository of different colors.
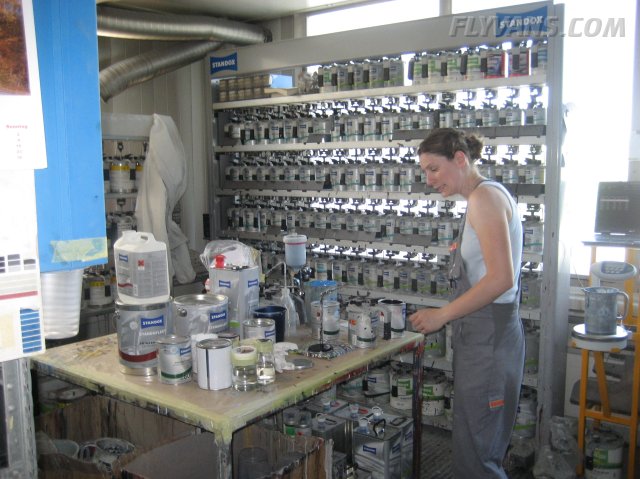
The basecoats that we use on the plane.
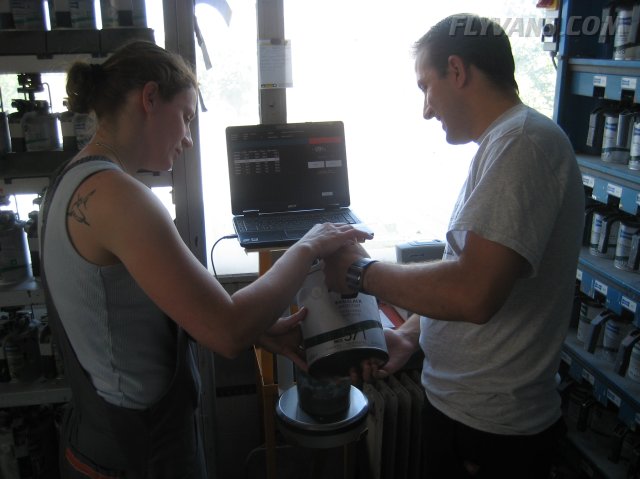
A computer tells you how to mix every imaginable color from the available buckets. We picked C85L, star blue metallic used on the smart cars from a few years ago. The white is "Standox 326 white satin".
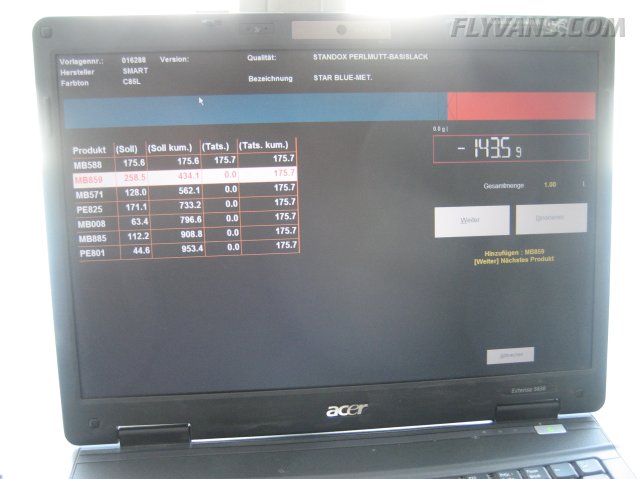
The computer is hooked up to an electronic scale and guides you through the mixing process, at .1g precision.
Daniel is removing all fingerprints and other dust/dirt.
Got a chance to try the mixing myself. Seriously didn't want to botch this task! We'll see how it turned out, at least both the computer and Sandra seemed OK with it ;-)
Forgot to read all the "Hazard" and "Caution" remarks though *G*
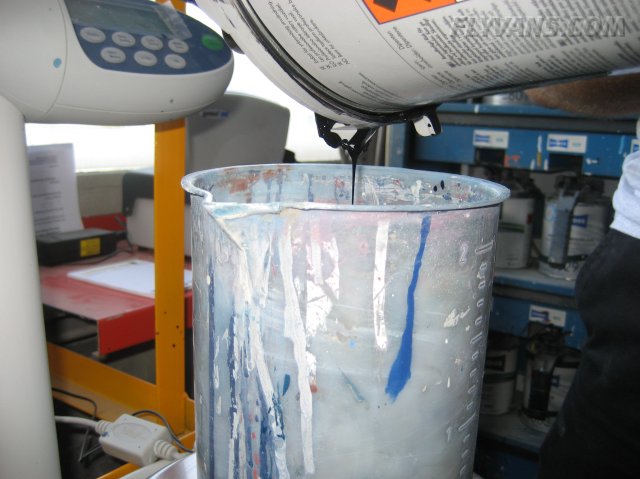
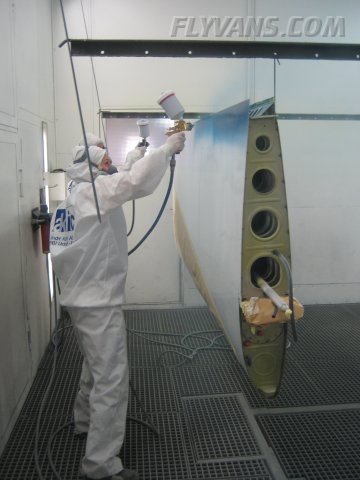
One last filter before the mix is put into a nice HVLP spray gun. Quality stuff at around $800/piece!
Oh, and they broke in a new one just for our plane :-)

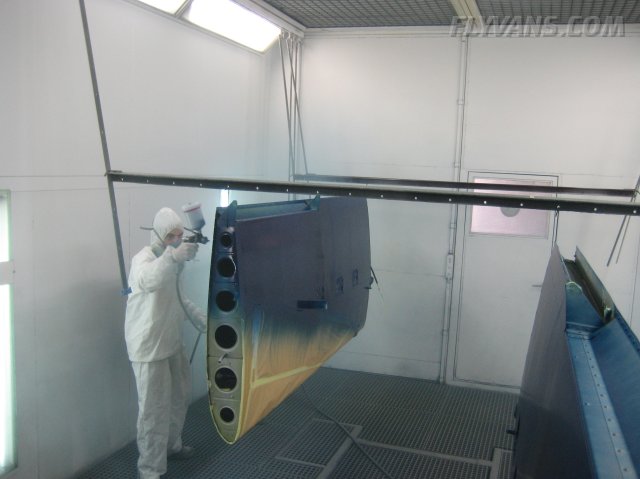
The wing is quite an area! They decided to paint all of it simultaneously so that they wouldn't run into gun capacity/drying paint issues.
The first thin cover over the primer.
Another cover and then 2 covers of clear coat make up the finish. Still amazing that everything should be less than 20lbs on the whole airplane!
Both wings painted... Lex and I went to work at the workshop thereafter... Now we only have to get the fuselage to this stage ;-)
|

