|
|
|


|
| |||||||||||||||||||||||||
|
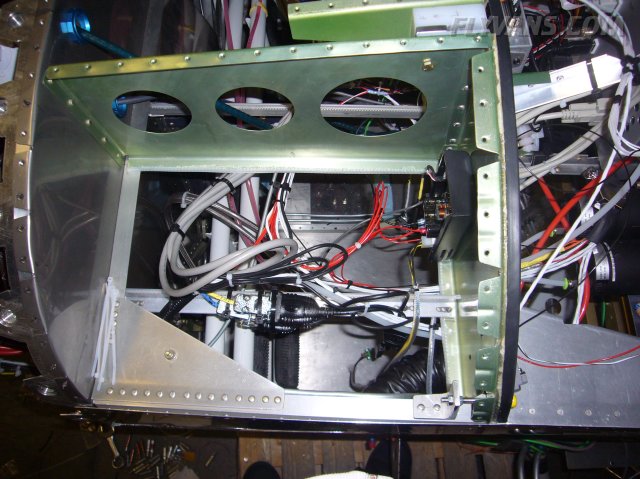
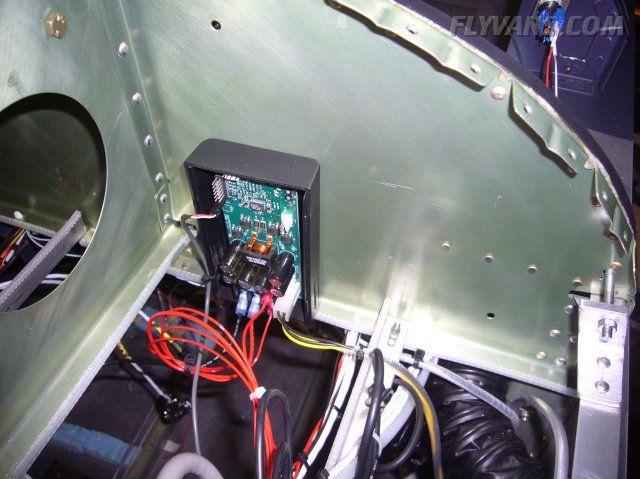
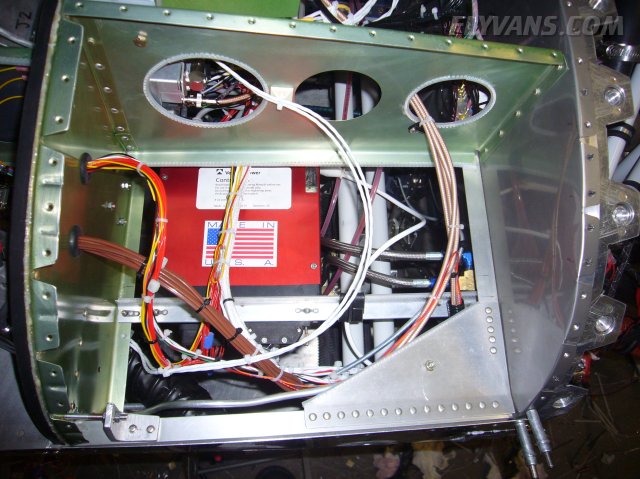
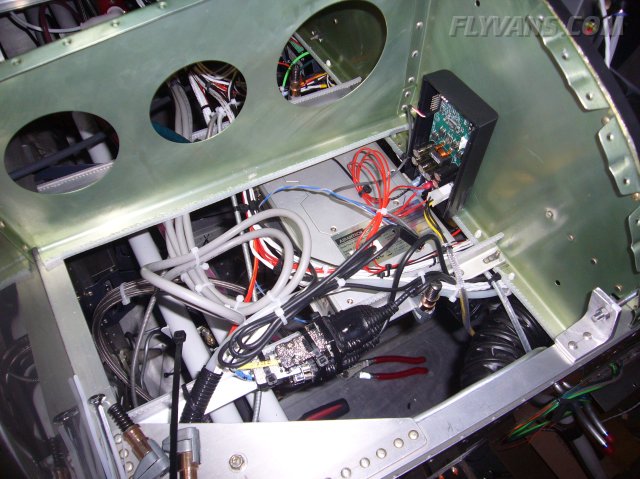
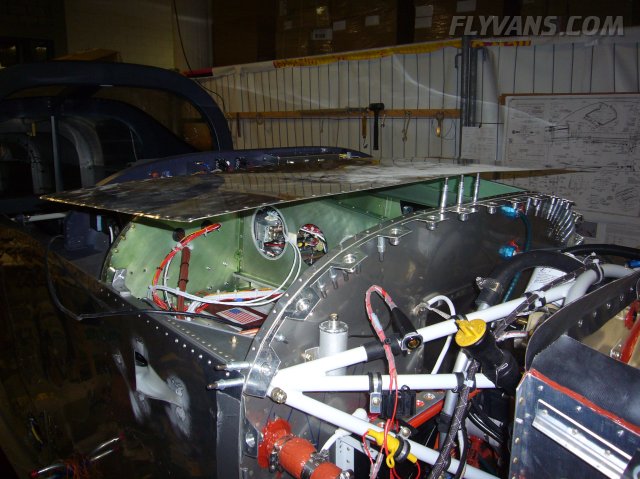
The red part behind the trutrak autopilot (seen from below the panel) is the EMI filter that completely removes any interference from radios that are transmitting into the autopilot.
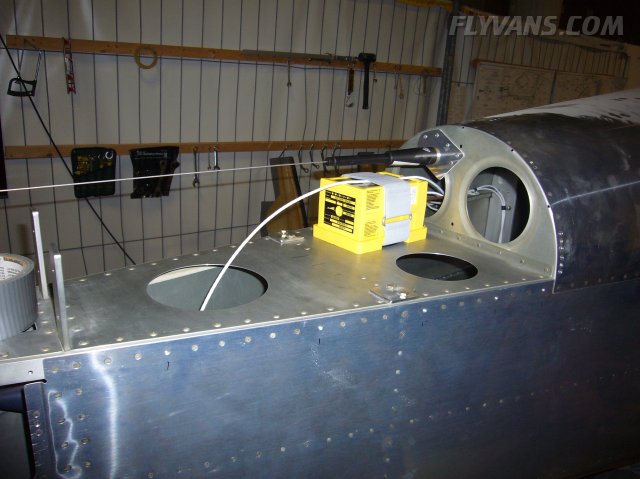
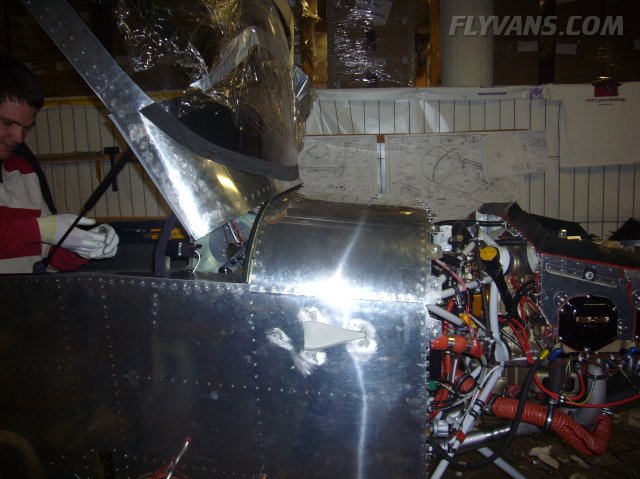
Time to finish the details before riveting the last skin! Here, a few spacers are produced to improve the front deck-to-canopy fit on the left side.
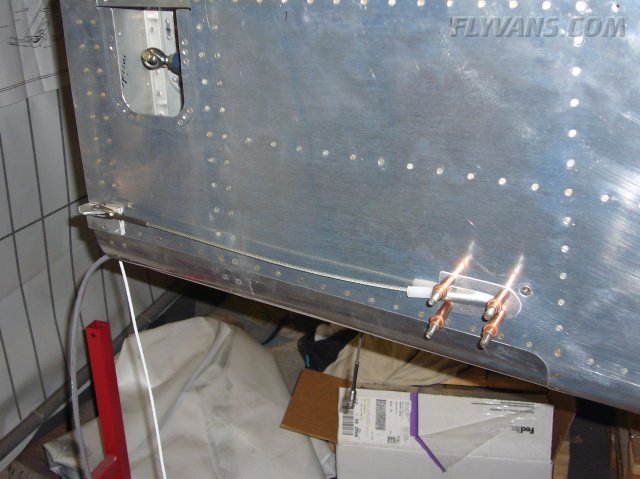
Other final items are mounted like the rudder cable fairings. Anything that needs to be on when going to the painter must go on now.
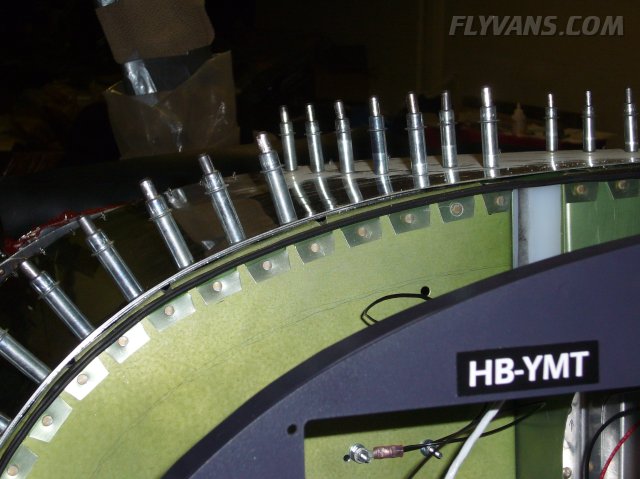
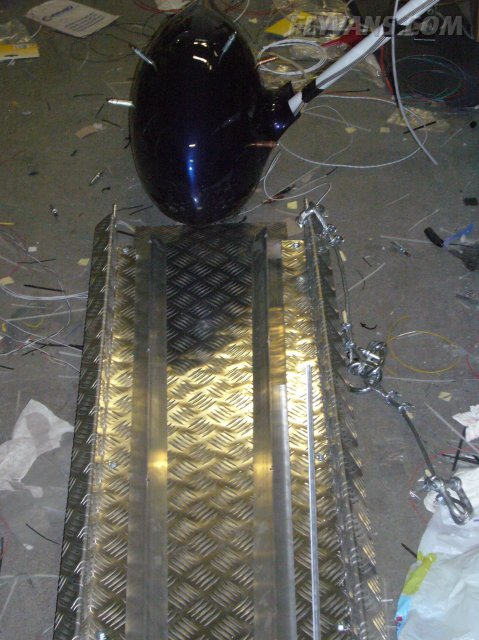
Preparing the "thumbstone" steel plate for mounting. It will go on for good after painting but needed the mounting holes now.
Mounting the ELT in the empennage fairing as many RV's have done. Creates least amount of drag while still working in many possible attitudes. The white cable is for the electrical elevator trim, can only be mounted once the empennage is on for good.
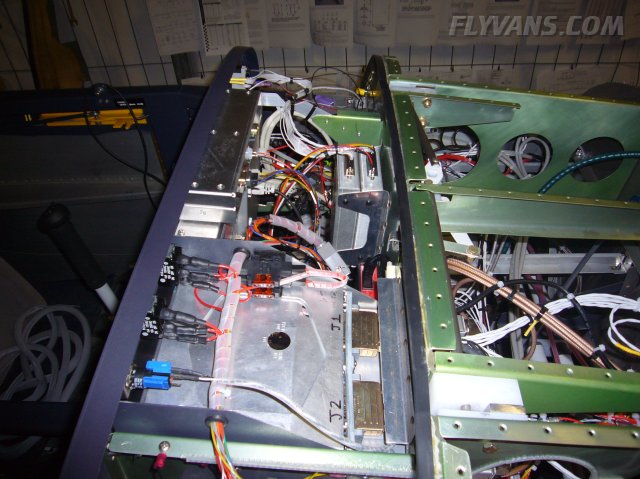
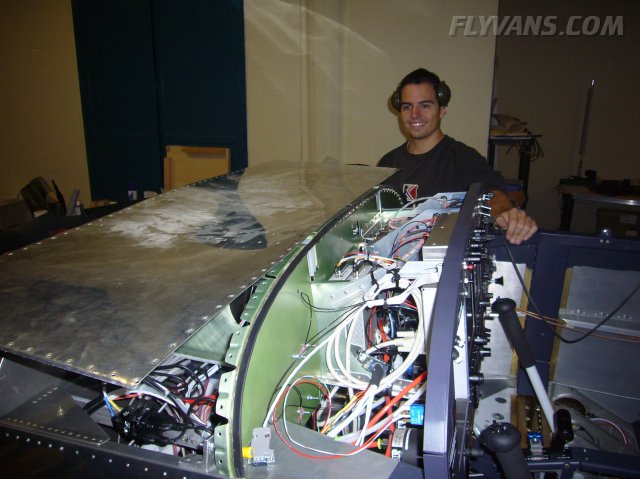
Electrical installation needed some clean-up with tying wires together. The pictures don't do it justice. On fotos it always looks like a mess while in 3D it's cleaned up. On the left side, the MapPC is mounted.
Alex back in town for good.
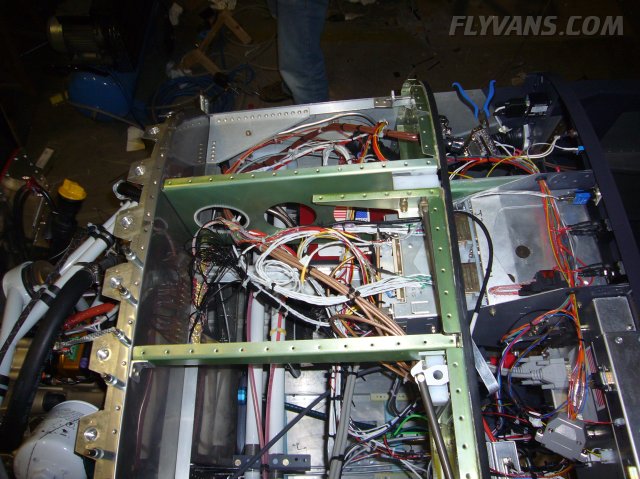
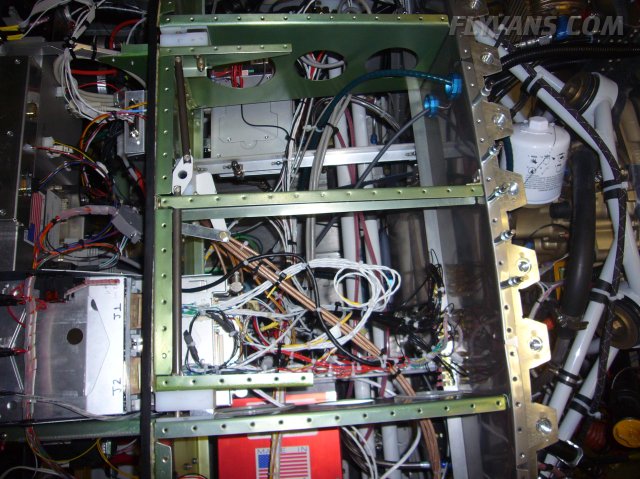
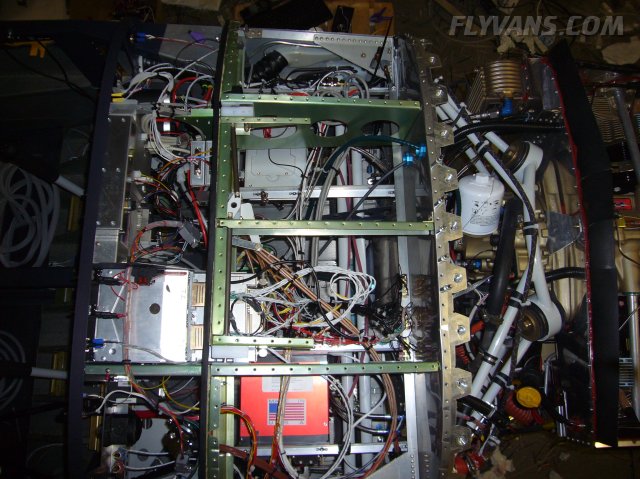
The radio stack area with the most wires. Also accesibility from below is not as good as from the top. If there's ever going to be a big change in the radio stack, the front skin will probably have to be cut open and resealed with an access plate installation.
The canopy hinge pins will have to come off for the first few rivets to be set, then reinstalled for good.
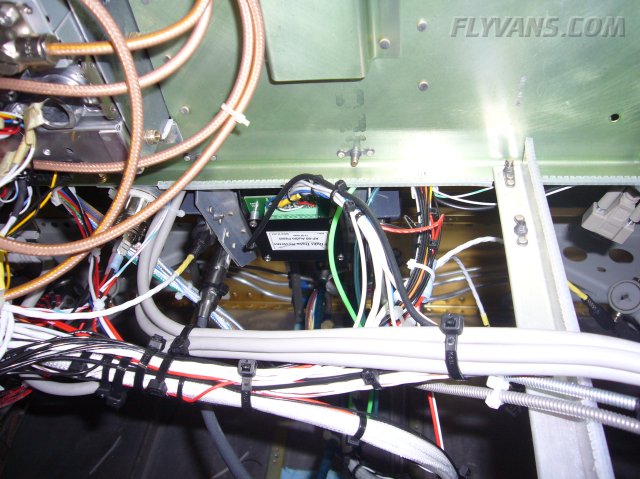
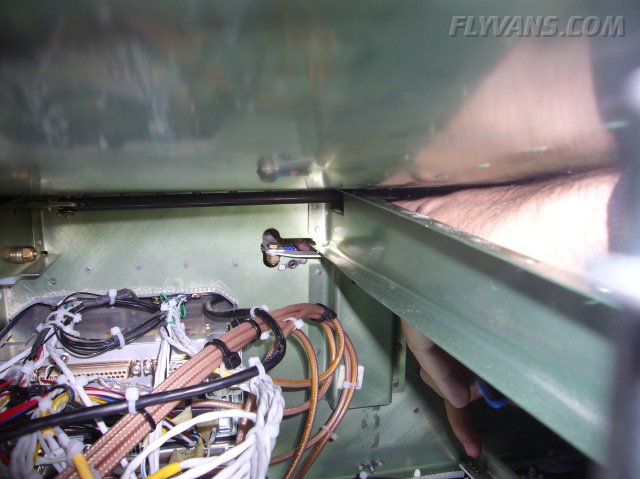
This is the AP-60 audio line mixer. Takes audio inputs from the AOA, VP200, EFIS, XPDR and COGuardian and fuses it into the unswitched audio in of the audio panel.
The MapPC DC-DC car pc power supply with remote start/shutdown functionality.
Dad came along for a test fit of the hangar mount channels with the wheelpants on. More on the hangar mount project can be found here.
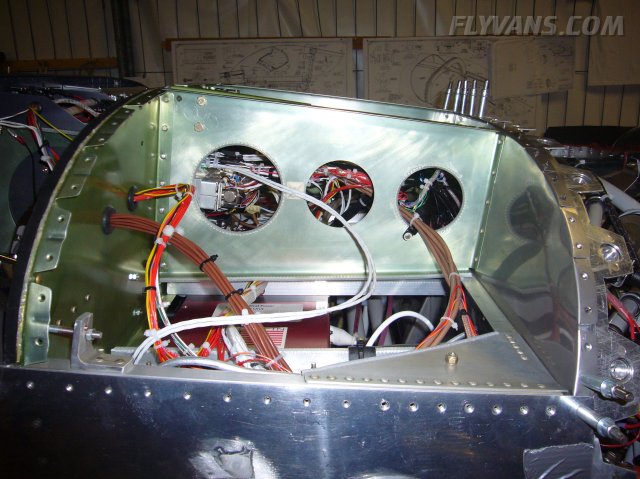
The right side of the front deck.
With the VP200 Control Unit.
Another shot from the top with an overall view.
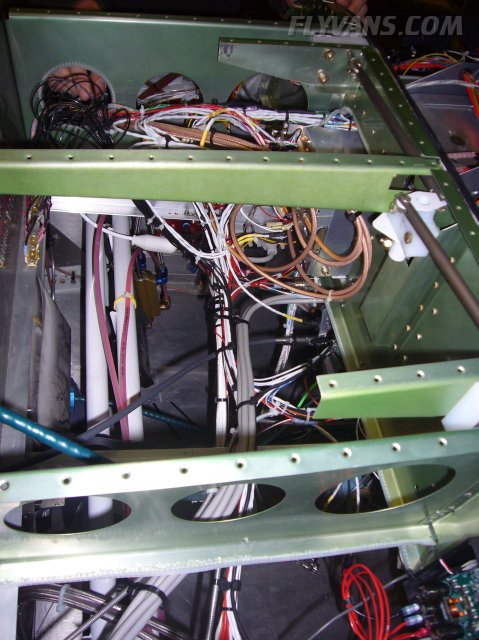
Even higher up, again, looking messier than it is ;-)
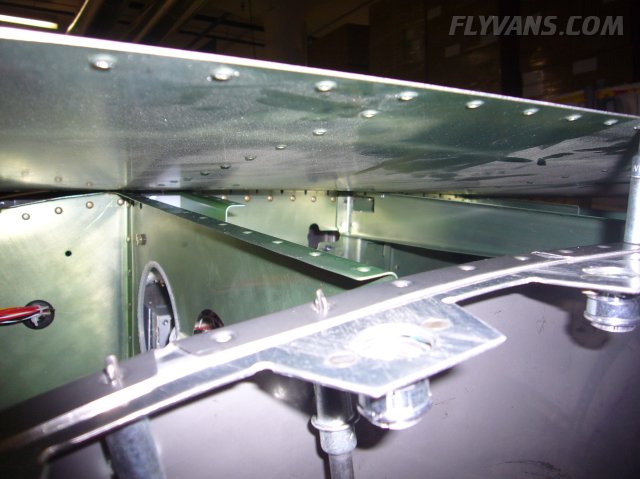
This area will always be easily acessible with the canopy removed or even open.
Starting riveting.
Doing just the first center line across worked great for the re-installation of the canopy hinge mechanism.
Riveting always is the frosting on the cake, the final step after a lot of preperatory work and gives a great feel of accomplishment.
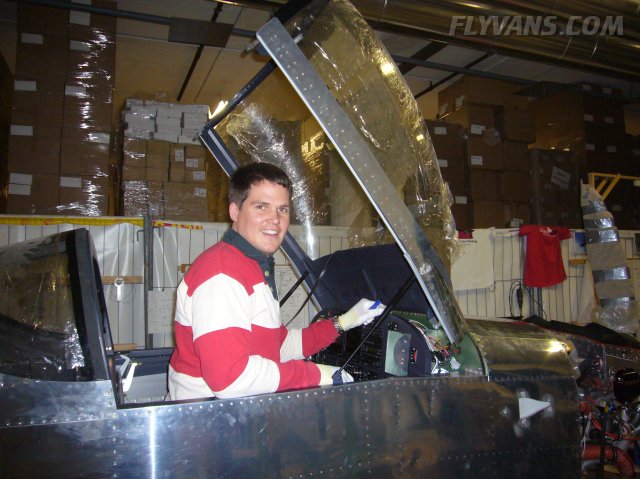
Roman came to assist with some more finish work the other day and we had a great time.
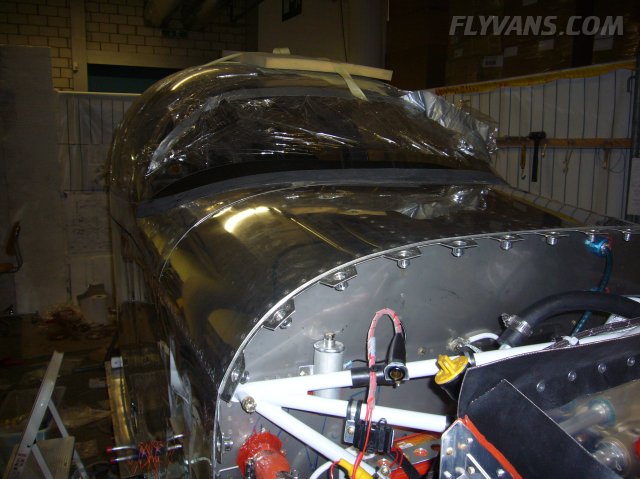
Last skin on and canopy on as well.
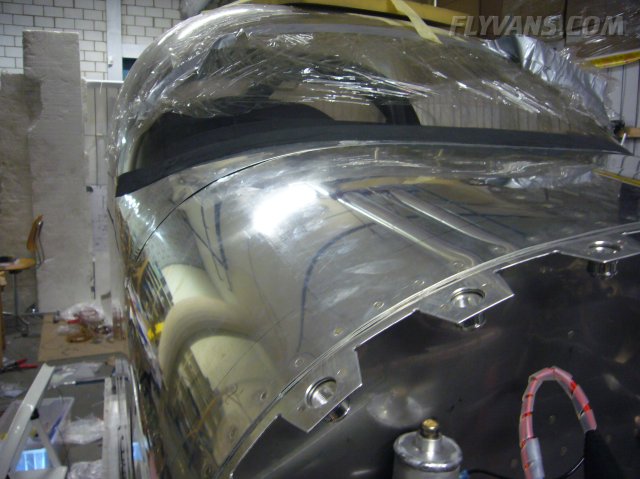
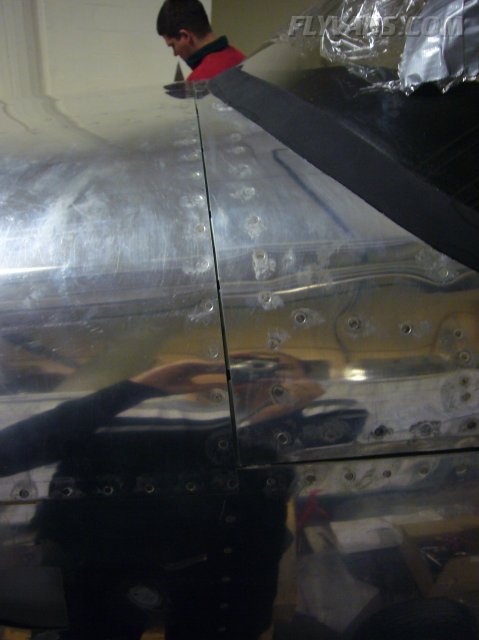
The only little downside was to see the front deck to canopy fit go from great to slightly less than that. Apparently riveting the skin compressed the whole support/bulkheads a tiny bit while the canopy still sits how it was fitted. You hear a lot of RV builders complain about these issues and we support that. The whole tipup frame / fit design is probably the worst part of the kit.
Anyway, the most elegant solution would be some kind of hard rubber lip to cover the tiny raise of the canopy skin compared to the front skin.
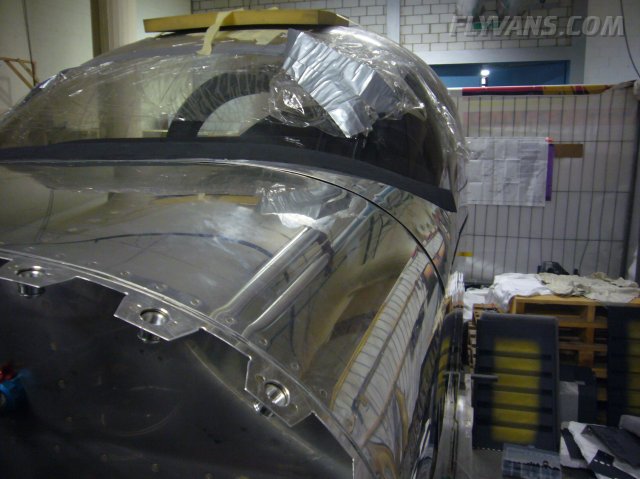
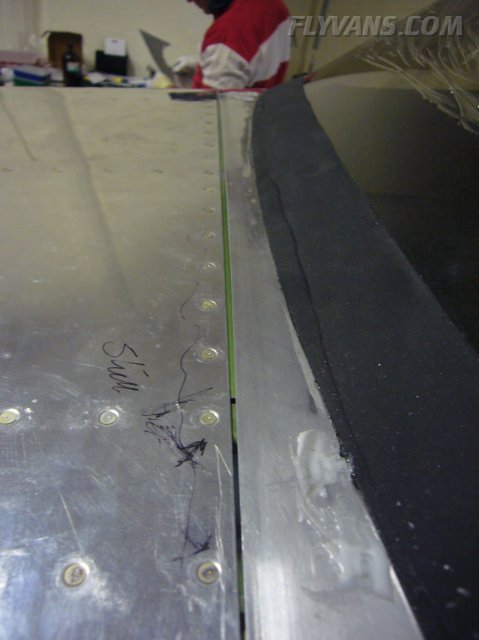
This is even more pronounced on the left side.
The gap also increased compared to when it all was fitted.
This distance, although it looks bigger due to zooming in, is required otherwise the canopy skin will catch on the front skin. Had it happen once during fitting, fortunately we didn't bend the skin too badly so it was easily reshapeable.
|
|
|||||||||||||||||||||||||
|
||||||||||||||||||||||||||
|